Skip to content

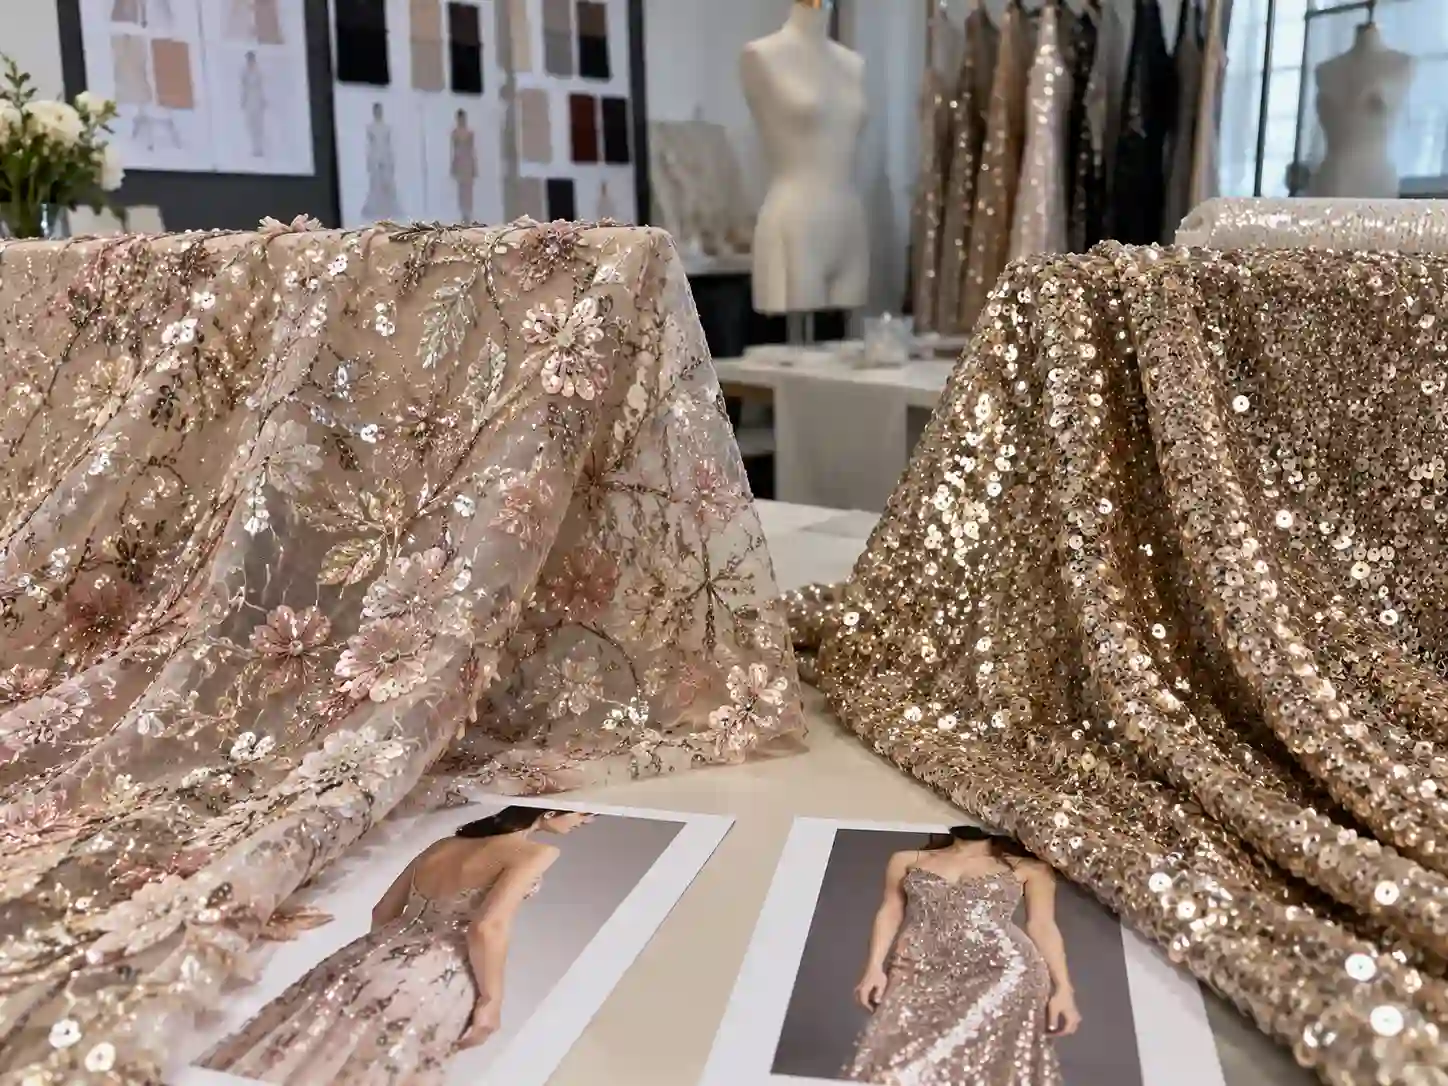
A single dress image can look powerful, emotional, and commercially ready—but in manufacturing reality, it is only the beginning of a much longer transformation process. In global fashion production, most delays, sampling errors, and cost overruns do not come from factories lacking skill; they come from incomplete communication between visual ideas and technical execution. A reference photo captures aesthetics, but it does not define structure, fabric behavior, seam logic, or tolerance standards. This gap is where many brands unknowingly lose time and money.
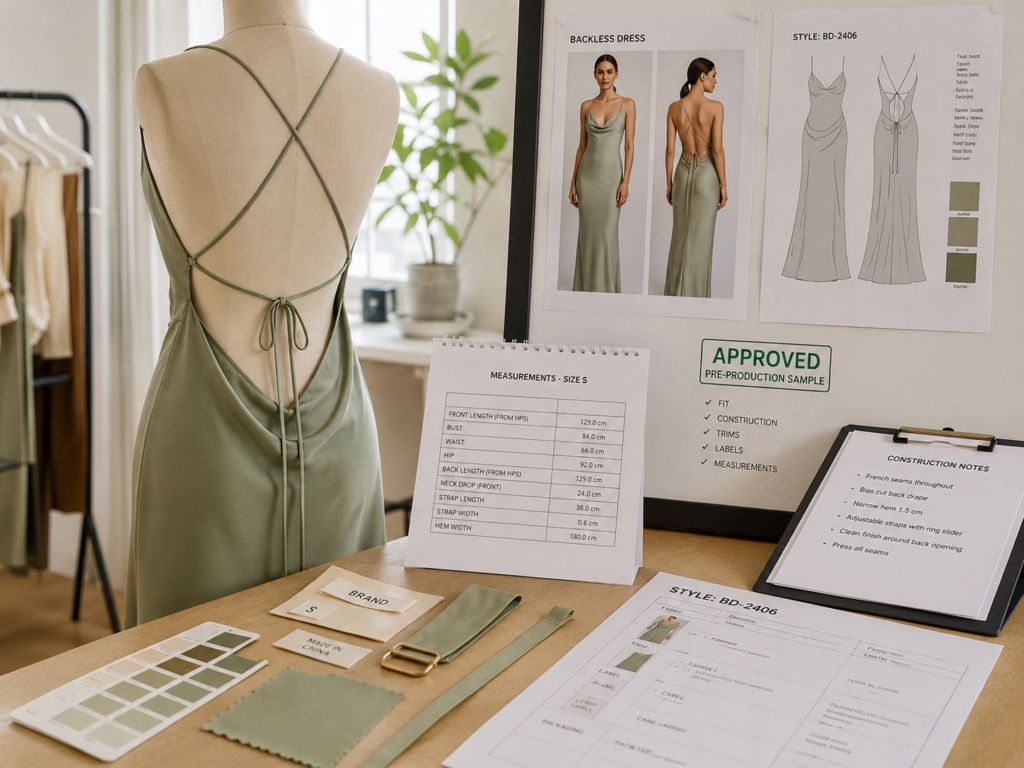
Turning dress inspiration photos into a production brief means systematically converting visual design elements into structured manufacturing instructions, including silhouette definition, fabric specification, construction details, measurements, and finishing requirements. This process ensures factories can accurately interpret design intent, reducing sampling revisions, production errors, and miscommunication between design teams and garment manufacturers.
In practice, one missing sentence in a brief can result in a completely different neckline shape, incorrect fabric weight, or inconsistent drape behavior. A designer might expect “soft chiffon flow,” while a factory interprets it as standard lightweight polyester chiffon. These small gaps compound across sampling rounds.
This article breaks down how professional brands convert inspiration images into production-ready documents that factories can execute with precision—and why this system determines whether a collection launches on time or gets stuck in revision cycles.
What Is a Production Brief in Dress Manufacturing?
A production brief is a structured garment development document that converts a dress idea or inspiration image into clear, executable manufacturing instructions. In real production environments, it functions as the “translation layer” between design intent and factory execution. Without it, sampling teams rely on interpretation, which often leads to inconsistent fit, fabric mismatch, and repeated revisions.
A well-prepared production brief typically reduces sampling rounds from 3–5 versions down to 1–2 versions, mainly because key production variables are defined upfront: silhouette, fabric behavior, construction method, and measurement standards. It is not as complex as a full technical pack, but it is far more precise than a simple reference image or mood board.
In dress manufacturing, production teams do not work from imagination—they work from measurable inputs. A production brief ensures every department (pattern maker, cutter, sewing line, QC) is aligned on the same production target before fabric is even cut. This significantly reduces error accumulation during scaling from sample to bulk.
A common issue in production is when two factories receive the same inspiration photo but produce completely different results. One may interpret the fabric as soft drape chiffon, another may use a structured polyester chiffon, resulting in different movement, weight, and silhouette outcome. A production brief prevents this by locking down fabric specifications and construction expectations before sampling begins.
Below is a practical breakdown of what a production brief must include in dress manufacturing environments:

What defines a production brief vs tech pack?
A production brief is a simplified execution document focused on clarity rather than engineering depth. A tech pack includes CAD drawings, grading rules, and full technical specifications, often used in advanced mass production systems. A production brief, however, is used earlier in development when the starting point is usually an image rather than a finalized sketch.
In practice, production briefs are widely used for:
- Image-to-sample development
- Fast sampling cycles (5–10 days)
- Small-to-medium fashion brands without in-house technical teams
A production brief focuses on:
- Silhouette direction (A-line, slip, bodycon, etc.)
- Fabric category and weight range (e.g., satin 120–180 GSM)
- Construction logic (lining, stitching type, structure points)
- Key measurement targets (bust, waist, hip, length)
- Visual references with annotations
Compared with a tech pack, it removes unnecessary engineering layers and prioritizes production alignment speed. Many factories actually prefer production briefs in early sampling because they reduce over-engineering and accelerate first-round prototyping.
Why do factories need structured production information?
Factories operate through segmented teams: pattern makers, sample sewers, fabric sourcing staff, and QC inspectors. Each team handles a different part of the garment. Without structured input, each department may interpret the same dress image differently.
For example:
- Pattern maker focuses on silhouette balance and proportion
- Sewing team focuses on construction efficiency and seam structure
- Fabric team selects material based on availability, not visual intent
When information is not structured, production decisions become subjective. This leads to variation in:
- Fit consistency (up to 2–4 cm deviation in waist or bust)
- Fabric substitution errors (wrong drape or elasticity)
- Construction differences (lining omitted or simplified)
Structured production briefs remove ambiguity by defining measurable expectations before sampling begins. This reduces internal back-and-forth communication and improves first-sample accuracy.
What happens when only images are provided?
When production starts from images alone, factories must “reverse engineer” the garment. This process introduces multiple assumptions:
- Fabric type is guessed based on visual texture
- Stitching methods are inferred from surface appearance
- Fit and ease allowance are estimated subjectively
In real production cases, this often results in:
- Wrong fabric weight selection (e.g., 90 GSM vs 160 GSM chiffon)
- Incorrect silhouette compression (too tight or too loose fit)
- Missing internal structure (lining, boning, reinforcement)
- Multiple sample revisions (average 2–5 rounds)
Each revision cycle typically adds:
- 5–10 days delay per round
- 8–20% additional sampling cost depending on complexity
Over time, this also impacts production scheduling because fabric ordering is usually locked after sample approval. A single unclear image can therefore cascade into delayed bulk production.
What key data must a production brief include?
A complete production brief for dress manufacturing should include both visual and measurable data. The most critical sections are:
1. Design Identification
- Garment type (mini dress, midi dress, maxi dress)
- Silhouette definition (bodycon, A-line, slip, fit & flare)
- Key visual references (front / back / detail images)
2. Fabric Specification
- Fabric type (satin, chiffon, crepe, jersey, etc.)
- Composition (polyester, viscose, blend ratios)
- Weight range (GSM target)
- Stretch level (none / slight / high stretch)
- Surface effect (matte, glossy, textured)
3. Construction Details
- Lining requirement (full / partial / none)
- Stitch type (overlock, flatlock, invisible seam)
- Structural support (boning, interfacing, elastic zones)
- Closure method (invisible zipper, button, hook)
4. Measurement Sheet (Core Points)
- Bust / waist / hip
- Shoulder width
- Dress length (HPS-based)
- Sleeve length (if applicable)
5. Finishing Requirements
- Hem type (rolled hem, blind hem, raw edge finish)
- Edge treatment
- Label and packaging requirements
A production brief that includes these elements typically improves sampling accuracy by 30–50%, especially for image-based development projects where no technical sketch exists at the beginning.
Why Do Inspiration Photos Fail in Manufacturing?
Inspiration photos are strong at showing style direction, mood, and silhouette, but they are weak at communicating how a garment must be built. In manufacturing environments, every dress must be converted into measurable production logic—fabric behavior, construction method, seam structure, and tolerance range. A single image rarely contains these details.
Most sampling problems come from a simple gap: the image shows “what it looks like,” but production requires “how it is made.” When this gap is not closed with structured information, factories are forced to interpret. Interpretation introduces variation, and variation leads to sampling failure.
In real production cases, inspiration-only development often results in:
- 2–5 sampling rounds instead of 1–2
- 15–35% increase in sample cost
- 7–20 days delay per revision cycle
- Fabric mismatch in more than 40% of early samples
Below is a breakdown of where failures actually happen in dress manufacturing.
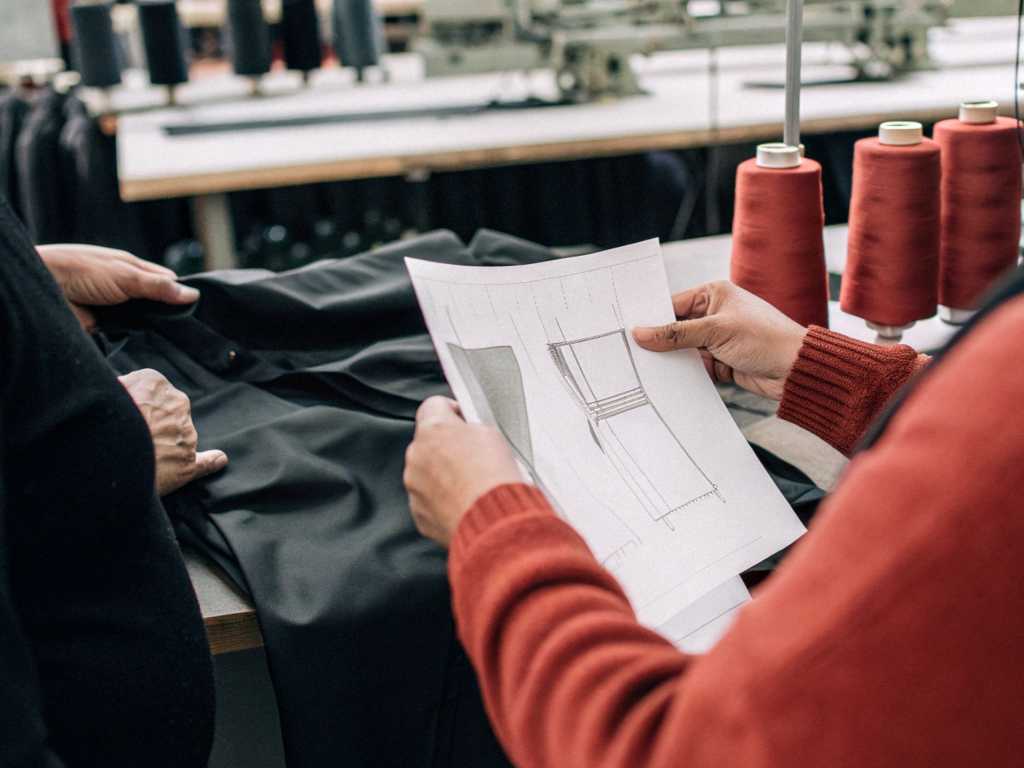
What details are missing from a reference image?
A reference image only shows surface-level appearance. It does not provide internal garment logic or measurable construction data.
Key missing elements include:
- Fabric GSM (weight is never visible)
- Fiber composition (polyester, viscose, silk blend, etc.)
- Stretch ratio (0%, 5%, 20%+ cannot be judged visually)
- Seam type (overlock, flatlock, French seam)
- Internal structure (lining, boning, interfacing)
- Exact measurement distribution (ease allowance)
For example, two satin dresses may look identical in photos but differ significantly in production:
- One uses 120 GSM lightweight satin with soft drape
- Another uses 180 GSM structured satin with firm silhouette
Same look, completely different production outcome.
How do factories interpret visuals differently?
Factories do not share a single interpretation system. Each department reads an image from a different angle:
- Pattern maker: focuses on proportion and shape balance
- Sample sewer: focuses on stitching feasibility
- Fabric sourcing team: selects closest available material
- QC team: checks against internal quality tolerance
Without structured instruction, each group fills in missing information independently. This creates variation across samples.
Example difference in interpretation:
| Element | Designer Expectation | Factory Interpretation |
|---|---|---|
| Fabric | Soft drape satin | Standard polyester satin |
| Fit | Slim but relaxed | Tight bodycon fit |
| Length | Mid-thigh mini | Above-knee short mini |
| Lining | Full lining | Partial lining |
Even when all teams work correctly, the final output may still deviate from the original visual intent.
Where do most sampling mistakes come from?
Most errors are not caused by craftsmanship, but by missing or unclear input at the start.
Top failure points in dress sampling:
- Fabric substitution
- Wrong GSM range selected
- Incorrect fiber blend used
- Drape behavior mismatch
- Silhouette distortion
- Missing ease allowance definition
- Incorrect waist placement
- Shoulder slope miscalculation
- Construction gaps
- Lining not specified
- Invisible zipper replaced with standard zipper
- Stitch density not defined
- Detail omission
- Slit height not confirmed
- Strap width not specified
- Neckline depth not measured
Each missing point increases the probability of revision cycles.
What risks increase cost and delay delivery?
Sampling and production delays are directly tied to how complete the initial information is. The following table shows typical impact:
| Issue Type | Extra Sample Rounds | Time Delay | Cost Increase |
|---|---|---|---|
| Fabric mismatch | +1 to +2 | 5–10 days | +10–18% |
| Fit adjustment | +1 to +3 | 7–15 days | +15–25% |
| Construction revision | +1 to +2 | 5–12 days | +8–20% |
| Detail clarification | +1 | 3–7 days | +5–10% |
Cumulatively, one unclear inspiration photo can extend a 20-day sampling process into 40–60 days if multiple corrections are required.
In seasonal collections, this delay often results in:
- Missed launch windows
- Reduced selling period
- Overstock risk due to late arrival
The real cost is not just sampling—it is timing loss in the market cycle.
How Do You Analyze a Dress Inspiration Photo Correctly?
A dress inspiration photo is not a production reference—it is a visual outcome. Correct analysis means breaking that image into measurable garment logic that a factory can execute. In professional dress development, analysis is the stage that determines whether sampling will be accurate or repeatedly corrected.
Instead of looking at the image as a whole, experienced development teams dissect it into structure layers: silhouette, fabric behavior, construction logic, and finishing details. Each layer must be translated into production language before sampling starts.
A properly analyzed image can reduce sampling revisions by 30–50%, mainly because assumptions are removed early in the process.

What design elements should be extracted?
The first step is separating visible design components into structured categories. Most errors happen when everything is treated as a single visual impression.
Key elements to extract:
- Garment type (mini, midi, maxi dress)
- Silhouette shape (bodycon, A-line, slip, fit & flare)
- Neckline type (square, V-neck, sweetheart, halter)
- Sleeve structure (strap, long sleeve, puff sleeve)
- Waist positioning (natural waist, high waist, dropped waist)
- Hem style (straight, asymmetrical, curved)
Each element should be written separately. For example, instead of “slim sexy dress,” it becomes:
- Bodycon silhouette
- Sweetheart neckline
- Spaghetti strap
- Mini length (mid-thigh)
This separation avoids interpretation errors during pattern making.
How to identify silhouette, structure, and fit?
Silhouette, structure, and fit are often confused, but they control completely different production outcomes.
- Silhouette = external shape (visual outline)
- Structure = internal support system (lining, boning, seams)
- Fit = how the garment sits on the body
Example breakdown:
| Category | What to define | Production impact |
|---|---|---|
| Silhouette | A-line / bodycon / slip | Pattern shape |
| Structure | lining, boning, elastic | garment stability |
| Fit | tight / regular / relaxed | sizing accuracy |
A common failure happens when silhouette is copied but structure is ignored. For example, a slip dress without correct lining weight may lose shape completely after production.
Which fabric behavior should be defined from images?
Fabric is one of the most misinterpreted elements in image-based development. Visual appearance alone does not define how fabric behaves in motion.
Key fabric behavior factors:
- Drape speed (fast flow vs controlled fall)
- Stiffness level (soft, medium, structured)
- Stretch capability (0%–30%+ range)
- Surface reflection (matte, satin shine, gloss)
- Thickness perception (lightweight vs heavy look)
Example comparison:
| Visual Look | Possible Fabric Options | Risk |
|---|---|---|
| Soft flowing dress | chiffon / georgette / light satin | wrong drape if misselected |
| Structured mini dress | heavy satin / ponte knit | silhouette distortion |
| Bodycon fit dress | high-stretch jersey | sizing inconsistency |
Factories choose materials based on availability unless behavior is clearly defined. That is where mismatch usually starts.
How to break down construction details visually?
Construction details are not always obvious in inspiration photos, but they determine how the garment is assembled.
Breakdown process includes three layers:
1. Visible construction
- Zipper placement
- Seam lines
- Pleats or gathers
- Slit position
2. Inferred construction
- Lining presence
- Reinforcement zones
- Elastic usage
3. Hidden construction
- Stitch type
- Internal tape reinforcement
- Edge finishing method
A structured breakdown reduces misunderstanding between design intent and sewing execution.
Practical analysis checklist (used before production brief creation)
| Step | Focus area | Output |
|---|---|---|
| 1 | Silhouette extraction | basic shape definition |
| 2 | Detail mapping | neckline, sleeve, waist |
| 3 | Fabric behavior definition | drape + weight + stretch |
| 4 | Structure identification | lining + support system |
| 5 | Construction notes | stitching + assembly logic |
When all five steps are completed, the image is no longer just a reference—it becomes a production-ready foundation for sampling.

How to Turn an Image into a Production Brief?
Turning an inspiration image into a production brief is a structured conversion process that translates visual design into measurable garment instructions. In manufacturing practice, this step determines whether a sample can be produced correctly in the first attempt or whether multiple revisions will be required.
A production brief works as a “production translation layer.” It removes interpretation gaps by defining fabric, structure, measurements, and construction logic in a format that factory teams can directly execute.
In real development workflows, a well-prepared production brief typically:
- Reduces sampling rounds from 3–4 to 1–2
- Improves first-sample accuracy by 30–60%
- Cuts clarification communication time by up to 40%
What is the step-by-step conversion process?
The conversion from image to production brief follows a fixed workflow. Each step builds measurable clarity.
Step 1: Image breakdown
- Identify silhouette (A-line, bodycon, slip, etc.)
- Mark neckline, sleeve, waist, hem details
- Separate visible vs implied elements
Step 2: Fabric definition
- Fabric type (satin, chiffon, jersey, crepe)
- Weight range (e.g., 120–180 GSM)
- Stretch level (none / slight / high)
- Surface effect (matte / glossy / textured)
Step 3: Construction mapping
- Lining requirement (full / partial / none)
- Seam type (overlock, flatlock, French seam)
- Closure type (invisible zipper, buttons)
Step 4: Measurement drafting
- Bust / waist / hip
- Dress length (HPS-based)
- Sleeve length and shoulder width
Step 5: Technical alignment notes
- Fit expectation (tight / regular / relaxed)
- Slit height, strap width, neckline depth
- Special finishing instructions
Each step eliminates assumptions before sampling begins.
How to describe fabric, trims, and texture clearly?
Fabric and trim description must move from visual language to measurable specification. Words like “soft,” “flowy,” or “luxury feel” are not usable in production environments.
Clear specification format:
- Fabric category: satin / chiffon / knit / lace
- Composition: polyester / viscose / blend ratio
- GSM range: 90–120 / 120–160 / 160–200
- Stretch level: 0% / 5–10% / 20%+
- Texture: smooth / ribbed / matte / glossy
Example transformation:
| Visual Input | Weak Description | Production Brief Version |
|---|---|---|
| Satin dress | elegant satin | 150 GSM polyester satin, low stretch, glossy surface |
| Mini dress | soft fabric | 140 GSM crepe, slight structure, matte finish |
Trims should also be defined precisely:
- Zipper type: YKK invisible / standard coil
- Strap width: 0.8cm / 1cm / adjustable
- Elastic strength: light / medium / strong recovery
Clear definitions remove factory interpretation risk.
How to define measurements and fit expectations?
Measurement definition is one of the most critical parts of the production brief. Without it, factories default to standard blocks, which often do not match design intent.
Core measurement points:
- Bust circumference
- Waist circumference
- Hip circumference
- Shoulder width
- Dress length (HPS to hem)
- Sleeve length (if applicable)
Fit classification should be explicitly stated:
| Fit Type | Ease Allowance Range | Typical Usage |
|---|---|---|
| Bodycon | 0–2 cm | tight silhouette dresses |
| Slim fit | 2–4 cm | fitted but comfortable |
| Regular fit | 4–8 cm | standard dresses |
| Relaxed fit | 8–12 cm | loose flowy styles |
Additional details often overlooked:
- Armhole depth
- Neckline drop level
- Waist position shift (natural vs high waist)
- Slit height (e.g., 20cm / 30cm above knee)
These small points heavily influence final silhouette accuracy.
How to structure technical notes for factories?
Technical notes act as final instruction clarity before sampling begins. A structured format prevents missing details.
Recommended structure:
1. Design intent
- Reference image alignment
- Key silhouette goal
- Style positioning (casual / party / evening)
2. Fabric instruction
- Main fabric specification
- Lining specification
- Alternative fabric option (if needed)
3. Construction logic
- Stitch type per section
- Internal structure requirement
- Seam direction or reinforcement points
4. Measurement control
- Key size points (bust/waist/length)
- Tolerance range (±1cm / ±1.5cm)
- Fit adjustment priority
5. Finishing requirements
- Hem type (rolled / blind / raw edge)
- Label position
- Packaging requirement
Production brief structure example (quick reference)
| Section | Content Type | Output Purpose |
|---|---|---|
| Design | visual + silhouette | direction alignment |
| Fabric | GSM + composition | material control |
| Construction | seam + structure | assembly logic |
| Measurement | body specs | fit accuracy |
| Finishing | details | final quality |
What Makes a Production Brief Factory-Ready?
A production brief becomes “factory-ready” only when it removes all interpretation gaps and converts design intent into measurable, executable garment instructions. In real manufacturing environments, factories do not evaluate creativity—they evaluate clarity, completeness, and consistency of technical input.
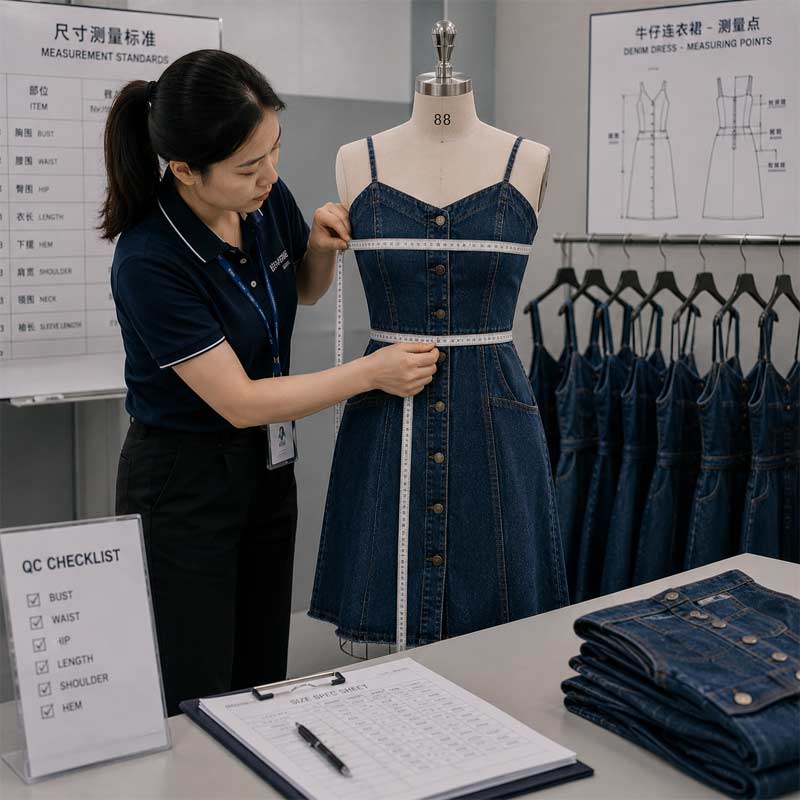
A factory-ready brief typically achieves:
- First sample approval rate increased to 60–80%
- Sampling revisions reduced by 1–2 rounds
- Fabric-related errors reduced by 30–50%
- Production lead time shortened by 10–25%
When these conditions are met, the production line can operate without constant clarification loops between pattern makers, sample teams, and sourcing departments.
What quality standards should be included?
Quality standards define the baseline expectation for how the garment must be built and finished. Without them, each factory applies its own internal tolerance system, which leads to inconsistent results.
Core quality standards include:
- Stitch density: 3–5 stitches per cm (woven dresses)
- Seam strength: no open seam under 15–20N tension test
- Shrinkage tolerance: ≤3% after wash test
- Color fastness: level 3–4 minimum for export production
- Fabric defect allowance: AQL 2.5 standard (general fashion production)
Example table:
| Category | Standard Range | Purpose |
|---|---|---|
| Stitch density | 3–5 / cm | durability control |
| Shrinkage | ≤3% | size stability |
| Color fastness | 3–4 grade | washing resistance |
| Seam strength | 15–20N | wear durability |
These metrics ensure consistent output across different production batches.
How to avoid miscommunication during sampling?
Most sampling issues come from missing alignment between visual expectation and technical execution. Miscommunication usually appears in early sample stages when assumptions replace structured instructions.
Effective prevention methods:
- Annotated reference images with labels for neckline, waist, hem
- Fabric swatch confirmation before cutting
- Written confirmation of silhouette and fit type
- Pre-sample checklist signed before production starts
Common failure example:
A “soft drape midi dress” without fabric GSM definition may result in:
- Factory using 100 GSM chiffon (too light)
- Expected result: 160 GSM structured chiffon (not achieved)
- Outcome: silhouette collapse or excessive transparency
Clear visual + written alignment reduces this mismatch significantly.
What checkpoints reduce production risks?
Production risk is reduced by controlling decision points before each critical stage. In dress manufacturing, four checkpoints are commonly used:
- Fabric approval checkpoint
- Fabric must be confirmed before cutting
- Includes GSM, composition, and hand feel test
- First sample checkpoint
- Fit, silhouette, and key details validated
- No bulk production allowed before approval
- Pre-production sample (PPS) checkpoint
- Final confirmation before bulk cutting
- All trims and labels locked
- Bulk production pilot check
- First 20–50 pcs reviewed before full run
- Ensures scaling consistency
Risk reduction impact:
| Stage Control | Error Reduction |
|---|---|
| Fabric approval | -40% fabric mismatch |
| First sample lock | -35% fit issues |
| PPS validation | -50% production deviation |
| Pilot check | -30% bulk defects |
How do manufacturers validate production accuracy?
Manufacturers validate accuracy by comparing finished samples against structured production brief data points. Validation is not visual—it is measurement-driven.
Key validation steps include:
- Measurement comparison (tolerance ±1cm for critical points)
- Fabric GSM verification against specification
- Stitch count inspection per cm
- Fit test on standard body form (size S or M model)
- Visual comparison with annotated reference image
Example validation sheet:
| Item | Target Spec | Actual Sample | Status |
|---|---|---|---|
| Bust | 88cm | 88.5cm | OK |
| Waist | 68cm | 70cm | adjust |
| Length | 85cm | 85cm | OK |
| Fabric | 160 GSM | 155 GSM | minor variance |
If more than 2 critical points deviate beyond tolerance, sample revision is required before approval.
What Are the Best Practices for Brand–Factory Communication?
In dress manufacturing, communication between design teams and factories directly determines sampling speed, accuracy, and production stability. Most production delays do not come from technical limitations—they come from unclear instructions, unstructured feedback, or missing decision logs during development.
When communication is well structured, sample approval cycles typically improve by:
- 30–60% faster revision speed
- 40% fewer clarification messages
- 20–35% reduction in sampling cost waste
The goal is not more communication, but more precise communication at each stage.
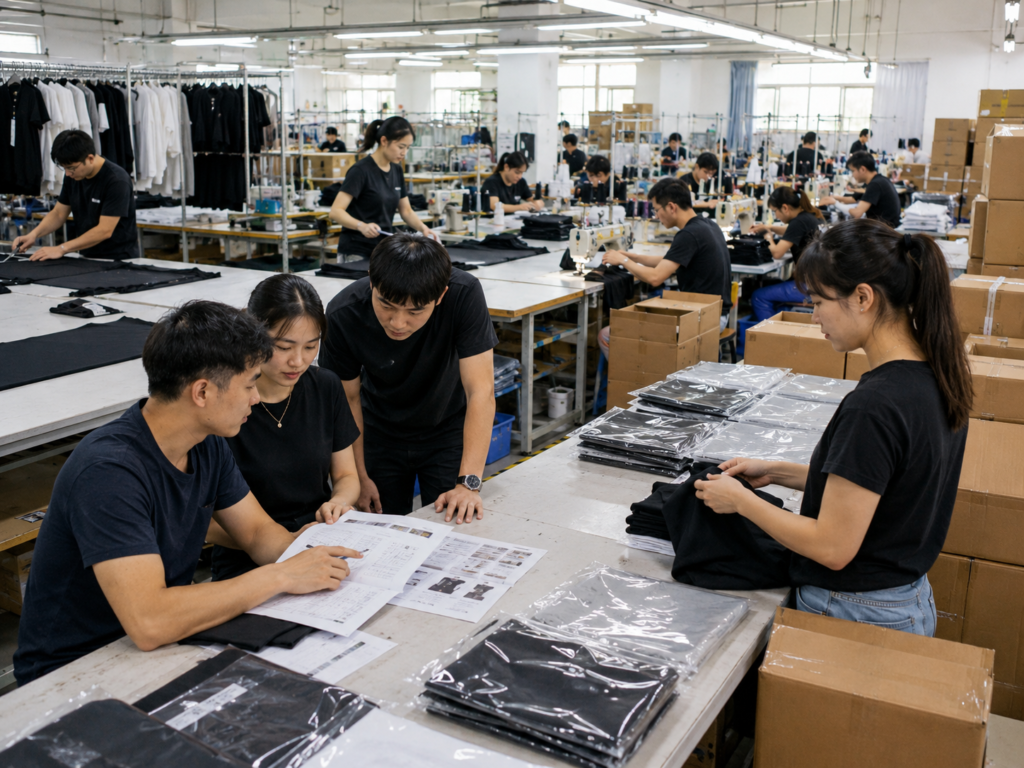
How should feedback be documented after samples?
Feedback must move from subjective language to structured correction data. Comments like “make it nicer” or “fit is not good” create ambiguity and lead to repeated sampling errors.
A production-level feedback system should include:
- Marked-up images (front / back / detail areas)
- Line-by-line correction notes
- Priority ranking (critical / major / minor)
- Measurement references for adjustments
Example structured feedback format:
| Area | Issue | Correction Needed |
|---|---|---|
| Waist | too loose | reduce 2cm |
| Hem | uneven | adjust level +1cm |
| Strap | too wide | reduce from 1.5cm to 1cm |
This format removes interpretation and speeds up revision execution.
What revision system improves accuracy?
Uncontrolled revision cycles are one of the main reasons for delayed production. A structured revision system ensures every change is tracked and validated.
Recommended system:
- Version control: V1 / V2 / V3 clearly labeled
- Change log: all modifications recorded per version
- Approval lock: no new changes after approval stage
- Revision limit: usually 2–3 rounds maximum per style
Revision impact comparison:
| System Type | Avg Sample Rounds | Production Delay |
|---|---|---|
| Unstructured feedback | 3–5 rounds | 15–30 days |
| Structured revision system | 1–2 rounds | 5–10 days |
Controlled revision systems significantly reduce production instability.
Which tools help standardize development workflow?
Standardization tools reduce communication loss and keep all production data traceable. In dress manufacturing, three tool categories are commonly used:
1. Documentation tools
- Google Sheets (tracking samples, fabric, timelines)
- Notion (design breakdown + production notes)
- Excel production boards (internal factory use)
2. Visual annotation tools
- PDF markup tools for sample feedback
- Image tagging for design corrections
- Fabric mapping boards with swatches
3. Workflow tracking tools
- Simple PLM systems for larger collections
- Kanban boards for sampling progress
- Shared folders for version control
Example workflow structure:
| Stage | Tool Used | Output |
|---|---|---|
| Design breakdown | Notion | structured brief |
| Sampling | Excel tracker | status update |
| Feedback | PDF annotation | correction list |
| Approval | shared folder | locked version |
How do experienced manufacturers handle image-based development?
Experienced manufacturers do not treat inspiration images as final references. Instead, they convert each image into an internal production logic system before sampling begins.
Their workflow usually includes:
- Internal pattern library matching (similar silhouettes reused)
- Fabric substitution mapping (based on GSM + drape database)
- Pre-defined construction templates (zipper, lining, seam types)
- Standard measurement blocks adjusted per design
Typical efficiency differences:
| Experience Level | First Sample Accuracy | Revision Cycles |
|---|---|---|
| Basic factory | 40–55% | 3–5 rounds |
| Structured manufacturer | 70–85% | 1–2 rounds |
Advanced manufacturers also build “image interpretation rules” internally, meaning similar dress styles are grouped into reusable production systems. This reduces guesswork and increases repeat accuracy across collections.
Start Your Custom Dress Development
If your brand is currently working with inspiration images but struggling with inconsistent sampling results, unclear factory communication, or repeated revisions, the next step is not more design—it is structured production clarity.
Jinfeng Apparel supports global fashion brands in converting inspiration photos into production-ready dresses with clear specifications, stable sampling processes, and scalable OEM/ODM manufacturing support.
From initial image breakdown to bulk production, each stage is aligned with factory execution logic to reduce errors and improve launch speed.
If you are developing your next dress collection, you can share your inspiration images and receive a production-ready development pathway tailored to your design direction.
Contact Jinfeng Apparel to start your custom dress development today.