Skip to content

How to Develop a Strapless Dress Pattern

Your trusted Women’s Apparel Manufacturer from China

A strapless dress often looks deceptively simple. There are no sleeves, shoulder seams, collars, or straps competing for attention, so the finished silhouette can appear almost effortless. From a patternmaking perspective, however, removing the straps removes one of the easiest ways to stabilize a dress on the body. The neckline must stay in position while the wearer breathes, walks, reaches, sits, and moves, and the bodice still needs enough volume for the bust without becoming loose around the upper chest.
To develop a strapless dress pattern, begin with a reliable close-fitting bodice block, define the upper-bust, bust, underbust, waist, and vertical measurements, then establish the neckline and redistribute shaping through darts, princess seams, or cup panels. Control neckline length, select suitable support and fabric, fit a physical sample, correct movement problems, grade carefully, and approve the complete construction before bulk production.
The difference between an average strapless dress and a well-developed one often becomes obvious only after several minutes of wear. A sample may look perfect in the first fitting photograph, yet the top edge can gradually drop after the model raises her arms or walks across the room. That is why professional development is less about drawing an attractive neckline and more about creating a stable relationship between pattern shape, body volume, fabric behavior, internal support, and garment weight.
What Makes a Strapless Dress Pattern Different?
A strapless dress pattern must stabilize the garment without shoulder straps, so the upper bust, full bust, underbust, waist, neckline contour, and internal structure have to work together. A good pattern is not simply tighter than a conventional bodice. It distributes tension where support is needed while preserving bust volume, comfort, mobility, and the intended neckline position during normal wear.
How Does a Strapless Bodice Stay Up?
A strapless bodice should not remain in place because the wearer is being squeezed from every direction. Excessive reduction in circumference can create strong pressure across the chest and ribs while still allowing the garment to slide downward. This happens because overall tightness and effective support are not the same thing. A stable strapless bodice normally combines controlled upper-edge contact, accurate bust shaping, underbust definition, waist anchoring, and, where required, internal structural components.
The upper edge needs to follow the changing body contour between the center front, bust, side front, underarm, and back. Below the neckline, the pattern must create enough three-dimensional space for the bust instead of flattening it. The waist and underbust then provide stronger areas for anchoring, while components such as boning, cups, underwire, an internal waistband, or anti-slip tape can support the pattern rather than compensate for an inaccurate one.
Garment weight also changes the equation. A lightweight stretch mini dress places relatively little downward load on the bodice, while a fully lined satin maxi with embellishment and a long skirt can place substantially more stress on the upper structure. The heavier the finished garment becomes, the less sensible it is to expect the neckline alone to hold everything in position.
During fitting, the most useful question is therefore not whether the dress feels tight when the model stands still. The real test is whether the neckline remains close to its intended position after arm movement, walking, sitting, standing, and torso rotation. A successful strapless dress should feel secure without requiring the wearer to repeatedly pull it upward.
Which Areas Control Strapless Fit?
Strapless fit depends on a chain of related areas rather than one bust measurement. The upper bust controls how the garment sits above the fullest part of the chest, while the full bust determines the volume needed around the bust apex. The underbust shapes the transition below the bust, and the waist provides one of the strongest available anchoring zones. These horizontal measurements must also align correctly with the garment’s vertical measurements.
Center-front, side, and center-back lengths determine where each circumference sits on the torso. If the front bodice is too long, fabric can buckle between the bust and waist. If the side length is excessive, looseness can appear near the underarm. If the torso section is too short, the dress can ride upward and create unnecessary pressure at the neckline.
Side seams are particularly useful during diagnosis because they show how the front and back are sharing circumference. A seam that consistently pulls toward the front may indicate insufficient front volume, while one that travels toward the back may suggest the opposite. Correcting the neckline without reviewing that balance can hide a symptom while leaving the underlying fit problem in place.
The neckline should also be divided mentally into control zones. Center front, side front, underarm, and center back do not always need identical suppression. A garment can fit beautifully at the center front and still gape beside the bust because the upper edge has not been shaped accurately for the three-dimensional body surface.
What Fit Problems Are Common?
Neckline gaping is the most recognizable strapless problem, but it is far from the only one. Slipping, bust flattening, back gaping, excess fabric below the bust, side-seam distortion, uncomfortable underarm pressure, collapsed princess seams, and a waistline that moves during wear can all indicate that the pattern is distributing volume or tension incorrectly.
Wrinkle direction often provides useful evidence. Horizontal tension lines across the bust may indicate insufficient circumference or projection. Diagonal lines pointing toward the bust apex can suggest missing volume or an incorrectly positioned apex. Vertical looseness near the upper chest may indicate excess neckline length, while fabric collecting below the bust can point toward underbust shaping or vertical-balance problems.
Static fitting can hide many of these issues. A garment placed on a mannequin or photographed immediately after dressing may appear clean because the body has not moved. Real wear introduces breathing, arm movement, torso rotation, sitting, and changes in body length. A strapless style that gradually works downward after several movements has a support problem even if the initial photograph looked excellent.
The most reliable correction method is to solve the source rather than the visible symptom. If the neckline gaps because the pattern lacks enough bust projection, simply tightening the neckline can make the upper edge smaller while increasing pressure elsewhere. Professional fitting separates circumference, volume, contour, and vertical balance before deciding where the pattern should change.
Which Measurements Do You Need for a Strapless Pattern?
A dependable strapless pattern needs more information than bust, waist, and hip measurements. Upper bust, full bust, underbust, bust-point spacing, bust height, waist, center-front length, side length, and center-back length help define both body volume and vertical balance. These measurements allow the neckline, bust shaping, waist anchor, and internal support to sit in the positions where they can work effectively.
Which Bust Measurements Matter Most?
Full bust is necessary, but it cannot describe the upper torso by itself. Two people can have the same full-bust circumference and require noticeably different patterns because their upper-bust circumference, underbust measurement, bust projection, bust-point spacing, and torso length differ. Strapless pattern development becomes more accurate when these relationships are recorded instead of treating full bust as the only important chest measurement.
Upper bust is particularly valuable because it helps explain how much the pattern must reduce above the fullest part of the chest. A larger difference between upper bust and full bust often means more projection needs to be created in the pattern while keeping the upper edge controlled. Underbust measurement becomes increasingly important in corset-inspired, cup-based, or highly fitted constructions because it helps define the lower boundary of the bust volume.
Bust-point spacing determines where darts, cup panels, and princess seams should direct their shaping, while bust height determines the vertical location of the apex. Even when total circumference is correct, an apex positioned too high, too low, too narrow, or too wide can produce wrinkles and make the bust appear incorrectly shaped.
Measurements should be taken consistently, preferably under conditions similar to the intended fitting. The tape should remain level and should touch the body without compressing it. When a design will use built-in cups or a particular type of foundation, the development team should maintain comparable support conditions between measurement, fitting, and later sample reviews.
Measurement | Main Purpose | Practical Reference |
Upper bust | Controls upper-edge fit | Around torso above fullest bust |
Full bust | Establishes main bust circumference | Fullest bust level |
Underbust | Shapes lower bust and foundation | Directly below bust |
Bust-point spacing | Locates cups, darts, and seams | Apex to apex |
Bust height | Positions bust volume vertically | Reference point to apex |
Waist | Creates lower anchoring | Natural or design waist |
Center-front length | Controls front balance | Neckline position to waist |
Side length | Controls underarm height | Side neckline to waist |
Center-back length | Controls back balance | Back neckline to waist |
How Do You Measure the Bodice Length?
Vertical measurements should be taken only after the intended top-edge positions are understood. A strapless neckline is not simply an ordinary bodice with the shoulders cut off. The center-front height, side coverage, underarm height, and center-back position are deliberate design and fit decisions, and each one affects how the garment sits on the torso.
A straight neckline may appear horizontal in a fashion sketch, but the finished edge travels across a curved body. The side-front area needs enough height to provide secure bust coverage without cutting into the underarm. Sweetheart necklines introduce additional rises and dips around the bust, so the decorative neckline shape and the functional support requirements must be considered together.
Center-front length controls the relationship between the neckline, bust, and waist. Side length affects underarm comfort and side stability, while center-back length influences how the back edge follows the torso. These dimensions should be reviewed as a system because changing one vertical length can alter the apparent balance of the other areas.
Seated fitting is especially useful for structured strapless garments. The torso changes shape when a person sits, and a bodice that is slightly too long may buckle or push upward at the waist. A heavily boned construction can make this more noticeable because the internal components resist folding. Recording both the body reference and finished-garment measurement makes later corrections easier to understand and repeat.
Are Standard Size Charts Enough?
A standard size chart provides a useful starting framework, but it rarely contains every measurement needed to develop a refined strapless fit. Most commercial charts focus on bust, waist, and hip circumferences, while strapless styles are unusually sensitive to upper-bust shape, bust projection, apex position, torso length, neckline length, and the relationship between those measurements.
The limitation becomes more obvious during grading. If every horizontal point is enlarged by the same proportion, the neckline can become disproportionately open as sizes increase. The reverse can happen in smaller sizes, where an automatically reduced top edge becomes restrictive even though the waist and full bust remain within the intended specification.
Brands that produce strapless or corset-inspired dresses regularly benefit from maintaining a proven house block. Once preferred bust position, upper-edge fit, waist placement, side coverage, and torso balance have been established on an approved fit model, later designs can start from known geometry rather than repeating the same development work from a generic block.
Size labels should therefore remain separate from technical fit logic. A US, UK, EU, or AU size designation is useful commercially, but the patternmaker needs the body and garment measurements behind that label. A reliable grading system preserves the visual proportion, coverage, support, and movement expected from the base size instead of merely applying mathematical increments.
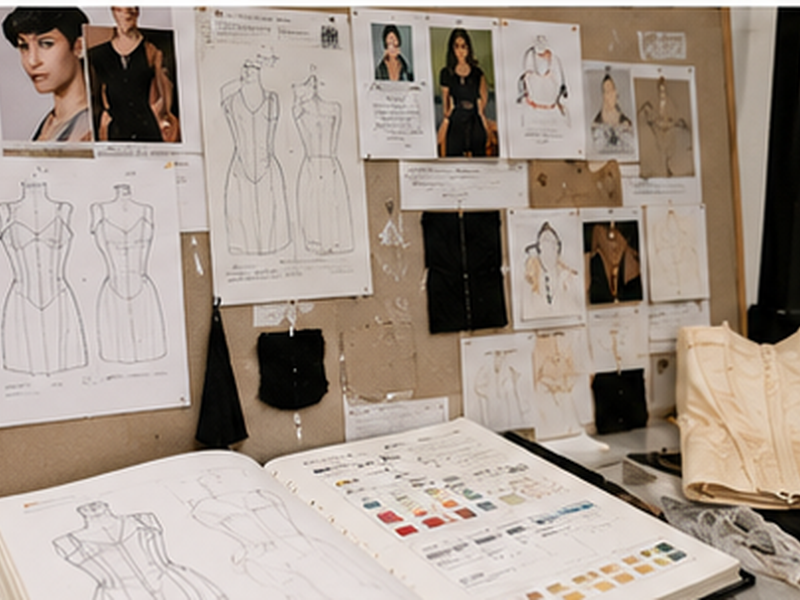
How Do You Draft a Strapless Bodice From a Basic Block?
Start with a close-fitting bodice or dress block that already has reliable bust, waist, and torso balance. Mark the intended neckline, remove the shoulder and armhole portions, contour the upper edge, adjust ease, and redistribute the existing shaping. Darts may remain visible, rotate into other positions, or become princess seams or cup panels before the bodice connects to the final skirt.
Which Bodice Block Should You Start With?
The strongest starting point is usually the proven block that behaves most like the intended finished garment. A fitted woven satin dress should generally begin from a fitted woven bodice or dress block, while a close-fitting stretch style is better developed from a tested stretch block. Using an oversized blouse block creates unnecessary correction because its ease, armhole, and balance were designed for a fundamentally different silhouette.
An approved brand block can be even more useful than a general textbook sloper. If an existing dress has performed well commercially and has a fit the brand wants to maintain, its bust position, waist height, torso length, and overall proportions provide valuable information. New strapless designs can then be developed from a known fit philosophy rather than from an abstract standard.
Before removing the shoulders, the original block should be checked carefully. Bust darts, waist suppression, side seams, center front, center back, grainlines, and vertical balance all need to be dependable. A small problem that remains hidden in a sleeved garment can become more obvious when the entire upper chest and shoulder structure disappears.
Fabric category should also influence block choice. A pattern built for a stable woven cannot simply be transferred to a highly elastic knit without reconsidering ease, recovery, and support. Conversely, a stretch block may not provide enough structure for a satin corset dress. The most efficient starting block is the one that introduces the fewest unknown variables.
How Do You Set the Neckline and Ease?
The neckline should be established through several control points rather than drawn as one attractive curve. Mark the center-front height, side-front position, underarm height, and center-back height first. Connecting those points only after they have been considered individually produces a better relationship between visual design and actual body coverage.
Ease is then adjusted according to function. Strapless garments often require closer control around the upper bust and waist than conventional bodices, but the bust still needs enough three-dimensional volume. Reducing every circumference by the same percentage can flatten the bust while leaving the actual support areas unresolved.
Fabric stretch should never be translated directly into pattern reduction without testing. If a fabric stretches 20 percent in width, that does not mean the pattern should automatically be reduced by 20 percent. The material may only reach that extension under excessive force, or it may fail to recover fully after several minutes of wear.
A basic development test can use a marked 100 mm section of fabric. Stretch it comfortably in the intended wearing direction, record the extended measurement, then release it and observe the recovered length. If the section reaches 120 mm but later settles at 104 mm, the material demonstrated roughly 20 percent extension in the test but retained approximately 4 percent additional length afterward. That recovery behavior matters greatly in a strapless neckline.
How Do You Convert Darts Into Princess Seams?
Bust darts are simply one method of converting flat fabric into three-dimensional shape. Their volume can remain at the side seam, rotate toward the waist, split between several locations, or be transferred into princess seams and cup panels. The visible design line changes, but the bust volume that the pattern must create does not disappear.
Princess seams are useful for structured strapless dresses because they distribute shaping vertically and can provide convenient positions for internal boning. The most curved region normally sits near the bust, where enough projection must be created without producing a seam that is unnecessarily difficult to sew smoothly.
After dart manipulation, corresponding seam lines should be walked and checked between notches. A front panel and side-front panel can have very different shapes while still requiring compatible sewing lengths. Sharp transitions near the bust or neckline should be trued unless the style intentionally uses an angular seam.
Once the bodice is stable, it can connect to a skirt through a waist seam or continue downward as one integrated pattern. A separate waist seam makes it easier to combine one approved bodice with fitted mini, A-line midi, flared, or occasionwear skirts, while continuous princess seams work well for elongated bodycon and structured silhouettes.
Before cutting a sample, the development team should confirm construction information as well as shape. Grainlines, notches, zipper position, lining, seam allowance, support channels, matching seam lengths, and waist alignment all need to be clear. A production-minded pattern communicates how the garment will be assembled, not just what its outer silhouette should look like.
How Do You Shape the Bust and Prevent Neckline Gaping?
Bust shaping should create sufficient volume around the apex while removing excess upper-edge length only where it actually occurs. Neckline gaping is usually a localized contour problem rather than proof that the entire bodice is too large. Dart manipulation, princess seams, cup shaping, underbust control, and neckline contouring must preserve bust projection while keeping the top edge close to the body.
How Do You Position the Bust Apex Correctly?
The bust apex is one of the most important references in the front bodice because darts, cup seams, and princess curves direct their shaping toward it. The visible seam does not always need to pass directly through the apex, but the pattern must create volume in the correct location.
When the pattern apex sits too high relative to the wearer, fabric may become loose below the bust while tension develops above it. An apex positioned too low can create the reverse condition. Incorrect horizontal spacing can also make the bust appear pulled inward or outward even when the total full-bust circumference measures correctly.
Corrections should preserve volume instead of simply moving a seam line visually. When a princess seam is reshaped, changes on the center-front side may need complementary adjustments on the side-front panel so the total volume and sewing length remain controlled. Dart rotations need the same discipline because moving the dart should not accidentally remove or add bust capacity.
Fabric and internal support also influence apparent bust shape. A structured woven over a molded cup behaves differently from soft stretch fabric with no internal foundation. Front, three-quarter, and side fitting photographs are therefore useful, with the side view being particularly effective for showing whether the fabric reaches the expected projection or pulls flat across the bust.
How Do You Remove Neckline Gaping?
Neckline gaping occurs when the upper edge contains more length than the body surface beneath it requires. A common pattern correction removes small wedges of excess from the gaping region and transfers that suppression into a dart, princess seam, or panel seam. This creates localized contouring without unnecessarily reducing the full circumference.
Location matters. Gaping at the center front is not automatically corrected in the same way as looseness beside the bust. Back gaping may relate to excessive upper-back width or contour, while an opening at the underarm may result from the side neckline being too high, too long, or incorrectly balanced against the front.
Reducing an entire side seam can create a larger change than expected. Removing 10 mm from several seam positions can quickly take substantial circumference out of the finished garment, potentially flattening the bust and making the waist uncomfortable even though the original defect was limited to a short portion of the neckline.
After contouring, the neckline must be redrawn smoothly and every matching component should be checked. Lining, facing, inner foundation, and outer shell need compatible finished lengths. A lining that is longer than the corrected outer edge can push outward and recreate the appearance of gaping even when the shell pattern itself is accurate.
Sewing and pressing should also be considered before altering the paper pattern again. Delicate satin and bias-influenced neckline areas can stretch during handling. If the pattern measurement is correct but the sewn edge has become longer, stabilization and workmanship may be the real solution.
What Causes Slipping or Bust Compression?
Slipping and compression are not necessarily opposite problems. A bodice can be very tight across the full bust yet still migrate downward because the waist is too loose, the torso is too long, the fabric relaxes, or the internal structure is not carrying the garment effectively.
Movement testing helps separate these situations. Mark or photograph the neckline position before testing, then ask the model to walk, raise both arms, rotate the torso, sit, and stand again. If the whole bodice gradually travels downward, the development team should review the waist anchor, bodice length, fabric recovery, support structure, and skirt weight rather than only tightening the neckline.
Fit Symptom | Areas to Review First | Correction to Avoid as a First Reaction |
Neckline gaping | Upper-edge contour, bust projection | Reducing entire bodice |
Bust flattening | Apex position, bust volume, cup depth | Tightening side seams |
Dress sliding down | Waist anchor, bodice length, support | Only tightening neckline |
Back edge opening | Back contour, upper-back width | Altering front immediately |
Side seam pulling forward | Front volume and balance | Moving the zipper |
Wrinkles below bust | Underbust shaping, vertical balance | Enlarging whole chest |
Waist riding upward | Torso length, bust projection | Changing skirt length |
Bust compression should be treated as a volume problem when the upper bust and waist fit but the fullest area shows strong horizontal tension. Princess seams can add localized projection, darted bodices can redistribute shaping, and cup constructions may require changes in cup depth or placement.
The purpose of fitting is not to make the pattern smaller until the garment stops moving. A commercially successful strapless dress needs both security and comfort, because the wearer should not have to choose between pulling the dress upward every few minutes and tolerating excessive chest pressure.
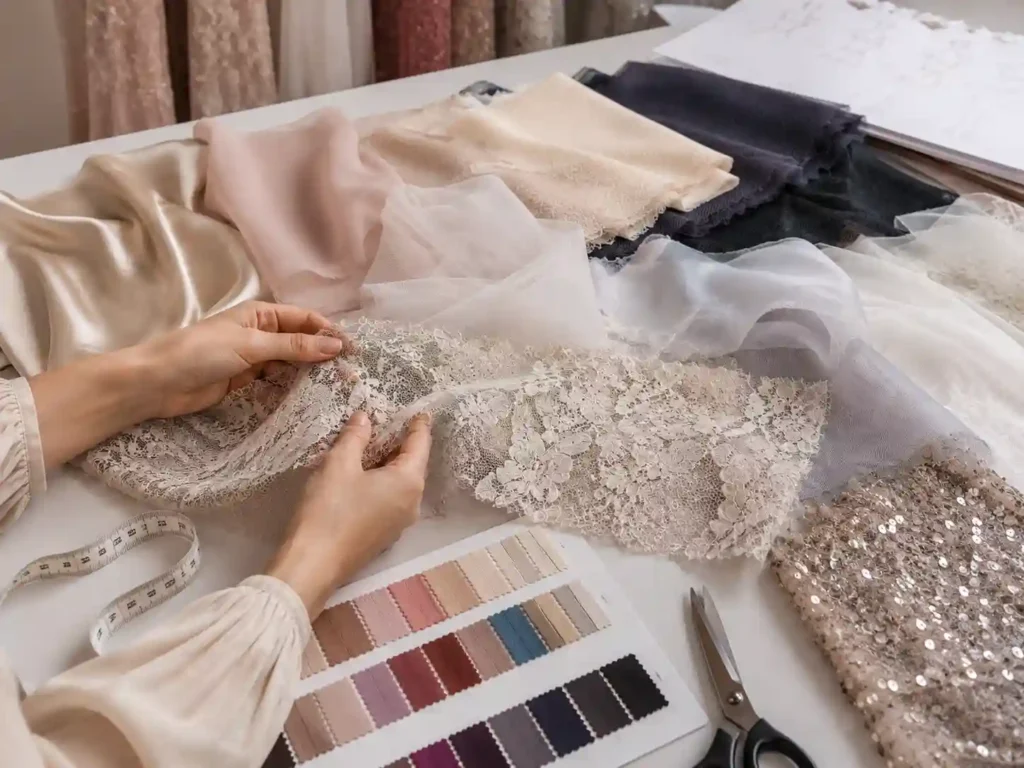
Which Fabrics and Support Structures Work for Strapless Dresses?
Strapless dresses can work in satin, stretch satin, crepe, ponte, mesh, lace, velvet, and many other materials, but fabric behavior must match the pattern and support system. Stretch, recovery, weight, drape, and seam stability affect ease decisions. Boning, cups, underwire, lining, anti-slip tape, and waist anchoring should be selected according to silhouette, garment weight, bust support, and comfort.
Which Fabrics Are Best for Strapless Dresses?
There is no universal best fabric because the word “strapless” describes a neckline condition rather than one construction method. A lightweight stretch mini, a satin cocktail dress, and a corseted evening gown can all be strapless while requiring very different pattern, lining, and support strategies.
Stable woven fabrics such as medium-weight satin, crepe, and structured dress fabrics provide relatively predictable dimensions and can work well with boning and stable lining. Their limited stretch means that pattern accuracy becomes especially important because there is less flexibility available to hide small fit errors.
Stretch satin can improve movement and comfort but introduces recovery as an important variable. Ponte and other firm knits can produce clean fitted silhouettes with controlled negative ease, provided that the fabric returns reliably after extension. Softer jersey may stretch easily but offer less structural support, so it is not automatically suitable for every close-fitting strapless concept.
Mesh and lace often require another layer to provide opacity or stability. Stretch mesh can create the visual outer layer while an inner foundation controls the actual fit. Lace can be mounted over lining or underlining according to transparency, design placement, and seam construction.
Velvet can produce a strong occasionwear appearance but introduces additional considerations around pile direction, pressing, and seam marks. Lightweight satin can look elegant while being sensitive to cutting distortion, zipper rippling, and handling. Material choice should therefore begin with the intended silhouette and construction instead of selecting fabric only because it looks attractive in a swatch.
How Does Fabric Stretch Change the Pattern?
Stretch should be tested in the direction the fabric will sit around the body. Many stretch wovens and knits extend substantially more across the width than along the length, while some four-way stretch materials move in both directions. The patternmaker needs to know not only how far the material can stretch but also how strongly it returns afterward.
A straightforward test begins with a 100 mm marked section. If it comfortably extends to 115 mm, the observed extension under that test condition is about 15 percent. If it reaches 125 mm, the observed extension is approximately 25 percent. These numbers describe extension during the test rather than an automatic amount of negative ease to remove from the garment.
Recovery is checked after release. A section that began at 100 mm and settles back at 101 mm is behaving differently from one that remains at 105 mm. In a strapless neckline, several millimeters of accumulated relaxation can noticeably change security after prolonged wear.
Fabric Behavior | Pattern Implication | Typical Support Consideration |
Stable woven | Little stretch compensation | Pattern and lining provide structure |
Low stretch, strong recovery | Small controlled reduction may work | Useful for fitted silhouettes |
Moderate stretch, strong recovery | Negative ease may be suitable | Neckline needs movement testing |
High stretch, weak recovery | Risk of progressive loosening | Avoid relying on stretch alone |
Sheer mesh | Limited structural support | Foundation or lining often needed |
Lace over lining | Outer layer mainly visual | Foundation usually controls fit |
Heavy fabric | Greater downward load | Stronger waist anchoring may help |
The test should also consider garment duration. Some fabrics recover well after one stretch but relax during repeated wear. A fit sample worn for several minutes and moved through normal positions reveals more than a single laboratory-style pull test.
For production, fabric relaxation and shrinkage may also affect final measurements. A pattern approved using fabric that has not been adequately relaxed can produce different results after cutting or storage, particularly with knits. Material behavior therefore belongs inside the pattern-development process rather than being treated as a separate purchasing decision.
Do Strapless Dresses Need Boning, Cups, or Underwire?
Not every strapless dress requires corset construction. A short dress made from a firm stretch fabric may obtain much of its stability from controlled negative ease and recovery, while a long structured satin gown may need boning, cups, a waist stay, underlining, and a stable lining. The support system should match the garment rather than follow a fixed checklist.
Boning provides vertical stability and can help prevent seams from collapsing or folding. It is commonly positioned along princess seams, side seams, or internal panel lines depending on the design. Boning performs best when the underlying pattern already fits correctly; rigid strips cannot repair inadequate bust volume or an incorrectly shaped neckline.
Built-in cups can support bust shaping and are especially useful when the dress cannot accommodate a conventional bra. Cup size, depth, spacing, and vertical position need to correspond with the garment apex. A well-made cup placed too high can create as much visual distortion as a poorly shaped cup.
Underwire provides more defined support around the lower bust in cup-based constructions. Wire length, curvature, and channel placement require careful fitting because small positioning errors can become uncomfortable during prolonged wear.
Anti-slip tape can increase friction between the upper edge and skin, but it should remain supplementary rather than being the primary support mechanism. A waist stay or internal waistband can be particularly valuable in heavier garments because it transfers some downward load toward the waist instead of asking the neckline to carry the full dress weight.
How Do Lining and Underlining Affect Fit?
Lining should not be treated as a cosmetic afterthought in a structured strapless dress. A stable lining can help maintain neckline shape, support boning channels, cover internal components, control transparency, and distribute tension through the bodice. If the lining and outer shell behave very differently, the finished garment may become unstable even when both layers look acceptable separately.
A lining that stretches substantially more than the shell can allow the outer garment to shift during wear. A lining that is significantly smaller or more rigid can pull the shell inward, creating ripples or unexpected tension. Their relationship should therefore be tested in the actual sample rather than selected independently.
Underlining performs another function because it is attached to individual outer pattern pieces so that both layers behave more like one material. It can strengthen delicate satin, stabilize lace, improve opacity, reduce seam distortion, or provide a better foundation for internal structure without placing visible stitching through the fashion fabric.
Layer combinations are especially important in corset-inspired and occasionwear dresses. Shell fabric, underlining, lining, cup, boning, zipper, and top-edge stabilization all interact. A paper pattern cannot predict every effect of those materials on the body, which is one reason physical sampling remains essential even when the pattern has been developed digitally.
For brands building several related strapless styles, an approved internal foundation can become a useful development reference. The outer neckline, color, length, or fashion fabric may change while part of the proven structural system remains consistent. Even then, each new material should be tested because fabric weight and stretch can alter the performance of the same foundation.
How Do You Test and Prepare a Strapless Pattern for Production?
A strapless pattern should be physically fitted before grading and bulk cutting. Review the sample while standing, walking, sitting, rotating, and raising the arms, then separate pattern problems from fabric and workmanship problems. Every approved correction should be recorded, critical graded sizes should be reviewed, and the pre-production sample must align with the final pattern, materials, measurements, support components, and construction instructions.
How Do You Fit the First Toile or Sample?
The first sample is a diagnostic tool rather than a miniature production order. Its job is to expose uncertainty while changes are still inexpensive. The fitting should begin by checking overall position before individual details are altered. Observe the center-front neckline, side coverage, back height, waistline, and side seams while the wearer stands naturally.
Bust volume comes next. The sample should accommodate the intended projection without flattening the bust or leaving hollow areas. Princess seams and cup seams should sit in the expected positions, while side seams should remain close to vertical rather than being dragged forward or backward.
Movement testing is essential because strapless garments behave differently from conventional dresses when the torso moves. A practical fitting sequence can include:
- Raise both arms above shoulder level.
- Reach both arms forward.
- Rotate the torso in both directions.
- Walk naturally for several steps.
- Sit in a normal chair.
- Stand again without adjusting the dress.
- Take several normal deep breaths.
The development team should observe whether the top edge remains near its original position, whether the waistline moves, and whether any section becomes noticeably tighter or looser. A small amount of fabric movement is normal, but repeated downward migration is a clear signal that anchoring or structure needs further work.
Photographs from the front, side, and back should be taken before multiple corrections are pinned. Once several areas have been temporarily altered, the original relationship between symptoms becomes harder to see. Good fitting depends on understanding cause and effect rather than simply removing every wrinkle visible in the first sample.
What Should Be Corrected After the First Fitting?
A visible problem should be classified before the paper pattern is altered. Pattern geometry, material behavior, sewing, pressing, boning, lining, and cup placement can create defects that look remarkably similar. Treating every visible issue as a pattern error can result in repeated revisions without solving the real cause.
Consider a neckline that stands away from the body. Excess pattern length may be responsible, but the same appearance can come from a stretched seam, an incorrectly sized lining, or boning that pushes outward. If the development team immediately removes more paper-pattern length, the next sample may become too tight while the construction problem remains.
Fit records should identify exactly what was observed and where. Comments such as “chest too loose” or “make bust better” leave too much room for interpretation. A more useful note might specify that the side-front neckline stands approximately 6 mm away from the body while the full-bust circumference and waist remain acceptable.
Useful development records normally include:
- Sample version and date.
- Pattern version.
- Affected pattern piece.
- Original measurement.
- Revised measurement.
- Location of fit problem.
- Fabric or trim change.
- Construction change.
- Approval status.
Photographs with clearly marked locations are particularly useful when design, technical, and manufacturing teams are working in different countries. The visual record reduces the chance that a patternmaker interprets a correction differently from the person who attended the fitting.
Once a correction is approved, the related pattern, measurement specification, and construction information should be updated together. A corrected paper pattern paired with an outdated measurement sheet can recreate the same uncertainty later during pre-production or bulk inspection.

How Do You Grade a Strapless Pattern Across Sizes?
Strapless grading should preserve the relationship between bust volume, upper bust, waist, neckline, and torso length rather than producing simple enlarged and reduced copies. The full bust and upper bust do not necessarily increase at identical rates, and neckline length should not automatically grow in direct proportion to the waist or hip.
Princess seams need particularly careful review. As bust volume increases, grading must be distributed between center-front and side-front pieces while keeping corresponding seam lengths compatible. Cup constructions create additional complexity because cup depth, width, underbust shape, and wire line may need different increments from the outer bodice.
After the graded nest is created, it should be inspected visually. Smooth and progressive grade lines around the neckline, bust, waist, and side seam are easier to validate than sudden changes in direction. Notches should still correspond, and the silhouette should retain the intended proportion across the size run.
Physical validation is valuable at important points in a broad size range. A perfect base-size sample does not guarantee that the largest and smallest sizes will perform equally well because the graded shapes can move progressively farther from the original body relationship.
Finished-garment measurements should also be compared against the pattern before production. Pattern measurements and garment specifications describe related but different stages, and inconsistencies between them should be identified before cutting. Successful grading reproduces the intended support, coverage, silhouette, and comfort across different body sizes rather than merely maintaining numerical grade rules.
How Do You Confirm the Pattern Before Bulk Production?
The pre-production stage should confirm the complete garment system rather than only the paper pattern. The approved pattern needs to work with the actual shell fabric, lining, zipper, cups, boning, tapes, and construction method that will be used in production. Substituting materials after fit approval can change neckline behavior and invalidate earlier decisions.
A pre-production sample provides the final practical reference for bulk manufacturing. Once approved, its measurements, appearance, workmanship, and structural details should be linked to the final pattern version and technical documents so that different sewing teams are not interpreting the product independently.
Important confirmation points commonly include:
- Upper-bust circumference.
- Full-bust circumference.
- Underbust or structural seam position.
- Waist circumference.
- Center-front neckline height.
- Side neckline height.
- Center-back height.
- Cup position and symmetry.
- Boning position and finished length.
- Zipper flatness.
- Lining position and length.
- Top-edge symmetry and stability.
Measurement tolerances should reflect the sensitivity of each location. A small variation in a full skirt hem may have little functional effect, while the same numerical variation at a close strapless neckline can noticeably change coverage or security. Applying one universal tolerance to every measurement ignores the way the garment actually functions.
Bulk inspection should compare garments not only against measurement numbers but also against the approved sample. A dress can technically fall within circumference tolerance while the neckline shape, bust seam, pressing, or boning position has changed enough to affect appearance and wear.
Pattern development becomes more valuable over time when approved information is retained. Patterns, graded nests, measurement charts, fabric references, trim specifications, construction notes, and sample approvals provide a stronger starting point for repeat orders, new colors, or related seasonal designs.
A well-developed strapless dress reaches a point where the wearer no longer thinks about the engineering inside it. The neckline stays where it was intended, the bust looks shaped rather than compressed, the waist feels secure, and normal movement does not require constant adjustment. Reaching that apparently effortless result requires disciplined patternmaking, realistic fabric testing, thoughtful internal support, repeated fit evaluation, and accurate production control.
For fashion brands developing strapless minis, corset dresses, partywear, occasionwear, or structured evening dresses, solving these issues during pattern and sample development is far less costly than discovering them after bulk fabric has been cut. A reliable manufacturing partner should be able to discuss the pattern, fit, fabric, support, sampling, grading, and production implications as connected decisions rather than treating them as separate tasks. That connected approach is ultimately what turns an attractive design into a product that can be worn, photographed, sold, reordered, and reproduced consistently.
Share This Article :

Jerry Lee
Categories

Latest blogs
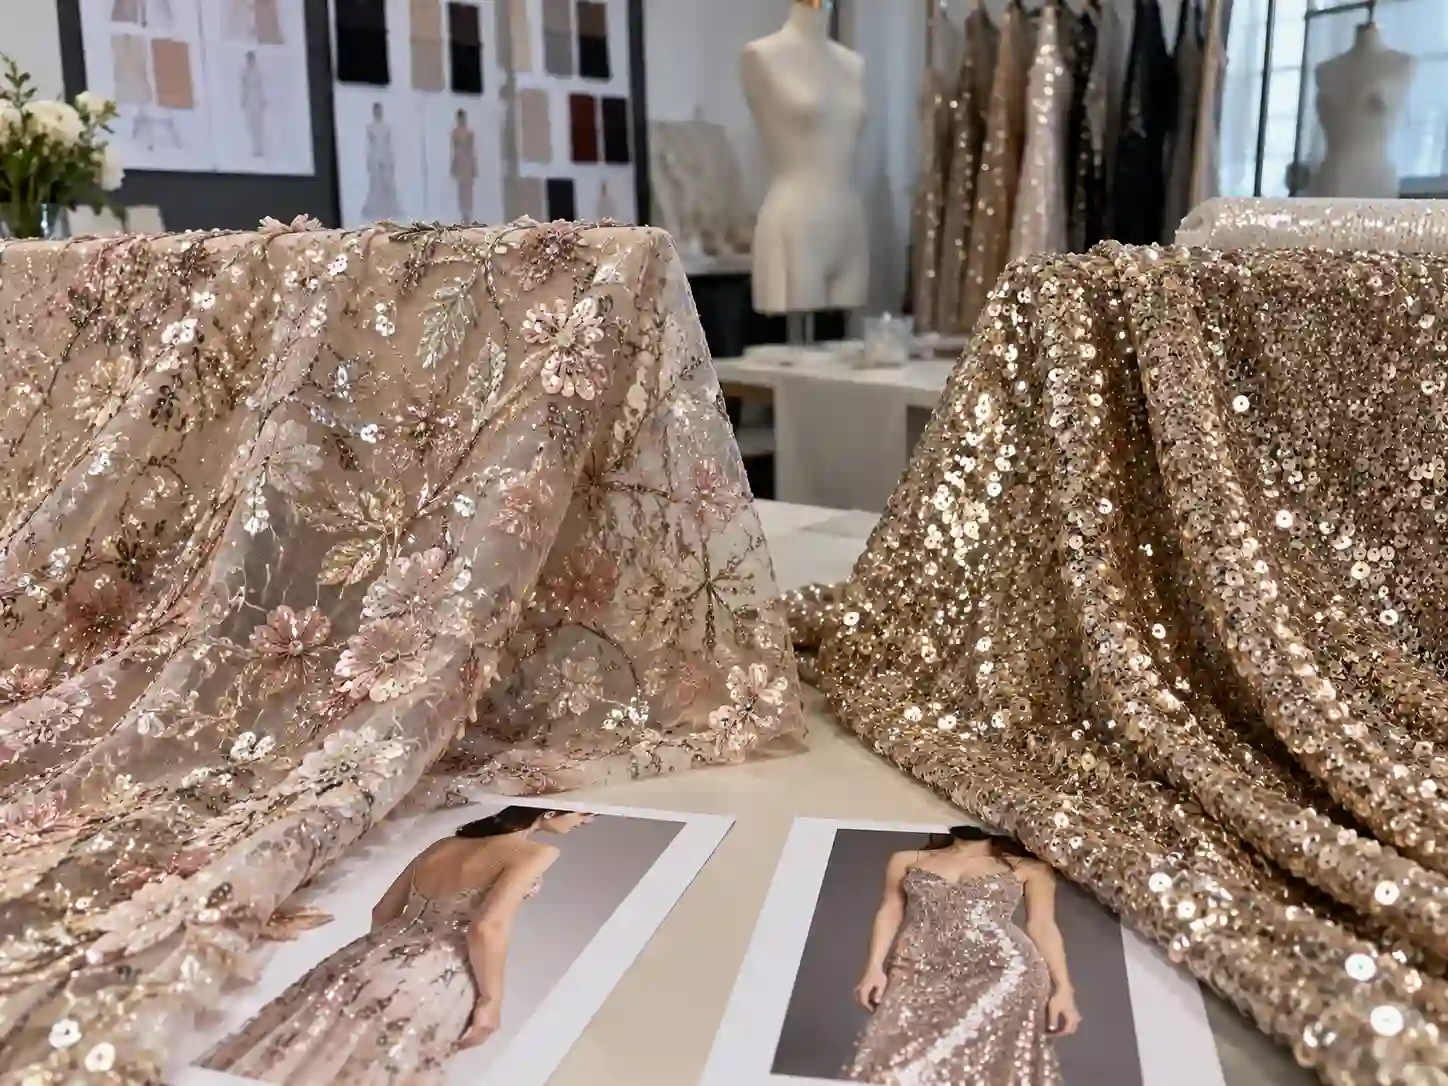
Table of Contents
Here, developing your OEM/ODM private label clothing collection is no longer a challenge—it’s an excellent opportunity to bring your creative vision to life.