Skip to content
Sewing a button by hand takes time and practice. But when you need speed, consistency, and scale, machine-sewing is the way to go. Still, one wrong move can break a needle or ruin a shirt. Here’s how to get it right—step by step.
Yes, you can sew buttons using a sewing machine, and when done correctly, it offers clean, durable results ideal for both small brands and large-scale production.
I once watched a technician at our factory sew 50 buttons in 10 minutes—flawless, every time. That’s when I knew machine-sewn buttons weren’t just possible, they were essential.
Yes—and it’s surprisingly effective. The key lies in the setup, technique, and knowing which buttons are compatible with your machine.
Machine-sewing buttons saves time, ensures consistency, and works best for flat, 2-hole or 4-hole buttons.
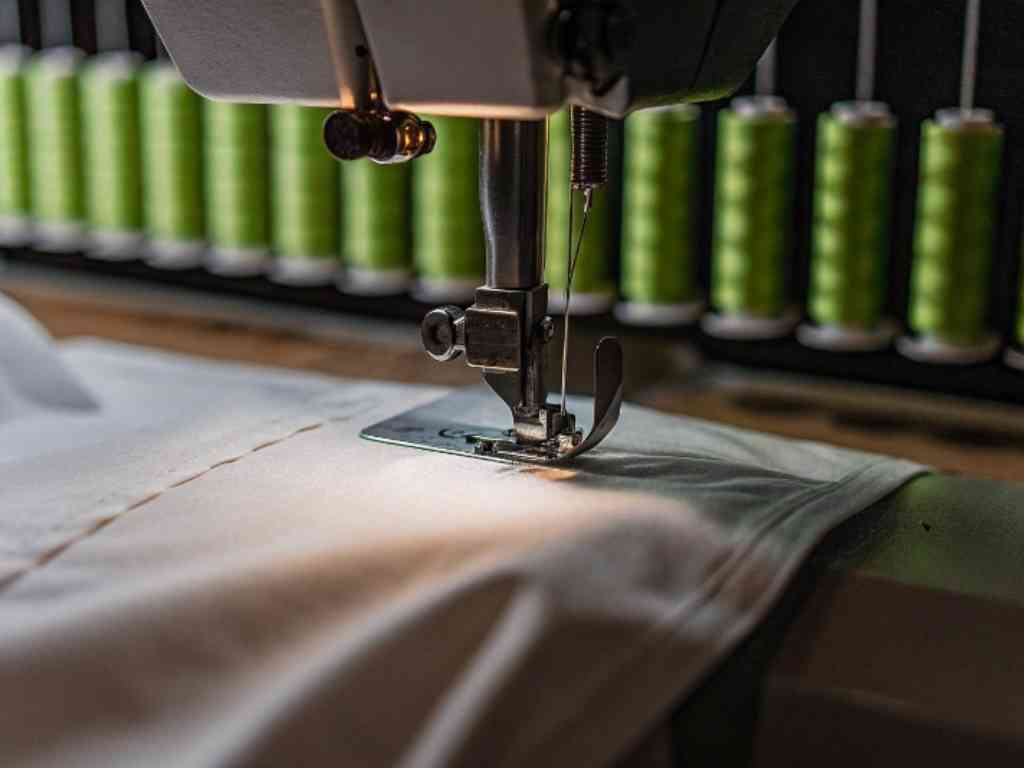 Precision Stitching with Green Threads
Pros and Cons Compared to Hand-Sewing
| Aspect | Machine Sewing | Hand Sewing |
|---|---|---|
| Speed | Very fast | Slow |
| Consistency | High across multiple garments | Depends on skill |
| Flexibility | Limited to compatible buttons | Works on all button types |
| Setup Time | Medium (requires attachment/settings) | Low |
I use machine sewing for production runs. But for samples or delicate shirts, I still go with hand-stitching.
When It’s Best to Use a Machine (Speed, Precision)
Use a sewing machine when you:
- Have multiple buttons on each shirt
- Need to hit production quotas
- Want even spacing and stitch uniformity
- Are using flat plastic or resin buttons
For bulk orders, machine sewing is my go-to. We finish 500 shirts in a day using industrial setups.
What tools and machine settings do you need?
Having the right attachments and settings is the only way to guarantee smooth button stitching by machine.
You’ll need a button sewing foot1, zigzag stitch settings, the right thread, and buttons designed for machine use.
Button Sewing Foot: What It Is and Where to Get One
A button sewing foot holds the button firmly while the needle zigzags between the holes.
- Where to find: Online (Amazon, AliExpress), or sewing supply shops
- Model types: Snap-on or screw-on, depending on machine
Every industrial button sewer we use comes pre-installed, but home machines need this foot swapped in.
Stitch Settings: Width, Length, and Speed
Set your machine to zigzag mode. Then adjust:
- Stitch width: Matches hole distance (usually 3.5–4mm)
- Stitch length: Set to zero
- Speed: Start slow to prevent mistakes
Most needle breaks happen because someone guessed the width. Always test first.
Types of Threads and Buttons Suitable for Machine Sewing
Flat buttons with visible holes are best. Use durable threads like:
| Thread Type | Use Case |
|---|---|
| Polyester | General shirt buttons |
| Heavy-duty cotton | Coats or thicker materials |
| Nylon | Sportswear or stretch fabric |
Avoid shank buttons—they don’t sit flat under the foot and can break your needle.
The process is simple, but every step needs precision. Here’s how I train my factory team to do it properly.
Lower the feed dogs, secure the button under the foot, adjust stitch width2, then do 8–10 zigzag stitches, and finish by securing the threads.
Step 1: Lower Feed Dogs or Use Darning Plate
Feed dogs move the fabric—but you want the fabric still.
Lower the feed dogs manually, or place a darning plate over them to stop movement.
This keeps your button from sliding as you stitch.
Step 2: Position the Button Under the Foot
Center the button so the needle lands in both holes evenly.
Place the button under the presser foot, ensure it’s flat, and double-check hole alignment before stitching.
Some people use clear tape to hold the button in place—works like a charm.
Step 3: Set the Stitch Width to Match Button Holes
Test stitch width on a spare button to match the hole distance.
Manually turn the handwheel to check if the needle moves cleanly in and out of both holes.
Never press the pedal until you test—one wrong zigzag ruins your needle.
Step 4: Slowly Stitch 8–10 Zigzag Passes
Use slow speed for control. Most buttons only need 8–10 passes.
Stitch evenly and stop when you see a solid thread pattern across both holes.
This is where I remind trainees: more stitches don’t always mean stronger hold—clean passes are what matter.
Step 5: Lock in the Stitch and Trim Threads
Lift the foot, pull the thread tails to the back, and tie a tight knot.
Secure the threads with a double knot and trim them neatly for a professional finish.
Optional: apply clear fabric glue or sealant for extra durability.
What are common mistakes to avoid?
Most sewing machine button fails come from simple setup issues. Catch these early to avoid broken needles or misplaced buttons.
Don’t rush. Always check stitch width, turn off feed dogs, and use compatible buttons only.
Wrong Stitch Width = Broken Needles
If the needle doesn’t match the hole spacing, it hits the button.
Always test with the handwheel first to ensure clean passes before sewing.
Never trust default settings—each button is slightly different.
Forgetting to Turn Off Feed Dogs
Active feed dogs will move the fabric—and your button—with every stitch.
Lower them or use a darning plate. If not, you’ll get crooked or shifted buttons.
In my early days, I ruined dozens of shirts this way.
Using Non-Compatible Buttons (Shank vs Flat)
Shank buttons don’t work with standard button feet—they won’t sit flush.
Stick with 2-hole or 4-hole flat buttons only. Shank buttons must be hand-sewn.
If a client requests shank buttons in bulk, we sew them separately on a different line.
How do you get better, cleaner results?
With a few simple tricks, your machine-sewn buttons can rival professional finishes. It’s all about alignment and stability.
Use fabric tape, reinforce with backing buttons if needed, and always test your setup on scrap fabric first.
Use Tape or Marking for Perfect Alignment
Alignment is everything, especially down the shirt front.
- Use chalk marks to mark button locations
- Clear tape can hold buttons temporarily under the foot
This prevents shifting during stitching.
Reinforce with a Backing Button (Optional)
If your shirt fabric is thin or prone to tearing, a small backing button on the inside helps.
Sew a matching button behind the main one to share stress and reduce tear risk.
I do this for dress shirts, especially around the collar and cuff.
Test on Scrap Fabric First
Every fabric reacts differently to machine stitching.
Use a scrap swatch to check thread tension, needle clearance, and stitch width before starting.
Testing prevents surprises—especially on delicate or stretchy fabric.
What QC standards apply in OEM/ODM factories?
In mass production, button stitching must meet strict tests. Factories follow defined standards for stitch strength and button pull resistance.
Expect button pull tests, certified machine use, and consistent stitch counts to meet buyer specs.
Button Pull-Resistance Tests
Brands often request resistance thresholds—especially for workwear and school uniforms.
| Test Type | Target Load |
|---|---|
| Pull resistance | 10–15 lbs |
| Friction cycle | 50+ rub cycles |
Our clients in Europe require 15 lb pull strength minimum. We document it with every batch.
Machine Types Used in Factories (e.g., Lockstitch Button Sewer)
Professional setups use industrial-grade button sewing machines.
- JUKI LK-1900 series
- Brother HE-800 series
These machines are programmable, allowing for perfect zigzag width and even shank simulation if needed.
Stitch Count and Durability Expectations for Brands
Standard expectation: 8–10 secure stitches per button.
Most buyers want consistent tension, spacing, and no thread tails showing.
I always train staff to check after each garment before it goes to final pressing.
What should you check before finishing the shirt?
Final visual and functional checks make sure your shirt is ready for market—or your client’s showroom.
Check alignment with buttonholes, confirm symmetry across the placket, and ensure all buttons feel equally tight.
Alignment With Buttonholes
Misaligned buttons break the flow of a good design.
Use a measuring grid or ruler to check each button’s distance from the collar, hem, and each other.
We inspect every sample garment on a flat table before approval.
Visual Symmetry Across Garment Front
Buttons that tilt or wobble ruin the shirt’s shape when worn.
Ensure all buttons sit evenly, lie flat, and don’t pull or pucker fabric when buttoned.
Final pressing can help, but stitching must be solid first.
Conclusion
Machine-sewing buttons is fast, precise, and scalable. If done right, it gives professional, factory-level finishes—even in your home studio. Just follow the steps, avoid the common mistakes, and always test before you sew.