Skip to content
I once saw a batch of T-shirts ruined because we washed them after printing. Colors faded, and embroidery threads1 loosened. That frustration pushed me to investigate process scheduling2. Now, I systematically arrange steps—like printing, washing, and ironing—to safeguard quality and reduce rework. Let me explain these insights.
Proper scheduling aligns each process in the right order. First, cutting avoids wasted materials. Printing or embroidery follows before washing, so patterns stay intact. Sewing comes after washing to keep fabrics stable. Finally, ironing and packaging finalize the garment’s form. This sequence cuts confusion, prevents damage, and boosts overall production efficiency.
I remember how many reorders happened due to random scheduling. That inspired me to develop a clear step-by-step plan. Let’s examine each stage and uncover how the wrong sequence causes warping, discoloration, and extra costs. A little organization goes a long way.
Why does a reasonable process sequence affect production capacity, quality and rework rate?
A disorganized sequence leads to color fading3, missed deadlines, and re-stitching costs. Each process has specific temperature, tension, and handling requirements. If we skip planning, we risk damaging items. By aligning processes, we reduce friction and keep products consistent.
Chaos in scheduling raises errors. Printing may peel if washed too soon. Embroidery might pucker if placed after certain washes. Misaligned processes waste labor and materials. A thoughtful sequence prevents repeated mistakes, speeds throughput, and ensures each garment meets the intended quality standards from day one.
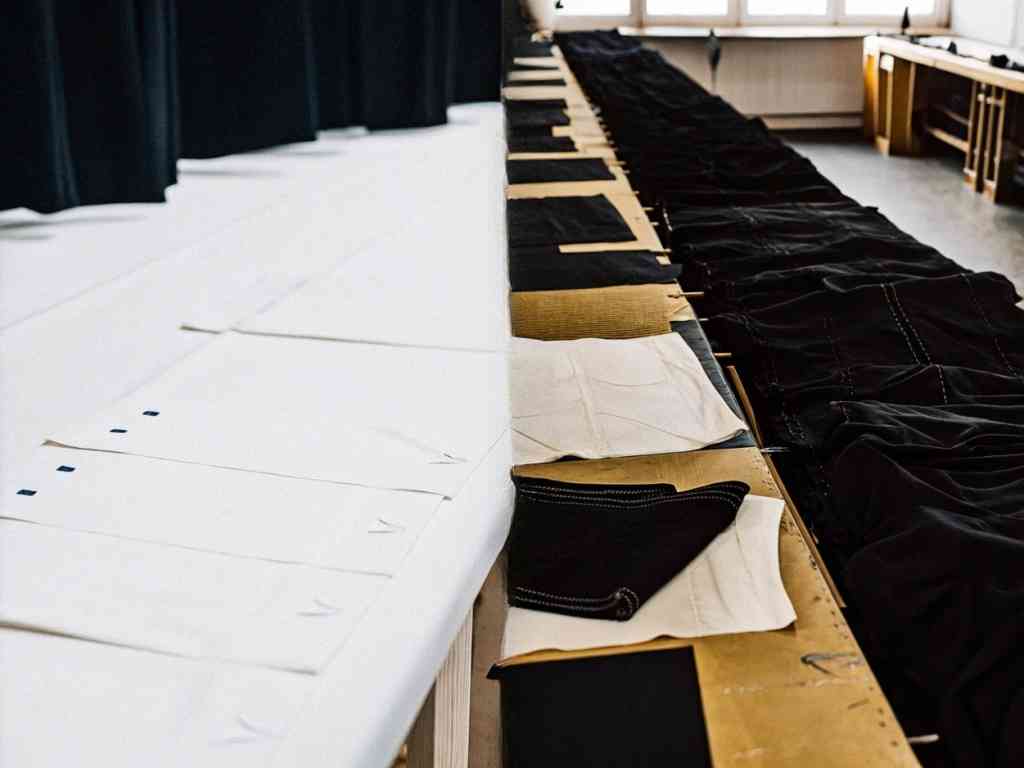 Fabric Layout
What problems may be caused by disordered process sequence? (Discoloration, deformation, warping, thread drop)
If ironing happens before certain inks cure, the designs can blur. Washing too soon after printing leads to color washout. Embroidery done post-sewing might shift. Each mismatch triggers problems like fading, wrinkling, or loose threads, forcing rework or downgrading quality.
What are the principles of mutual influence between the processes of printing, embroidery, washing and ironing?
Printing inks need cure time. Embroidery threads can absorb moisture during washing and shrink. High ironing heat might dissolve certain prints. Each process changes the garment’s tension or texture. Understanding these interactions guides scheduling decisions, so each step complements the last.
Are there standard process scheduling practices to follow in clothing production?
Many factories adopt a general sequence: cutting, printing or embroidery, then washing, sewing, and final ironing. This pattern minimizes damage and rework. Still, special situations demand adjustments. We can’t just rely on a one-size-fits-all approach.
Cutting first lets us handle smaller panels for precise printing or embroidery. Washing afterwards removes residues and stabilizes the fabric. Sewing then finalizes garment assembly. Ironing sets creases and eliminates wrinkles. Packaging protects the finished product. Each stage flows logically to reduce color bleed, alignment errors, and surprise fabric distortions.
The general standard sequence is: cutting → printing/embroidery → washing → sewing → ironing → packaging
I follow this flow for most shirts and dresses. It ensures prints and embroidery occur on flat pieces. Washing cleans off chemicals and preshrinks fabric. Sewing becomes easier with stable fabric. Ironing polishes the final form. Packaging completes the product. This sequence tackles many common production issues.
In which cases, "printing/embroidery before washing" is required? Which ones require "shaping after washing"?
When designs need precise alignment, we print or embroider before any distortion from washing. On the other hand, fabrics needing special pre-shrinking or shape correction are often washed and shaped before adding final designs. That prevents mismatch between the final garment size and the printed area.
The key to the connection between printing and washing: does the sequence determine the fastness and color performance?
Printing adhesives and inks often need curing. Washing too soon can peel or fade these colors. Alternatively, if we wash first, some surfaces become slippery or lose the required friction for ink adhesion. Getting this order right locks in color and extends print life.
Stable color depends on how inks interact with fabric. Thermal sublimation typically withstands post-wash steps. Digital direct printing might need pretreated fabric. If you wash before printing, you risk poor ink bonding. If you wash right after printing without curing, color fades. Matching ink type and washing order safeguards brightness and durability.
Can thermal sublimation and digital direct printing withstand the subsequent washing process?
Thermal sublimation bonds deeply with synthetic fibers, so moderate washing after printing is usually safe. Digital direct printing can also hold up if the ink is fully cured. However, strong detergents or high temperatures can still weaken the color. Testing a small sample is wise.
If washing first and then printing, which patterns may be distorted or unable to attach?
Fabrics with heavy water-repellent treatments or silicone softeners can hinder ink bonding. Also, if the fabric shrinks during washing, the final printed image might not align properly. Overly stretched or wrinkled fabrics block uniform ink absorption, leading to patchy designs.
Which step is the most reasonable for embroidery? When is "before embroidery" and when is "after embroidery"?
Embroidery typically goes on cut panels for precise alignment. If you embroider an assembled garment, the design might shift or cause uneven tension. Some factories wash first for shrinkage, then embroider to avoid puckering. The ideal sequence often depends on the complexity of the pattern.
Placing embroidery before sewing simplifies hoop placement. It also reduces risk of misalignment on finished garments. But if the fabric needs a pre-wash, do that first to stabilize dimensions. For beaded or raised embroidery, an extra wash might damage threads or loosen beads. Planning the order ensures crisp, durable stitching.
Will sewing before embroidery cause the pattern to be offset? Why is embroidery often placed in the cutting stage?
Yes, once garments are fully assembled, fabric layers shift under the needle. That leads to misaligned designs. Embroidering flat panels keeps tension even. Factories prefer this method because it’s easier to clamp in hoops, ensures accuracy, and speeds up the entire process.
How to avoid beads, threads and wrinkles when washing after embroidery?
Use gentle cycles or hand washing. Aggressive machine settings break fragile threads or decorative beads. Low-spin settings or no-spin is safer. Also, mild detergents prevent color bleed on embroidered threads. Drying garments flat helps prevent wrinkles from forming around stitched areas.
Must the time window before ironing and packaging be precisely controlled?
Ironing seals the garment’s final appearance. Rushing it too early—like pressing before certain adhesives set—causes smudges. Waiting too long might let wrinkles set in. Controlling that window keeps garments crisp. Then packaging finishes the process without smearing prints or folding up embroidered patterns.
Some fabrics require multiple ironing phases. Pleated skirts may need a shaping iron early, plus a finishing press. Others only need one final pass. Ironing right after sewing removes seam puckers. A second pass before packaging polishes any shipping creases. Good timing avoids overexposure to heat and locked-in fold lines.
Which fabrics and special processes require "multiple ironing"? (Pleating, shaping, etc.)
Silk, wool, and pleated designs might need shaping irons mid-production. Heat sets folds in place. After sewing, I do a quick press to remove seam wrinkles. Right before packing, one more gentle iron ensures no new creases formed. This layered approach maintains shape without scorching.
Should the ironing process be left after sewing? Is it necessary to iron again before packaging?
Yes, an interim press after sewing smooths out any assembly wrinkles. Then a final light press before packaging refreshes the garment’s look. This prevents wrinkles from setting during storage or transit. Each press stage has its role in delivering a clean, professional finish.
What practical suggestions and coordination skills help avoid process conflicts?
Factories often outsource steps to printing, embroidery, or washing vendors. Keeping them in sync reduces confusion. I learned that sharing a clear timeline and garment specifications helps each workshop plan. Transparency and consistent communication keep everyone on the same page.
Pre-evaluation at the sampling stage flags potential conflicts. If an embroidery layout can’t handle the washing temperature, we adjust. If digital prints need longer cure times, we build that into the timeline. Meanwhile, coordinating schedules across multiple contractors avoids waiting delays. Regular check-ins ensure the final product arrives on time and with minimal rework.
How to pre-evaluate the "process flow sequence" during the proofing stage?
I run small-scale tests: wash a test-printed panel, or iron an embroidered sample. By observing color fastness and shrinkage, I confirm if the proposed order works. That saves massive mistakes in bulk production. Early detection leads to easy fixes, like adjusting finishing methods or changing thread types.
How to unify the production rhythm of multiple contracting workshops (printing factory, embroidery factory, washing factory)?
I share a timeline with agreed deadlines for each step. We track progress daily to spot delays. If one shop falls behind, I communicate that to the others. Sometimes, partial deliveries keep the chain moving. Mutual clarity and buffer times ensure no single process stalls the entire run.
Conclusion
A well-planned sequence—from cutting and printing to washing, sewing, embroidery, ironing, and packaging—keeps garments consistent, reduces errors, and delivers top quality on time.
-
Learning how to secure embroidery threads can significantly improve the durability and appearance of your garments. ↩
-
Understanding process scheduling can enhance production efficiency and quality control in garment manufacturing. ↩
-
Exploring the causes of color fading can help you implement better practices to maintain garment quality. ↩