Skip to content

How Do You Develop Matching Set Patterns for Production?

Your trusted Women’s Apparel Manufacturer from China
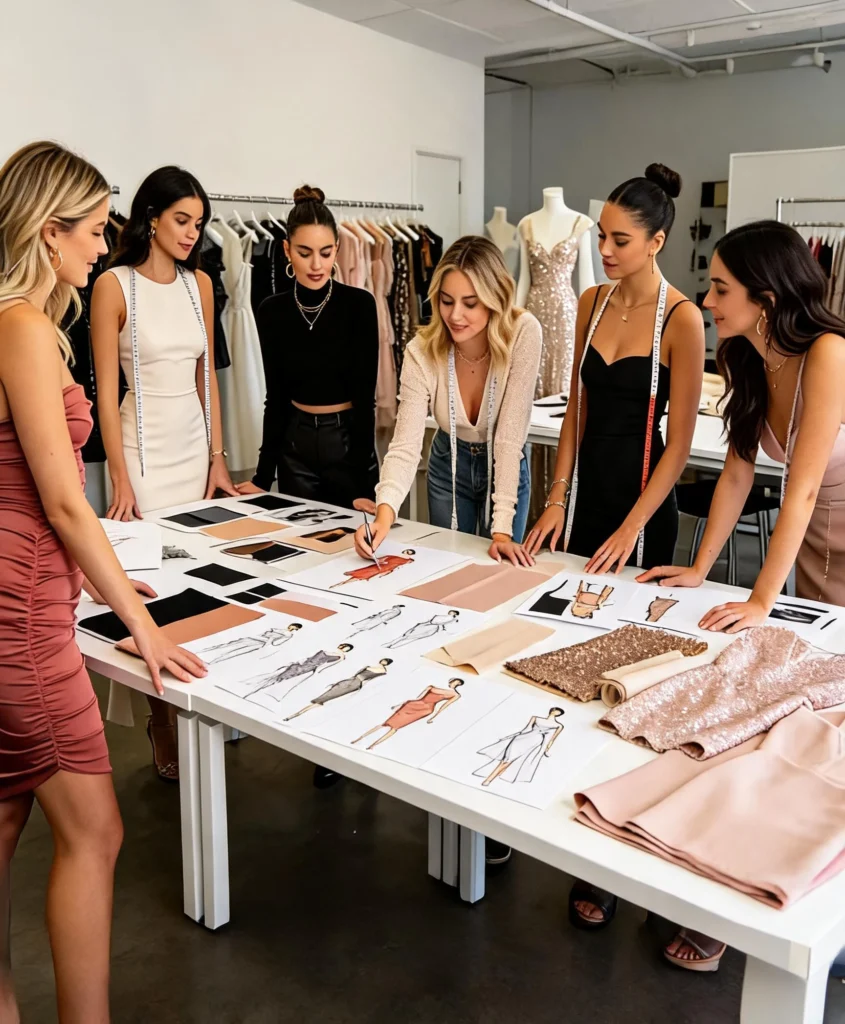
A matching set often looks simple when it appears on a campaign page: one top, one skirt or pair of trousers, one fabric, and one coordinated silhouette. In development, however, it behaves more like a small system than two separate garments. A top can fit correctly by itself and a skirt can meet every measurement on its specification sheet, yet the complete outfit can still look wrong because the crop length, waistband position, hip balance, rise, stretch, or overall volume do not work together on the body.
To develop matching set patterns for production, define the base size and intended fit first, draft the top and bottom from compatible body references, control their shared waist and proportion points, adjust both patterns for actual fabric behavior, grade them as one coordinated size system, and validate the complete set through fitting and pre-production samples. The goal is repeatable fit across sizes and bulk production, not merely two pieces that share the same fabric.
That distinction becomes important very quickly. Raise a trouser waistband by 20 mm and the amount of exposed midriff changes. Add internal support to a crop top and its finished position may shift. Replace a stable woven fabric with a stretch jersey and measurements that looked correct on paper may no longer create the same silhouette. Good matching-set development catches these relationships while they are still editable lines on a pattern rather than expensive problems already cut into bulk fabric.
What Do You Need Before Developing Matching Set Patterns?
Matching set pattern development should begin with a defined base size, target fit, fabric, construction method, size range, and a measurable relationship between the two garments. The pattern maker needs to understand not only how each piece should fit independently, but also where the top should end, where the bottom should sit, and how both pieces should balance on the body.
Start With a Clear Development Package
A useful development package does not have to contain hundreds of technical notes, but it must remove the decisions that would otherwise be left to guesswork. Clear front and back views, a target base size, garment measurements, fabric information, construction details, intended fit, and size range provide a practical starting point. A proven brand block, an existing garment with successful fit, or an approved size chart can be particularly valuable because it reflects the customer profile the brand already serves.
Matching sets need several relationship measurements that single garments can sometimes avoid. Calling a top “cropped,” for example, does not tell the pattern maker whether it should finish 20 mm above the waistband, lightly touch it, or overlap it. Similarly, “high-waisted trousers” does not define where that waist sits relative to the natural waist, how deep the waistband is, or how the rise should feel when the wearer sits. Converting these descriptions into measurable targets makes the first sample much more useful.
The same level of clarity is needed for relaxed silhouettes. An oversized shirt and wide-leg trouser set can still look poorly balanced if the shirt length, trouser rise, leg volume, and shoulder width are developed independently. Oversized styling does not eliminate proportion; it simply uses proportion differently. In many cases, a visually simple loose set requires just as much planning as a fitted one because excessive volume in both pieces can overwhelm the intended shape.
Development Item | Practical Information to Define | What It Controls |
Base size | Brand size, body bust, waist, hip, height | First fit reference |
Top length | Finished front/back length and measurement point | Torso exposure and proportion |
Bottom waist | High, natural, mid, or low waist position | Relationship with the top |
Fabric | Composition, weight, stretch, recovery, drape | Ease and pattern behavior |
Size range | Alpha or numeric brand sizes | Grading plan |
Closure | Zipper, elastic, buttons, hooks, pull-on | Entry and finished fit |
Support | Lining, cups, boning, interfacing | Structure and internal dimensions |
Set relationship | Gap, overlap, aligned details | Complete-outfit appearance |
Define the Base Size and Fit Before Drafting
The base size becomes the reference for the first pattern, first sample, first fitting, and most later grading decisions, so choosing it casually can create problems through the entire collection. It should represent the brand’s actual target customer rather than whichever mannequin happens to be available. If the brand already has a well-performing dress, trouser, skirt, or fitted top, measurements and fit feedback from that product can help establish a more realistic starting point for the new set.
Body measurements and finished-garment measurements must also be kept separate. A wearer with a 72 cm waist does not automatically need a garment measuring 72 cm at the waist. A structured woven waistband, stretch knit skirt, elasticated trouser, and low-rise satin skirt can all require different finished measurements around the same body. The difference comes from ease, fabric behavior, construction, wearing position, and the amount of adjustment built into the garment.
Close-fitting woven fashion pieces may use only modest positive ease in selected areas, while bodycon stretch pieces can use zero or controlled negative ease. Those are development decisions rather than fixed formulas. Fabric recovery, lining, seam construction, internal support, and how long the garment is expected to remain comfortable all influence what actually works. The correct number should therefore be confirmed on the intended fabric and fit model rather than adopted from a generic chart.
Turn Visual Ideas Into Measurable Pattern Decisions
Fashion references are good at communicating mood, proportion, and styling, but photographs rarely explain the technical decisions responsible for the result. A reference image may show a low neckline, narrow waist gap, clean hip line, and floor-skimming trouser, yet it provides no reliable information about neckline depth, finished top length, waistband height, front rise, back rise, seam position, or the amount of ease required to reproduce that appearance on the brand’s customer.
Professional pattern development translates those visual cues into measurable control points. Depending on the style, these may include upper bust, full bust, underbust, waist, hip, center-front length, center-back length, shoulder width, strap length, neckline depth, armhole, rise, crotch extension, trouser outseam, skirt length, slit position, and hem width. The pattern maker then interprets how those measurements interact rather than simply tracing the visible outline of the inspiration image.
Small adjustments can create large visual changes in a set. If the top is shortened by 15 mm and the bottom waist is raised by another 15 mm, the visible waist relationship changes by approximately 30 mm. Each change may appear minor on its own pattern file, yet the complete outfit can look substantially different. That is why teams should identify which proportions form the design signature and which technical details can be adjusted more freely during fitting.
How Do You Build the Top and Bottom as One Pattern System?
Build the top and bottom from shared body references, coordinated waist positions, compatible ease, and one proportion plan. Each piece needs an independent pattern for cutting and construction, but top length, bottom rise, waistband position, silhouette volume, and fabric behavior should be reviewed together. The best matching sets behave like two separate garments designed through the same fit system.
Develop the Top Around the Bottom Relationship
The top often has greater influence on the perceived proportion of a matching set than its physical size suggests. Moving the hem of a crop top by only 10–20 mm can noticeably change how much torso is visible, where the eye reads the waist, and whether the bottom appears high-waisted or lower on the body. For that reason, finished top length should be treated as a set-level control point rather than only a top specification.
Upper-garment development may involve full bust, upper bust, underbust, waist, shoulder, neckline, armhole, strap or sleeve position, and center-front and center-back length. The importance of each measurement changes with the design. A corset top depends heavily on bust shaping, underbust position, and structural support, whereas an oversized resort shirt depends more on shoulder width, chest ease, sleeve balance, and finished length.
Body contour can alter apparent garment length even when the flat measurements are correct. A fuller bust uses more fabric length across the front of a fitted top, which can lift the hem visually. Similarly, tight armholes, excessive back tension, or a neckline pulled out of position can change how the entire top sits. This is one reason fittings should look beyond individual measurements and judge the complete garment position on the body.
Construction must also be included early. Linings, boning, cups, elastic, facings, interfacing, and zipper placement can make the final top firmer, shorter, or less flexible than the initial unstructured sample. Approving the top with the intended bottom in place makes it much easier to see whether those structural changes have altered the planned waist relationship.
Build the Bottom From Waist, Hip, and Movement
The bottom establishes the lower anchor of the set, and its waist position usually has the strongest influence on how the two garments meet. A skirt sitting at the natural waist produces a different torso-to-leg proportion from the same skirt positioned 30 mm lower, even when its waist and hip circumferences are unchanged. The pattern should therefore define the wearing position first and build the remaining shape from that reference.
For skirts, important measurements often include waist, high hip, full hip, side length, center-front length, center-back length, waistband depth, hem circumference, and slit height. Trousers and shorts add front rise, back rise, crotch extension, thigh, knee where relevant, inseam, outseam, and leg opening. These dimensions have to work together because a change intended to solve one area can create tension or excess fabric somewhere else.
A fitted mini skirt, for example, needs sufficient hip shaping and correct front-to-back balance so it remains in position rather than gradually riding upward. Wide-leg trousers need enough rise and crotch balance to hang cleanly without front pulling, seat restriction, or excess fabric below the back waist. Shorts can expose these problems quickly because small errors in rise or inner-leg shape have a noticeable effect on both movement and appearance.
The waistband deserves particular attention because it is both functional and visual. A 40 mm waistband is not simply a finishing detail; it changes where the garment appears to begin, how the top relates to the bottom, and how the wearer experiences the garment while sitting. If the set will be sold as separates, these relationships should also be checked when top and bottom sizes are mixed.
Control the Visual Connection Between Both Pieces
A strong matching set feels coordinated before the customer notices that both pieces use the same color, print, or fabric. That sense of connection comes from repeated proportion, compatible volume, deliberate seam placement, and a clear relationship around the waist. Two garments can be perfectly color matched and still look like unrelated products if those other elements are not controlled.
One useful measurement is the vertical distance between the top hem and the top edge of the bottom. If a base-size fitting is intended to show approximately 30 mm of waist, record that relationship instead of approving it only by eye. After corrections, measure it again. Raising the waistband by 10 mm and lengthening the top by 10 mm would reduce that opening to roughly 10 mm, which could significantly change the character of the outfit.
Horizontal design lines can also strengthen or weaken coordination. Side seams, princess seams, panel lines, pockets, pleats, and waistband seams do not have to align perfectly, but they should follow a visual logic. Tailored sets often benefit from more disciplined alignment, while relaxed resort sets can tolerate greater independence. The important point is that the relationship is intentional rather than the accidental result of two patterns being developed in isolation.
Print placement introduces another practical issue. A large floral, stripe, or engineered motif may not need continuous alignment from top to bottom, but dominant elements should still be positioned thoughtfully. Centering a strong motif on the top while allowing an awkward duplicate to fall at the skirt hip can make the outfit appear inconsistent even when the cutting itself follows the approved marker.

Which Measurements Control Matching Set Fit?
Matching set fit depends on body measurements and shared proportion measurements. Bust, waist, hip, top length, waistband position, rise, garment length, shoulder or strap placement, and ease usually have the strongest influence. The critical question is not only whether each garment meets its specification, but whether those measurements produce the intended silhouette when both pieces are worn together.
Prioritize the Measurements That Change the Silhouette
Not every point of measurement carries the same visual or commercial risk. A small variation at the hem of a very wide trouser may be difficult to notice, while the same variation at a neckline, strap, fitted waist, or crop hem can immediately change the garment’s appearance. Development teams should therefore identify critical measurements before sampling rather than applying the same level of attention to every dimension.
For fitted tops, bust, underbust where applicable, waist, neckline depth, strap length, armhole, center-front length, and center-back length often deserve close control. For bottoms, waist, high hip, full hip, front and back rise, side length, and finished garment length are common priorities. The exact list should follow the product rather than a generic measurement template.
Some fashion programs control high-risk sample and production points within approximately 5–10 mm, while larger or less visually sensitive dimensions may carry wider tolerances. These figures should never be copied automatically from another style because satin, stretch mesh, tailored suiting, and jersey behave differently in production. A tolerance that is reasonable for a wide skirt hem may be unacceptable at a corset underbust or short crop length.
Fit Point | Typical Risk | Useful Development Check |
Bust | Pulling or excess volume | Compare body, garment, and worn shape |
Waist | Gaping or compression | Check standing and sitting |
Hip | Drag lines or riding up | View front, side, and back |
Top length | Wrong amount of coverage | Measure while worn |
Waistband height | Changes torso proportion | Compare with top hem |
Front/back rise | Restriction or sagging | Walk and sit |
Strap length | Top sits too high or low | Recheck neckline and armhole |
Garment length | Changes complete silhouette | Check with intended styling |
Balance Top Length, Waist Position, and Rise
The waist zone is the visual center of many fashion sets, which makes it one of the easiest places for separate pattern corrections to create a new problem. Imagine an approved design with a crop top ending 35 mm above the trouser waistband. If the trouser rise is adjusted during fitting so the waistband sits 15 mm higher, that visible space decreases to roughly 20 mm before any change is made to the top.
If the top is then lengthened by another 10 mm to improve coverage, the original 35 mm gap has effectively become about 10 mm. Neither correction is necessarily incorrect when viewed independently, but together they may create a substantially different outfit. This is why waist relationships should be rechecked after every pattern correction that affects vertical position, even when only one garment was technically changed.
Rise also controls movement, so simply moving the waistband upward is rarely enough. Front rise, back rise, crotch extension, hip shaping, and waistband angle may all need to be adjusted so the trouser continues to sit correctly during standing, walking, and sitting. A visually successful high waist that becomes uncomfortable after several minutes of wear is not a resolved pattern.
Different body shapes add another layer. A fuller bust can lift a fitted crop top at the front, fuller hips can encourage a close skirt to ride upward, and a more prominent seat can require additional back rise. Flat measurements therefore need to be checked against actual worn balance, especially for sets that deliberately expose or frame the waist.
Set Ease According to Fabric and Silhouette
Ease is the difference between body size and finished garment size, but treating it as one universal allowance creates poor results. The correct amount depends on material stretch, recovery, body area, construction, intended comfort, and the visual language of the garment. A tailored woven trouser, stretch knit skirt, corset top, and relaxed resort shirt require different relationships between body and garment measurements.
Negative ease can be described mathematically. If the body measures 100 cm at a particular level and the garment measures 94 cm at the same point, the garment has approximately 6% negative ease. That calculation is useful, but it does not prove the fabric will perform correctly. The material must stretch enough, recover after wear, remain opaque where necessary, and distribute pressure comfortably across the intended body area.
Positive ease also needs to be controlled rather than simply added generously. Too much ease in a woven top can create excess fabric around the armhole or waist, while excessive hip ease in a soft trouser can change the entire proportion of a set. The amount that works for a relaxed silhouette should still look deliberate when the complete outfit is viewed from the front, side, and back.
Matching sets make the visual relationship between different ease levels especially important. A close-fitting top with wide trousers can be an effective intentional contrast, but an accidentally tight top with an accidentally loose bottom reads as poor development. Fittings should therefore ask not only whether the wearer can move comfortably, but whether the distribution of ease supports the intended design.
How Do Fabric and Construction Affect the Pattern?
Fabric and construction affect pattern dimensions because they change stretch, recovery, drape, thickness, shrinkage, seam behavior, and support. A pattern developed for stable suiting cannot be transferred unchanged to jersey, satin, mesh, or a soft bias-cut fabric. Matching sets should be tested in production-representative materials because material behavior can alter both individual fit and the relationship between the two pieces.
Measure Stretch, Recovery, and Shrinkage Instead of Guessing
Fiber composition is useful information, but it does not tell a pattern maker enough about how a fabric will behave on the body. Two polyester-spandex jerseys may have the same fiber percentages and completely different weight, knit structure, stretch, recovery, and surface stability. Those differences can produce visibly different garments from the same paper pattern, especially in close-fitting sets.
Stretch can be measured with a simple test. If a 100 mm fabric section stretches comfortably to 130 mm without excessive force, the measured extension is approximately 30%. That result should be recorded by direction because crosswise and lengthwise performance can differ significantly. A fabric with strong crosswise stretch and limited vertical stretch behaves very differently from a four-way stretch knit when used for a fitted top or long skirt.
Recovery should be checked after extension rather than assumed. If that original 100 mm section returns to 101 mm, it has recovered much more effectively than one remaining at 105 mm. The second material may be more likely to bag at the seat, waist, elbow, or knee after wear. For matching sets, uneven recovery can also make the two pieces look less coordinated after several hours on the body.
Shrinkage deserves the same attention. A 2% length change on a 100 cm trouser equals 20 mm, which is enough to affect the finished silhouette noticeably. Even a smaller change in a very short crop top can alter the waist relationship. When the intended bulk fabric changes after fitting, the development team should therefore recheck the pattern rather than assuming a visually similar material will perform the same way.
Adjust Patterns for Woven, Stretch, and Draped Fabrics
Stable woven fabrics depend heavily on the pattern itself for shape because the material offers limited stretch. Bust darts, princess seams, waist suppression, hip shaping, pleats, and carefully distributed ease create the three-dimensional garment. When the same silhouette moves into a stretch fabric, some of that shaping may be reduced because the material can conform to the body, but new problems around tension and recovery appear.
Too much negative ease in stretch fabric can distort mesh openings, pull rib structures apart, drag necklines downward, or create visibly strained seams. Too little can cause bagging after a short period of wear. The pattern maker must therefore consider not only stretch percentage, but also where the material is expected to hold the body, where it should skim, and where it needs freedom for movement.
Soft and draped materials introduce a different set of problems. Rayon, viscose, chiffon, lightweight satin, and certain knits can lengthen under their own weight. Bias-cut panels may continue to grow after hanging. A skirt that measures correctly immediately after sewing may therefore require resting before the final hem is established, particularly when the design depends on a clean relationship with a cropped top.
Seam allowance also needs to match the factory’s actual construction method. Overlocked knit seams frequently use relatively narrow allowances, often around 6–10 mm depending on equipment and technique, while many woven fashion seams use roughly 10–15 mm. These figures are common industry ranges rather than fixed standards. The essential requirement is that the pattern allowance and sewing operation agree, because repeated small discrepancies across several seams can materially change finished dimensions.
Account for Linings, Cups, Boning, and Closures
Internal construction can change fit even when the outside silhouette remains almost identical. A single-layer stretch crop top and a lined corset-style top may appear similar in a drawing, but their internal mechanics are completely different. Cups, boning, interfacing, elastic, facings, seam turn, and zipper installation can all reduce flexibility, occupy internal space, and influence where the garment sits on the body.
One useful question during development is which layer actually controls the fit. If an outer stretch mesh has substantial stretch but its lining is far more stable, the finished garment will behave closer to the lining once the two layers are joined. Drafting only from the shell’s stretch performance can therefore make the final piece considerably tighter than expected.
Bra cups require correct height, spacing, and underbust placement. Boning introduces rigidity and can change how the waist and bust are held. Interfacing can reduce stretch, while elastic requires its own length and tension relationship. These components must be included before the fit is finalized rather than treated as decoration added after approval.
Closures create similar consequences. An invisible zipper stabilizes one seam, elastic creates adjustability, buttons require overlap and reinforcement, and hooks control local areas under tension. Closure choice also affects dressing practicality. A highly fitted zipped top paired with a highly fitted zipped skirt may look excellent in imagery, but the customer experience can suffer if both pieces are difficult to enter or uncomfortable after extended wear.

How Do You Grade Matching Set Patterns Across Sizes?
Grade matching sets by coordinating both garments around one size system. Bust, waist, hip, rise, length, and other body-driven dimensions should follow the brand’s grade rules, while design-controlled details such as waistband depth, neckline depth, crop proportion, slit placement, and trim widths require separate judgment. Good grading preserves the design intent rather than simply enlarging every pattern line.
Build Grade Rules From the Brand Size Chart
Grading begins with an approved base pattern and a reliable brand size chart. Many commercial womenswear systems move bust, waist, and hip circumferences in increments of approximately 4–5 cm between adjacent sizes, although actual increments vary by brand, region, product category, and size range. Those figures should therefore be treated as examples of common practice rather than universal standards.
The total circumference increase also has to be distributed intelligently across the pattern. A 4 cm bust increase does not mean four arbitrary centimeters can be added wherever there is space. The pattern maker decides how growth is distributed through side seams, princess seams, shoulder or armhole areas, and other shaping points while preserving balance and maintaining the intended silhouette.
Vertical measurements usually behave differently from circumference. Garment length, rise, armhole depth, shoulder dimensions, and neckline position often change in smaller or less regular increments. Matching sets make this especially important because the vertical relationship between the two garments can drift even when both pieces technically follow reasonable independent grade rules.
If a crop top grows 5 mm in length per size while trouser rise and waistband position also increase, the visible waist gap can gradually disappear. This may not be noticeable until a larger size is sampled. Recording shared relationship measurements during grading makes it easier to catch that drift before patterns are released.
Separate Body-Driven and Design-Controlled Dimensions
One of the most common grading errors in fashion products is allowing every feature to grow simply because the body measurements grow. Many details belong more strongly to the design than to body size. Waistband depth, strap width, neckline depth, pocket size, zipper length, slit position, trim width, and exposed waist proportion are examples that often require controlled rather than proportional changes.
A 40 mm waistband may remain 40 mm through several sizes. A 25 mm strap does not automatically need to become wider every time bust circumference increases. A neckline may need a small adjustment for balance and coverage, but increasing depth at the same rate as bust growth could make larger sizes noticeably more revealing than the base design.
It is useful to separate measurements into three practical groups. Body-driven measurements such as bust, waist, hip, and thigh generally follow customer body growth. Fit-driven measurements such as shoulder, armhole, rise, crotch extension, and some vertical lengths change with size but need more controlled rules. Design-controlled measurements such as waistband depth, slit position, trim width, and certain neckline dimensions may stay constant or change only slightly.
Fashion-forward sets make these distinctions particularly important. Cropped proportions, low waists, corset seams, cut-outs, micro skirts, and narrow straps can lose their original balance when grading is treated as an automatic scaling exercise. Representative sizes should therefore be reviewed after grading, ideally including lower, middle, and upper points in the proposed range.
Keep Top and Bottom Proportions Coordinated
Coordinated grading does not mean making every size look like a mathematical enlargement of the base size because real bodies do not grow as geometrically scaled copies. The objective is to deliver comparable coverage, comfort, visual balance, and design character across the range while respecting how bust, waist, hip, torso, and rise relationships change.
Consider a fitted crop top paired with a high-waisted skirt. Bust and waist widths may increase substantially through the range, while top length changes only modestly. The bottom requires additional waist and hip room and may also need rise or shaping changes. If these pieces are graded in isolation, larger sizes may expose more or less waist than intended even though neither pattern contains an obvious grading error.
Mixed-size purchasing makes coordination even more important. Many customers do not wear the same labeled size on top and bottom. A medium top may be paired with a large skirt, or a small top with medium trousers. If the garments will be offered as independently selectable separates, the development team should consider whether neighboring-size combinations still create a coherent visual proportion.
Market-specific labeling should also be handled carefully. US, UK, EU, and AU size numbers do not translate perfectly simply by changing the label. The underlying body chart matters more than the printed number. When a brand enters a new market, reviewing target bust, waist, hip, height, and body proportions provides a more reliable foundation than relabeling an existing size range without validating its fit.
How Do You Validate Matching Set Patterns Before Bulk Production?
Validate matching set patterns through staged samples, measurement checks, full-outfit fittings, documented pattern revisions, grading review, and a final pre-production reference. A pattern is ready for bulk only when fit, fabric, construction, size relationships, and manufacturing details can be repeated consistently. Approval should confirm the complete set rather than two individually acceptable garments.
Use Each Sample Stage for a Different Decision
Sampling becomes much more efficient when each stage answers a different question. Treating every round as another attempt to make the garment “look better” tends to create repeated comments, undocumented changes, and uncertainty about which version is actually approved. A structured process allows design, fit, construction, and production risks to be resolved in a more logical order.
The first sample checks whether the design has translated successfully from the pattern into a physical garment. It can expose unexpected silhouette problems, incorrect proportions, unsuitable fabric behavior, difficult construction, or an obvious mismatch between top and bottom. The purpose is diagnosis rather than perfection, and a first sample that reveals important problems early can be more valuable than one that looks attractive but hides production weaknesses.
The fit sample focuses more closely on how the garment sits and moves on the body. Bust, waist, hip, rise, neckline, top length, waistband position, garment length, and the relationship between both pieces should be reviewed while standing, walking, sitting, and moving the arms. A revised sample becomes valuable when those changes are too substantial to approve confidently from paper comments or measurements alone.
The PP sample, or pre-production sample, should represent the intended production setup as closely as the project requires. By this stage, major design decisions should already be settled. The focus shifts toward confirming the final pattern, production material, trims, construction, measurements, labels where relevant, and visual standard before bulk production begins.
Sample Stage | Main Purpose | Matching-Set Question |
First sample | Confirm design translation | Does the full silhouette work? |
Fit sample | Correct body fit | Do both pieces sit correctly together? |
Revised sample | Verify major corrections | Did the changes solve the original issue? |
PP sample | Confirm production setup | Are pattern, fabric, trims, and construction approved? |
Golden/reference sample | Preserve final standard | Can production and QC compare against it? |
Diagnose Fit Problems Before Changing the Pattern
The visible symptom of a fit problem does not always reveal its cause. A crop top that rides upward may appear to need additional length, but the real issue could be insufficient bust room, a tight armhole, excessive back tension, an underbust seam positioned too high, or fabric recovery that keeps pulling the garment upward after movement.
The same diagnostic approach applies to bottoms. A skirt that rides up can result from insufficient hip room, poor front-to-back balance, an unstable waistband, fabric stretch, or an incorrect hem relationship. Trousers showing front drag lines may require changes to rise or crotch shape rather than simply adding width at the waist. Correct diagnosis avoids accumulating compensating changes that make the pattern increasingly difficult to control.
Useful fitting records combine measurements, photographs, wearer feedback, and pattern notes. Front, side, and back images reveal balance and proportion, while flat garment measurements confirm whether the physical sample matches the specification. Wearer comments add information about pressure, restriction, movement, and confidence that cannot always be seen in a photograph.
Each approved correction should also be reflected in the pattern version, measurement chart, and relevant construction notes. This matters even more for sets because a technically correct change to one piece may alter the visual relationship with the other. Raising a waistband by 15 mm should trigger another check of the top length even if the top itself has no fit defect.
Confirm Production Readiness, Not Just Sample Appearance
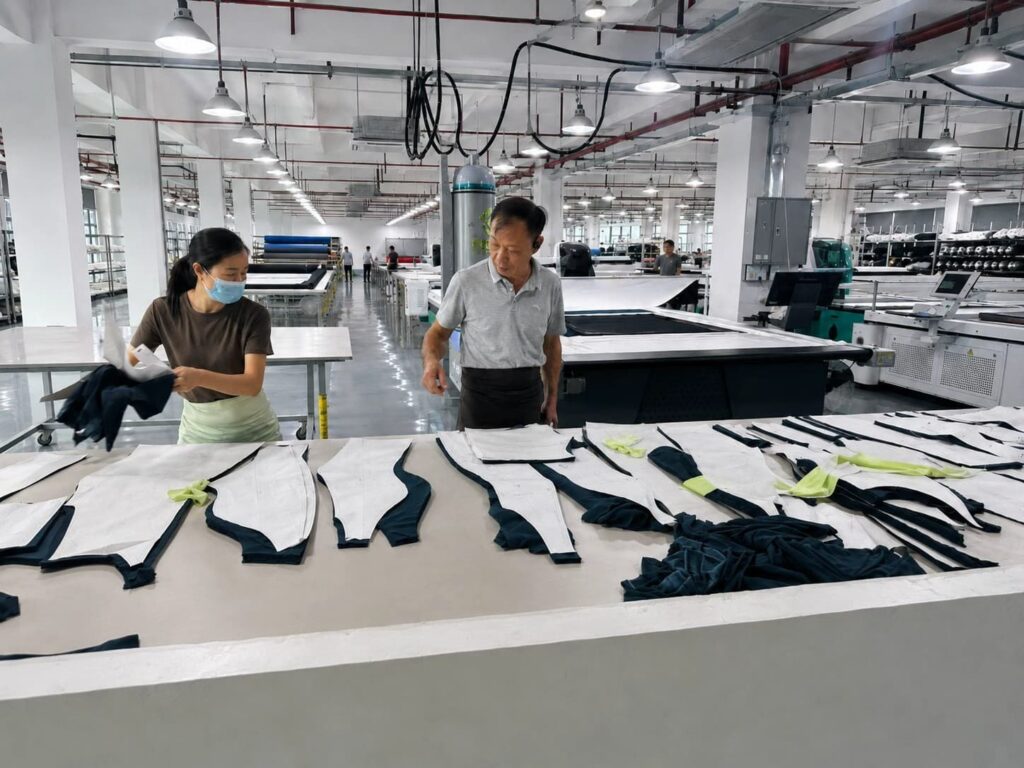
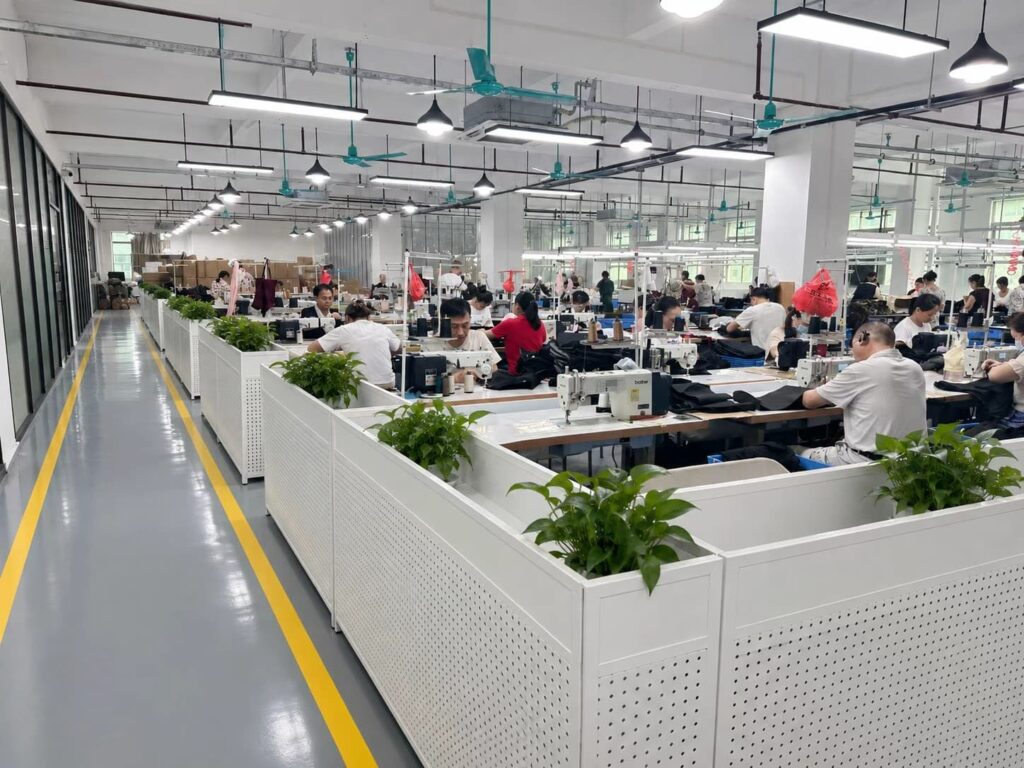
A beautiful sample is not automatically ready for production. An experienced sample machinist may achieve an excellent result through individual attention that cannot be reproduced efficiently across a larger sewing line. Before release, the team needs to confirm that the pattern pieces, construction method, materials, and measurement standards can be followed repeatedly without relying on one person’s interpretation.
Final pattern files should contain clear piece names, size identification, grain direction, notches, seam references, closure positions, and all required lining, facing, waistband, pocket, or internal-support pieces. Corresponding seams should sew together at the intended lengths, and all changes made during fitting should be transferred to every affected component rather than remaining only in handwritten comments.
The measurement specification must also agree with the final pattern. When the tech pack calls for one waist measurement but the approved pattern produces another, bulk teams are forced to decide which document should take priority. That ambiguity can create avoidable variation in cutting, sewing, finishing, and QC, especially when production is spread across multiple lines.
For matching sets, the final production review should also check shade consistency, print direction where relevant, top-to-bottom waist relationship, crop length, rise, garment balance, closures, and size pairing. A professionally resolved set has reached the point where both pieces can be cut, sewn, measured, inspected, packed, and reordered using the approved documentation without the original pattern maker having to stand beside the line explaining the intention.
Conclusion
Developing matching set patterns successfully is less about drawing two garment shapes and more about controlling the relationships between them. The top has to fit the upper body, the bottom has to fit the lower body, but the complete outfit also needs its own logic around waist position, proportion, ease, movement, fabric behavior, grading, and construction. That third layer is what separates a coordinated set from two garments that merely happen to share a color or textile.
For fashion brands planning commercial production, the most useful time to question crop length, rise, waistband position, stretch, support, grading, or size pairing is before the pattern reaches bulk cutting. A change of 10 or 20 mm may seem insignificant during development, yet across a complete silhouette and a full size range it can determine whether the set looks polished or slightly wrong. Experienced pattern making, disciplined sampling, and clear technical records turn those small decisions into repeatable results that can move from a successful sample into dependable production.
Share This Article :

Jerry Lee
Categories

Latest blogs
Table of Contents
Here, developing your OEM/ODM private label clothing collection is no longer a challenge—it’s an excellent opportunity to bring your creative vision to life.