Skip to content

How to Develop a Draped Dress Pattern: From Dress Form to Production-Ready Pattern

Your trusted Women’s Apparel Manufacturer from China
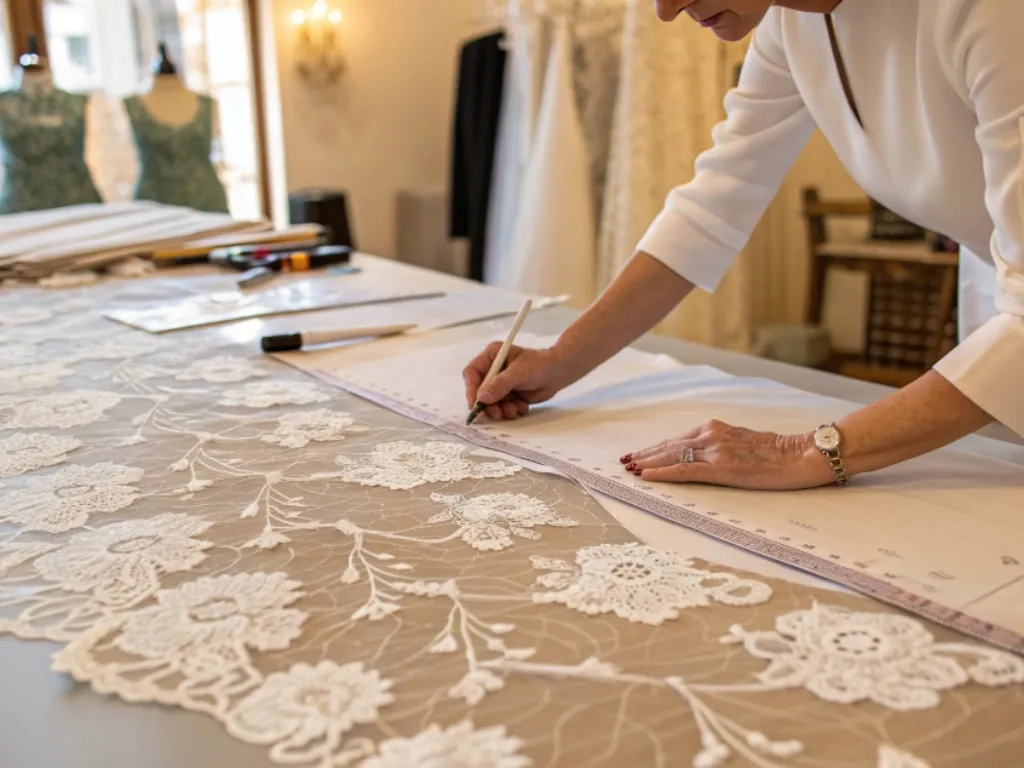
A draped dress can look almost effortless when it is finished. Fabric falls from the shoulder, gathers settle naturally into the waist, a cowl opens softly across the neckline, or an asymmetric fold seems to follow the body without visible engineering. In reality, draped dresses are among the easiest garments to make look impressive on a mannequin and among the hardest to turn into reliable patterns. The real work begins when the fabric must come off the form, lie flat on paper, sew back together, fit a moving body, and still create the same visual effect in different sizes and production batches.
A draped dress pattern is developed by shaping fabric directly on a dress form, marking grainlines, seams, folds, balance points, and fit references, transferring the drape to paper, truing the pattern, sewing a test sample, correcting fit, and finally establishing grading and production standards. Fabric weight, stretch, bias, construction, and anchor points must remain controlled throughout the process.
That is the difference between making one attractive experimental dress and developing a pattern that another pattern maker, sample machinist, or production line can reproduce weeks later. A designer may spend an afternoon perfecting a beautiful side drape, only to discover that the paper pattern no longer creates the same silhouette after the garment is sewn. Understanding where that difference comes from is the foundation of good draped dress development.
What Makes a Draped Dress Pattern Work?
A draped dress pattern works when fabric behavior, body fit, grain direction, fold placement, seam balance, and construction remain connected from the dress form to the finished garment. The pattern must reproduce the intended volume without relying on temporary pins or guesswork, while still providing enough stability, coverage, movement, and technical information for sampling, grading, and repeat production.
Draping is often presented as an intuitive or artistic technique, but commercial dress development requires a second layer beneath the visual result. Gravity is constantly shaping the cloth while the designer works. Grain direction, fabric weight, stretch, surface friction, seam placement, and even the tension created by individual pins can change how the garment looks. Once the fabric leaves the mannequin, each of those relationships has to be translated into information that can be measured and recreated.
A useful way to evaluate the first drape is to separate the dress into four control areas. Fit determines whether the bust, waist, hip, neckline, armhole, and length work on the body. Drape determines how the folds, gathers, cowls, or twists fall. Balance checks whether the center lines, side seams, and hem remain stable. Construction decides whether those visual effects can survive lining, closures, reinforcement, stitching, pressing, and repeated wear.
Control Area | What to Check | Typical Failure |
Fit | Bust, waist, hip, neckline, length | Pulling, gaping, riding up |
Drape | Fold depth, direction, volume | Flat, bulky, or collapsed folds |
Balance | Side seams, front/back length, hem | Twisting or uneven hanging |
Construction | Seams, lining, closure, reinforcement | Drape changes after sewing |
Draping vs. Flat Pattern
Flat pattern making and draping are not competing methods. They solve different problems. Flat pattern making begins with measurements, blocks, darts, seam manipulation, and calculated shaping. Draping begins with fabric on a three-dimensional form and lets the cloth reveal how much volume, rotation, stretch, and curvature the design actually needs. When a garment depends heavily on gravity and surface movement, seeing it in three dimensions often reveals information that is difficult to predict from a sketch.
A fitted sheath dress, princess-seam dress, simple A-line dress, or stable woven bodice can often be developed efficiently from an established block. A cowl neckline, twisted front, side-draped skirt, bias-cut slip, asymmetric gathered bodice, or sculpted evening dress may benefit much more from draping because the visual result changes as fabric rotates away from the straight grain and settles around the body.
The strongest workflow often combines both methods. An established block controls the basic bust, waist, hip, shoulder, and length relationships. The visually complex area is draped on the form. Once removed, that section returns to flat-pattern work for truing, seam matching, lining development, notches, grading, and production preparation. This hybrid process keeps the freedom of draping while reducing the risk that an attractive experimental garment becomes difficult to reproduce.
Fit, Drape, and Structure
Draped dresses frequently appear soft and unstructured, but many successful designs rely on very precise support underneath the visible surface. A cowl neckline needs stable shoulder or neckline anchors. A side-ruched dress may depend on elastic, gathering stitches, or a carefully controlled seam length. A draped strapless gown can require cups, boning, stay tape, lining, or internal elastic even though none of those elements are obvious from the outside.
The key is distinguishing deliberate volume from accidental looseness. Excess fabric around the waist may form a planned fold, or it may indicate that the pattern is too large. Pulling at the hip may come from insufficient ease, but it can also appear because the side seam has rotated or the lining is tighter than the shell. A neckline can gape because of excess pattern length, handling stretch, poor strap angle, or inadequate stabilization.
Small fit changes can noticeably affect the visual drape. Raising a waistline by 10–15 mm may move an entire cluster of folds. Shortening a shoulder strap can improve bust coverage while increasing armhole tension. Adding hip room may improve comfort but reduce the tension that was previously holding a fold in position. Professional draped pattern development therefore treats fit, drape, and support as one connected system rather than three separate problems.
Styles That Benefit Most
Draping is particularly useful when fabric behavior controls the design more strongly than obvious geometric seam lines. Cowl-neck dresses, asymmetric evening dresses, side-draped midi dresses, ruched bodycon styles, twisted-front dresses, gathered waist dresses, bias slips, one-shoulder gowns, draped mesh overlays, and softly sculpted occasionwear are all good examples because their final appearance depends heavily on gravity, grain, weight, and anchor placement.
The entire garment does not necessarily need to be draped. A corset dress may use a drafted internal foundation for bust support while a satin or mesh overlay is draped over it. A stretch bodycon dress may begin from an established knit block while only the ruched side panel is developed on the form. A bias-cut evening dress might use a calculated skirt shape with the neckline and upper bodice draped separately.
This approach keeps the technical pattern cleaner and makes later corrections easier. The useful question is not whether a design qualifies as a “draped dress.” It is which parts of the garment gain reliable information from three-dimensional development. When only the areas that truly need draping are treated that way, the final pattern is usually easier to grade, sew, inspect, and repeat.
Which Fabric and Tools Do You Need?
Choose a development fabric that behaves as closely as practical to the intended final material, especially in weight, stretch, recovery, thickness, friction, and drape. Use a dress form close to the intended base size, fine pins, style tape, rulers, marking tools, scissors, pattern paper, and photographic references. Material behavior matters more than owning an elaborate collection of specialized tools.
Traditional cotton muslin remains useful because it is stable, inexpensive, easy to mark, and easy to see on a dress form. The problem is that it does not behave like every fashion fabric. A stiff toile may create crisp folds that disappear completely when translated into lightweight satin. A stable cotton test can hide the growth that appears later in viscose. A woven toile cannot predict the negative ease and recovery of a stretch jersey dress.
For styles where the final appearance is heavily dependent on the material, it is common to separate development into two stages. The first test cloth establishes the broad shape without consuming expensive fabric. A second sample, or at least the most critical draped area, is then tested in the final fabric or a material with very similar behavior. This prevents a good pattern decision from being based on the wrong physical assumptions.
Fabric Behavior First
The most useful comparison is not simply fiber content. Two polyester satins can behave differently because of construction, finish, thickness, and weight. Two jerseys can have the same nominal stretch but very different recovery. The pattern maker should therefore compare measurable properties and physical observations instead of relying only on a fabric name supplied by the mill.
Weight influences how strongly gravity pulls the fabric downward. Stretch influences how the garment fits around the body and how much ease is required. Recovery determines whether a stretched area returns to its original dimensions or gradually grows. Thickness affects bulk inside pleats, gathers, and seams. Surface friction affects whether folds stay in position or slide during wear.
Typical supplier ranges vary, so these figures should be treated as practical references rather than universal standards.
Fabric | Approx. Common Weight | Draping Behavior | Main Risk |
Chiffon | 60–120 GSM | Very light and fluid | Shifting, transparency, uneven hem |
Satin | 80–200 GSM | Fluid to medium body | Slip, tension marks, snagging |
Crepe | 100–220 GSM | Fluid with controlled weight | Fold depth changes with GSM |
Jersey | 140–240 GSM | Soft, elastic, body-following | Growth and recovery |
Stretch Mesh | 70–160 GSM | Light, elastic, transparent | Neckline growth and lining control |
If the development fabric and final fabric differ significantly in two or more of these characteristics, the first drape should be treated as a structural experiment rather than a final reference.
Grain, Bias, and Stretch
Grain direction controls how woven fabric responds to gravity and tension. Straight grain generally offers greater stability along the warp. Cross grain may provide slightly different give depending on the fabric construction. Bias allows the cloth to move diagonally and conform around curves, even when no elastane is present. This is one reason bias-cut dresses can look so fluid and smooth around the body.
The advantage of bias also creates risk. Bias sections can lengthen while hanging, seam edges can stretch during sewing, and hems can become uneven after the finished garment relaxes. A dress that looks perfectly level immediately after sewing may change after several hours on a hanger. That is why grain direction should be marked while the fabric is still on the dress form rather than reconstructed later from memory.
Stretch fabrics add another variable. Two materials may each stretch 30% across the width, yet one may snap back immediately while the other remains slightly extended. That difference can move waist folds, enlarge necklines, or cause a fitted skirt to grow during wear. For stretch styles, test crosswise stretch, lengthwise stretch, recovery, weight, and the relationship between shell and lining before finalizing the pattern.
Tools That Matter
A dress form should represent the intended base size as closely as possible. A generic mannequin is perfectly useful for creative exploration, but a commercial pattern eventually has to relate to the brand’s actual measurements, body proportions, and fit preferences. Waist position, bust level, hip level, torso length, and shoulder shape all affect where a draped feature visually sits on the body.
Style tape creates a useful coordinate system on the form. Center front, center back, waist, bust, hip, neckline, armhole, side seam, and important style lines provide fixed landmarks while the fabric moves. Fine pins are preferable because large pins can distort lightweight cloth. Long rulers, French curves, and hip curves are useful once the fabric returns to the table and needs to become a clean paper pattern.
Photography is one of the most useful tools in complex draping. Take front, side, back, and close-up images before removing the fabric. For an asymmetric design, record several viewing angles because some fold relationships cannot be understood from a flat pattern alone. The date, pattern version, style number, and test fabric should also be recorded because nearly identical paper pieces become surprisingly easy to confuse after several fitting rounds.

How Do You Drape the Dress Form?
Mark the main body and style references on the dress form, establish the fabric grainline, anchor the cloth only where necessary, and let the fabric settle before forcing folds into position. Build volume gradually, check the dress from front, side, and back, and mark seams, grain, fold positions, balance points, and construction references before removing the drape.
Good draping usually develops more slowly than short demonstration videos suggest. The pattern maker repeatedly steps away from the form because close-up work can hide serious proportion problems. A fold may look beautiful from the front while pulling the side seam forward. A low cowl can photograph well but expose too much when the wearer bends. A dramatic hip drape can raise one side of a mini dress above the intended safe length.
Once a promising visual shape appears, stop adjusting small folds for a moment and look at the entire garment. Check shoulder level, center front, waist position, center back, side seam, hip line, hem, neckline, and the relationship between the drape and the body. The most visually exciting version is not automatically the strongest pattern if it depends on hidden tension that cannot be reproduced later.
Mark the Form
Center front, center back, bust, waist, and hip are the minimum references for most dress styles. Add underbust, high hip, low hip, neckline, armhole, side seam, princess line, strap position, slit start, or cut-out boundaries whenever they influence the design. These lines provide objective landmarks while the fabric is being rotated, gathered, twisted, or allowed to fall away from the straight grain.
Asymmetric designs benefit especially from measurable references. A fold that begins 40 mm above the waist and 60 mm from the side seam can be reproduced more reliably than a fold described as “slightly above the hip.” This type of reference also helps later when the sample is fitted and the team needs to determine whether the fold moved because of the pattern, the fabric, or the wearer’s proportions.
The form should not be covered in unnecessary tape. Every line should have a purpose. If a design requires a low neckline, mark the intended coverage boundary. If it includes a deep side cut-out, mark the safe edge and side seam. These references help the pattern maker judge proportion while the cloth is still flexible enough to change.
Shape Without Over-Pinning
Start with more fabric than the final pattern appears to need. Extra allowance gives the cloth room to rotate, form volume, and find its natural position. Establish the grain first, then secure one or two primary anchor points such as the shoulder, neckline, waist, center front, or side seam, depending on the design.
Over-pinning is a common mistake because it forces the cloth into a shape before the fabric has revealed how it naturally wants to fall. Use enough pins to control the design, but leave enough freedom for gravity to create the actual folds. If every 20 or 30 mm is pinned, the fabric may look controlled on the mannequin yet behave very differently when those temporary supports disappear.
A useful test is to remove one pin from an important area. If the entire design collapses, ask what will replace that pin in the finished dress. It may become a seam, tack, elastic section, lining attachment, reinforcement, or stable anchor. If there is no realistic construction method to perform the same job, the drape may not yet be ready for pattern development.
Build Controlled Volume
Pleats, gathers, ruching, cowls, twists, and free folds all manage fabric volume, but they do so in different ways. A pleat has defined geometry. A gather distributes additional length into a shorter section. Ruching compresses a longer area against a controlled length. A cowl depends heavily on grain, anchor position, and the amount of fabric allowed to fall freely between fixed points.
For every important draped detail, identify where the volume begins, where it ends, how much material is involved, and whether its depth is fixed or allowed to move. A side-ruched jersey dress may need an exact full edge length and a much shorter finished gathered length. A satin waist drape may instead depend on two shaped folds trapped inside the side seam.
Gather ratios can provide useful starting points, although fabric weight and appearance always need to be tested. Light gathering may begin around 1.5:1, while stronger gathering in lightweight fabrics often falls within roughly 2:1 to 3:1. Heavy crepe generally becomes bulky sooner than chiffon, so the same ratio should not automatically be transferred from one material to another.
Mark Before Removal
Mark the drape while it is still stable on the form. Trace seam lines, neckline, armhole, waist, fold positions, major balance points, grain direction, dart equivalents, and match points. Where several layers overlap, short reference marks are often more reliable than attempting to draw a long line across folded fabric.
Notches are particularly important. They can identify where gathering starts and ends, where a major fold begins, where two curved seams match, or where an asymmetric panel aligns with another piece. If a fold has a specific direction, mark which side sits on top. For twists, indicate rotation direction. For free drapes, identify any tack or attachment points that will hold the visual shape after sewing.
Before removing the fabric, confirm that the pattern information is complete enough to explain the design without the mannequin. You should know where the grain runs, which folds are permanent, which sections remain free, what edges will eventually be sewn together, and where the visual anchors sit relative to the body. If any of those relationships are still being remembered rather than recorded, more marking is needed.
How Do You Turn the Drape into a Pattern?
Remove the drape carefully, release temporary folds only after marking them, flatten the fabric without stretching, and transfer the seam and style lines to paper. True corresponding seams, correct curves, preserve intentional asymmetry, and then add grainlines, notches, fold instructions, seam allowances, cutting information, and construction references before the pattern is used for sampling or grading.
This stage is where draping becomes actual pattern making. A muslin that has been pinned, stretched, folded, and held under gravity rarely looks perfectly clean when it is placed flat. A neckline may contain a small irregularity. Two seams that appeared to meet on the form may differ slightly in length. A waist curve may need to be blended. These are normal consequences of developing a three-dimensional shape rather than signs that the original drape was unsuccessful.
The purpose of truing is not to redesign the garment until every line looks mathematically tidy. Some irregularity may be intentional because it creates the visual drape. The goal is to remove accidental inaccuracies while preserving the geometry that gave the design its character.
Remove and Flatten
Photograph the finished drape before removing any important pins. Then release secondary pins first and keep major anchors in place long enough to understand how the pieces connect. If the design contains overlapping panels, number the components before separating them. Bias-cut and stretch pieces should be supported during removal because pulling them from one corner can distort edges that have already been hanging under tension.
Pleats and temporary folds should be opened only after their fold line, depth, direction, and endpoints have been recorded. Gathered sections should be marked in both their full and compressed states. The hidden fabric inside a fold often contains important shaping information that is impossible to reconstruct from a photograph of the finished surface.
Once the drape is on the table, allow it to relax and use weights rather than stretching it aggressively flat. Trace the marked stitching or seam line instead of blindly following the raw outside edge, because the raw edge may contain temporary development allowance. At this stage, hidden dart equivalents also become easier to recognize. A fold at the waist may be performing the shaping work that a conventional dart would normally provide.
True the Pattern
Walk corresponding seams together along the stitching line. Check shoulders, side seams, waist joins, lining joins, princess seams, and any seam that captures a major fold or gathered area. Curves through the neckline, armhole, waist, and hip should be blended smoothly, but intentional shaping should not automatically be straightened simply because it looks unusual on the table.
Symmetrical designs can be compared by folding or mirroring the pattern. Genuine asymmetric designs should use full pattern pieces with clear left and right identification. Trying to force an asymmetric dress into half-pattern conventions can create cutting errors and confusion later, especially when the difference between the two sides is subtle.
Bias seams deserve particular attention because they can stretch during handling and sewing. Zipper seams, shoulders supporting heavy drapes, or neckline edges may require reinforcement even when they measure correctly on paper. If two matching seams are different lengths, determine the reason before trimming one. Intentional ease, fabric distortion, and inaccurate marking require different solutions.
Add Production Marks
A useful pattern should make sense to someone who never saw the original dress form. Add the style number, pattern version, piece name, front or back identification, grainline, cut quantity, seam lines, fold lines, notches, gathering boundaries, center lines, zipper position, lining references, and special construction marks.
Directional materials require additional clarity. Satin can show different light reflection depending on cutting direction. Velvet has nap. Printed fabric may require motif orientation. Sequins and lace can have directional arrangements. Bias pieces must be marked explicitly so the cutting team does not interpret the paper layout incorrectly.
Seam allowances should be added after the pattern shape is confirmed. Different construction methods may require different allowances, so applying one standard amount to every edge can create unnecessary problems. A production pattern eventually needs to connect with a final size chart, grade rule, fabric specification, lining, trims, construction method, measurement tolerance, and QC points.
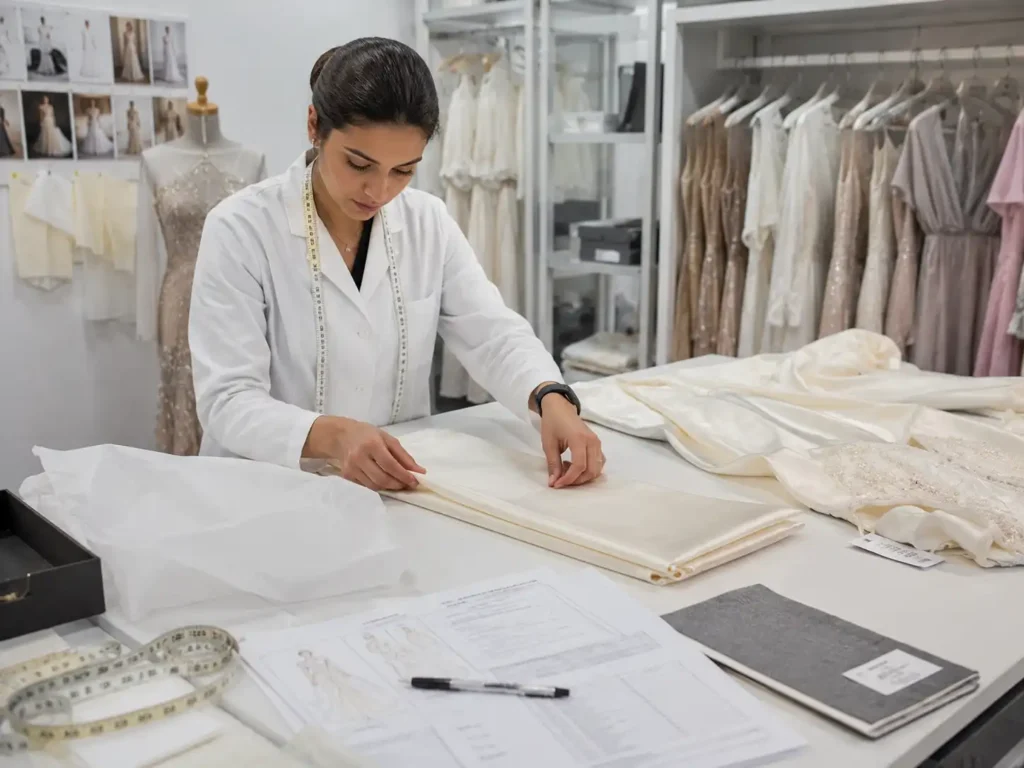
Jinfeng Apparel’s documented development process follows this same principle by moving from pattern and sample development into final size charts, grade rules, fabric, lining, trims, seam allowances, construction methods, measurement tolerances, QC points, and packing standards before bulk conversion.
How Do You Test and Correct the Pattern?
Sew the transferred pattern into a toile or development sample and evaluate the garment on a relevant dress form or fit model. Check overall body balance before adjusting small folds, then review neckline, bust, waist, hip, side seams, length, movement, drape placement, and fabric behavior. Corrections should address the source of a problem rather than simply hiding the visible wrinkle.
The first sewn sample often reveals information that the paper pattern could not show. A neckline may grow during sewing. A waist fold may sit lower because the final seam adds weight. A fitted hip can feel tighter once seam allowances and lining are inside the garment. A bias skirt may lengthen after hanging. These discoveries are a normal part of pattern development and should be treated as technical information rather than failure.
The objective is not to make every area rigid or wrinkle-free. Draped garments are supposed to contain softness and movement. The pattern maker must distinguish intentional folds from tension lines, planned asymmetry from imbalance, and natural fabric movement from unstable construction.
First Toile Checks
Begin with the large relationships. Check center front, center back, shoulder level, waist position, side seams, front-to-back balance, hem, neckline, bust coverage, armhole, and major drape anchors before spending time adjusting minor folds. A visually impressive detail cannot compensate for a garment whose entire front is too short or whose side seam is rotating several centimeters forward.
The fit model should stand naturally and move normally. Ask the wearer to walk, sit, raise the arms where appropriate, and return to a relaxed position. A mini dress that appears safe when standing can become uncomfortably short when sitting. A cowl may appear controlled in a product photo while exposing too much when the wearer bends forward. A side-draped skirt can shift or rotate after several steps.
Photographs should be taken from front, side, and back and compared with the original dress-form drape. The sewn sample will never behave exactly like temporarily pinned fabric, but the same visual intention should remain. The question is whether the approved proportions and folds survive actual construction, not whether every millimeter looks frozen in the same position.
Fix Causes, Not Symptoms
Wrinkles indicate that something is happening, but they do not identify the cause by themselves. Horizontal pulling across the hip may mean insufficient room, yet it can also come from a twisted side seam, a tight lining, or a grain problem. Neckline gaping may indicate excess length, handling stretch, an incorrect strap angle, or missing reinforcement.
Test the suspected cause before changing the pattern. Temporary pinning, basting, or releasing a seam can reveal whether the adjustment is moving in the right direction. If removing 10 mm at the waist improves several folds at once, a pattern change is likely justified. If adding hip room improves movement and straightens the side seam, the original hip ease may genuinely have been insufficient.
Revision records are important because small adjustments accumulate quickly. Record the location, reason, original dimension, revised dimension, pattern method, fabric effect, construction effect, and whether another sample is required. Jinfeng Apparel’s documented revision system similarly records changes to bust, waist, hip, length, straps, neckline, armholes, back, slit, lining, support structure, fabric, and construction before updating the following sample version.
Problem on Sample | Possible Cause | Practical Correction |
Cowl looks too flat | Insufficient volume or wrong grain | Increase extension or review bias |
Side folds fall too low | Excess vertical length or weak anchor | Shorten control area or reposition anchor |
Hip pulls | Insufficient ease or poor stretch match | Add room or review shell/lining relationship |
Neckline grows | Bias or stretch during sewing | Stabilize edge and correct pattern length |
Hem becomes uneven | Bias growth or fabric slip | Let garment relax and re-level |
Ruching looks bulky | Too much volume for fabric weight | Reduce ratio or shorten gathered area |
Validate the Final Fabric
A good toile can still fail when translated into the wrong final fabric. Satin may expose every small tension line. Chiffon may float away from the body instead of holding the planned fold. Jersey can require less circumference because the fabric stretches around the wearer. Mesh may grow at the neckline. Viscose can hang longer or respond differently after shrinking or relaxing.
Compare the development fabric with the final material in practical terms: GSM, thickness, stretch, recovery, transparency, surface friction, and bias behavior. If a major visual feature depends on one of these properties, test it directly in the real fabric before approval. A cowl developed in a 100 GSM satin can look noticeably different when the production fabric changes to a 180 GSM satin.
Bias-cut styles frequently need time to relax before the hem is finalized. The exact hanging period depends on fabric, cut, weight, and construction, but the principle remains the same: do not assume that an immediately sewn hem represents the final length. Lining should also be evaluated together with the shell because a stable lining under a fluid or stretchy outer layer can restrict movement enough to change the external drape.
When Another Sample Is Necessary
Another sample is usually worthwhile when a change affects fit, drape, or construction in a meaningful way. A minor label adjustment rarely requires another fitting, but changing the neckline, bust, waist, hip, fabric, major fold volume, zipper, support, lining, or gathering ratio generally deserves physical verification.
A simple risk check is to ask whether the revision changes one of three connected systems. The fit system includes body measurements, coverage, ease, support, and balance. The drape system includes grain, volume, fold distribution, anchor points, and fabric weight. The construction system includes seams, lining, closures, elastic, reinforcement, and sewing sequence.
If a revision affects two systems at once, the need for another sample becomes stronger. Shortening a strap can alter bust coverage and armhole shape. Raising a side drape may change visual balance and skirt length. Replacing regular satin with stretch satin can influence fit, fold behavior, zipper tension, and lining requirements simultaneously. The objective is not to create endless sample rounds but to remove uncertainty before bulk cutting.
How Is the Pattern Prepared for Production?
A draped pattern becomes ready for production when the approved base pattern, grade rules, fabric, lining, trims, construction method, drape references, critical measurements, and QC points are locked. A PP sample should confirm the final standard before bulk cutting, while clear pattern marks and visual references help the production team reproduce the intended drape across sizes, colors, and batches.
The mindset changes at this stage. During design development, the main question is whether the dress looks and fits as intended. Before production, the question becomes whether the same result can survive hundreds of small decisions in fabric spreading, cutting, sewing, pressing, inspection, and packing.
A description such as “soft drape at left hip” is not enough for a production team. The pattern may need fold notches, a gather ratio, grain orientation, a measured anchor position, finished dimensions, seam references, and a photograph of the approved shape. Anything that matters visually should either be measurable, clearly marked, or supported by an approved garment reference.
Grade the Drape Carefully
Grading changes the dimensions of a pattern between sizes, but draped details should not always increase in direct proportion to the body measurements. Bust, waist, hip, shoulder, and length typically follow the brand’s established grade rules, while decorative volume may require a separate decision.
If the fold extension of a side-draped dress increases too aggressively, larger sizes can become bulky. If it does not increase enough, the design may appear visually weaker than in the base size. A cowl may need additional neckline width and shoulder adjustment without increasing its vertical drop at the same rate. A gathered waist may work better when a controlled gathering ratio is maintained instead of adding a fixed amount of extra fabric in every size.
Extended sizing requires even more thought. Larger bodies are not simply enlarged versions of smaller bodies. Bust structure, armhole depth, shoulder width, waist placement, hip distribution, back coverage, and support can change at different rates. Jinfeng Apparel’s documented size-development process uses client-specific base sizes, grade rules, measurement tolerances, target markets, fit feedback, fabric stretch, and brand fit preferences rather than relying on one universal size system.
Lock the Tech Pack
The technical file should contain enough information for another pattern maker or sample machinist to reproduce the approved dress without relying on the original designer’s memory. Standard information includes the sketch, fabric specification, measurements, grade rules, BOM, pattern version, seam construction, lining, closure, labels, and finishing requirements.
Draped areas need additional information because measurements alone do not explain their visual behavior. Record grain direction, fold start and end positions, pleat depth, gather ratio, finished gathered length, tack locations, cowl depth, twist direction, left-right identification, lining attachment points, and stabilization where relevant.
Approved photographs are especially valuable. Front, side, back, and detail images show relationships that cannot always be expressed through measurements. A fold can technically begin at the correct point and still be distributed incorrectly. Pattern, size chart, BOM, sewing instructions, and sample comments should all refer to the same approved version so different departments do not unknowingly follow conflicting files.
A simple test exposes weak documentation quickly: if the original designer were unavailable next month, could a different sample machinist reproduce the dress from the files alone? If the answer is no, the documentation is not yet complete.

PP Sample and Bulk Control
The PP sample is the point where development decisions become production decisions. It should confirm the correct pattern version, final fabric, lining, trims, measurements, grain direction, fold placement, support structure, construction sequence, zipper or closure, hem, finishing, labels, and packing requirements.
For draped fashion, measurement approval is not enough. Two garments may have identical bust, waist, hip, and length measurements yet look noticeably different because one operator distributes the gathers differently or positions the folds several centimeters away from the approved location. Visual checkpoints therefore need to sit beside numerical measurements.
Jinfeng Apparel’s documented development process uses PP samples to confirm the final pattern, fabric, trims, dimensions, construction, lining, packaging, and bulk standard, while higher-control projects can retain a Golden sample as a production and QC reference. Its pattern and sample system includes 7+ senior pattern makers, 2 sample rooms, and 20+ sample machinists supporting the transition from pattern development through sampling and bulk preparation.
Consistency also begins before sewing. Grain orientation, asymmetric left-right pieces, fabric direction, and pattern versions must be controlled during cutting. During assembly, fold notches, gathering length, tack position, elastic length, seam matching, and sewing sequence need objective references rather than being recreated by eye. Final inspection should compare both measurements and appearance because a waist can remain within tolerance while a major fold is positioned incorrectly.
A well-developed draped dress should still look effortless when it reaches the customer. The effort belongs much earlier in the process: on the dress form, at the pattern table, during sample fitting, inside the technical file, and throughout production control. When fabric behavior, fit, construction, grading, and visual references are connected properly, a drape stops being a one-off styling effect and becomes a reliable garment pattern that can be sampled, scaled, manufactured, and repeated without losing the original design character.
For fashion brands developing draped dresses from sketches, reference images, existing samples, or technical packs, the most useful manufacturing partner is not simply the one that can sew complicated folds. The stronger partner is the one that can explain how those folds are built, test how the chosen fabric changes them, correct the pattern after fitting, and preserve the same appearance when the design moves into multiple sizes and bulk production.
Share This Article :

Jerry Lee
Categories

Latest blogs
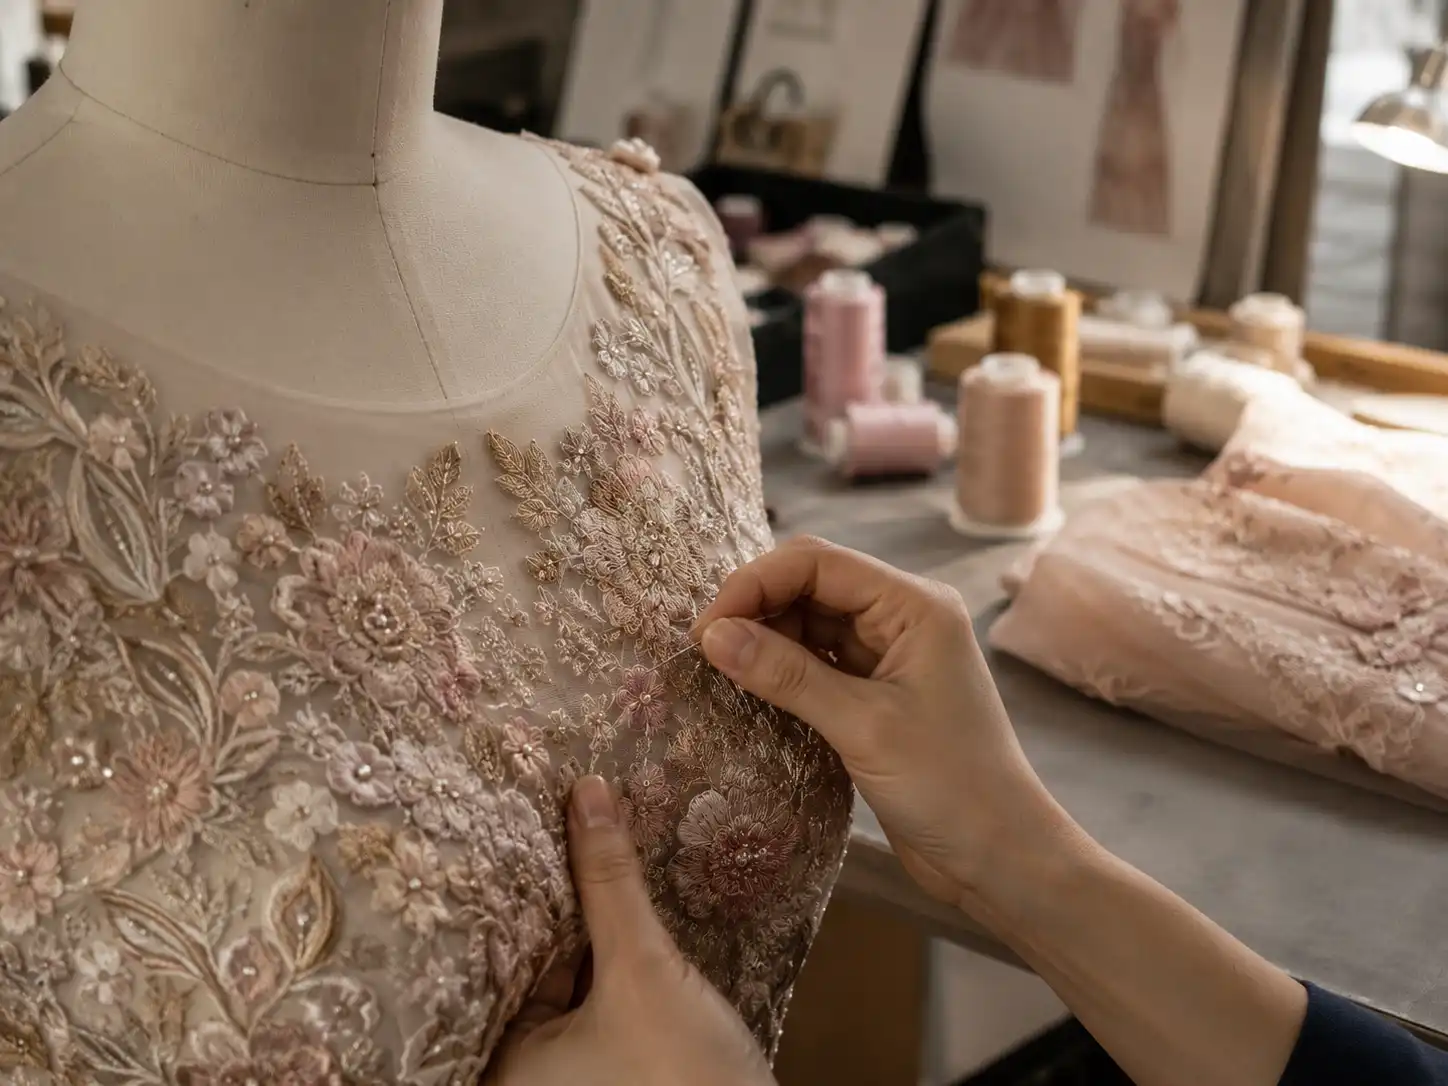
Table of Contents
Here, developing your OEM/ODM private label clothing collection is no longer a challenge—it’s an excellent opportunity to bring your creative vision to life.