Skip to content

3D dress sampling has shifted fashion development from a physically heavy, time-consuming process into a digitally driven workflow where design, engineering, and production logic merge inside a virtual environment. In traditional garment creation, multiple physical samples are required before reaching a production-ready version, often resulting in fabric waste, repeated revisions, and extended timelines. With 3D sampling systems, pattern data, fabric behavior, and construction logic are simulated before any physical cutting begins.
A major shift in global apparel sourcing comes from the need to shorten lead times while maintaining precision in fit and construction. Brands managing fast-moving collections cannot afford repeated sampling cycles that delay seasonal launches. Digital garment simulation addresses this gap by allowing teams to validate silhouette, structure, and fabric drape at early stages.
3D dress sampling is a digital garment development process where 2D patterns are converted into virtual 3D garments using physics-based simulation software. Fabric behavior, stitch construction, and fit accuracy are tested digitally before physical sampling. The process reduces sample rounds, shortens development time, and improves production accuracy by identifying structural issues early in the design phase.
In a real production environment, a single evening dress style might require 3–5 physical samples before approval. With 3D simulation integrated into development, most of those iterations shift into virtual adjustments. One production team in Guangdong reduced sampling rounds by nearly 40% after adopting hybrid digital workflows, demonstrating how virtual validation changes decision-making speed.
A typical scenario often begins with a design sketch inspired by runway imagery. Instead of immediately cutting fabric, pattern engineers convert the sketch into digital patterns. From there, the garment is assembled virtually, allowing adjustments before physical materials enter the workflow. A missed seam angle or incorrect dart placement can be corrected instantly rather than discovered after production delays.
The following sections break down how 3D dress sampling works, what tools are involved, and how manufacturing systems like Jinfeng Apparel integrate digital simulation into real-world production.
What Is 3D Dress Sampling in Apparel Development?
3D dress sampling is a digital garment engineering process where flat 2D patterns are transformed into a virtual garment and tested under simulated fabric physics before any physical sample is produced. In apparel development, it works as an early validation layer between design concept and real production.
In practical manufacturing terms, the process begins with pattern data created in CAD systems such as Gerber or Lectra. These patterns are imported into 3D software (CLO3D / Browzwear), stitched digitally, and placed on a calibrated body avatar. The system then applies fabric parameters—weight, elasticity, density, and drape behavior—to simulate how the dress will behave when worn.
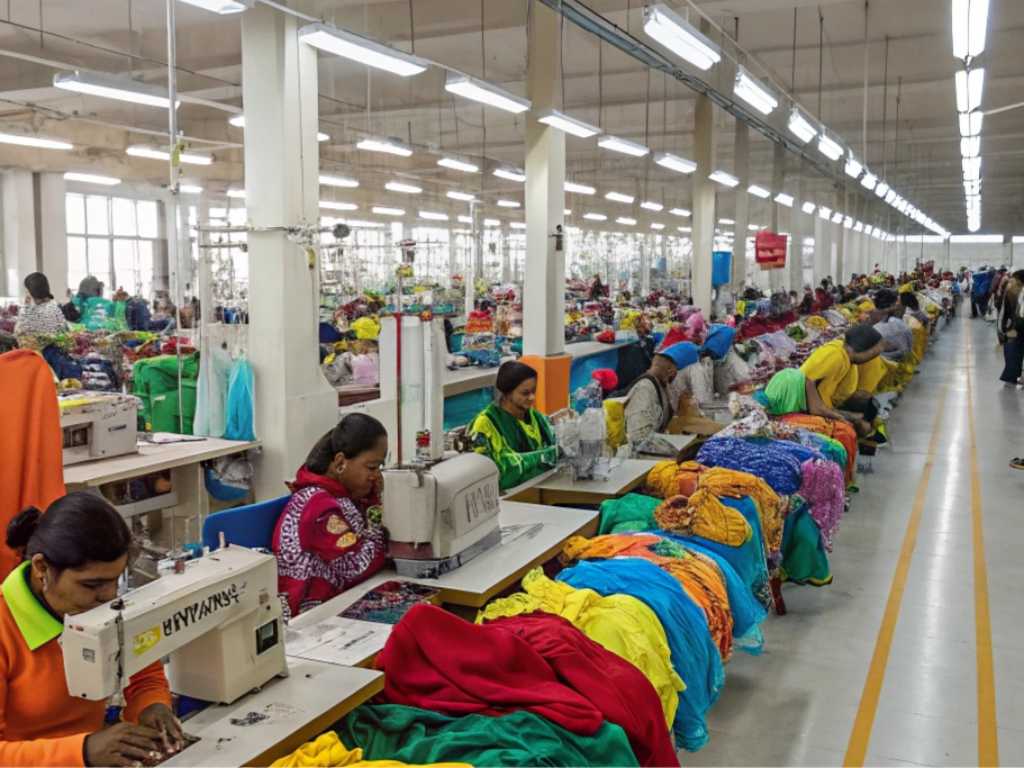
For dress categories like bodycon, corset, satin slip, or structured evening gowns, this step helps identify fit tension, silhouette balance, and seam distortion before cutting fabric. In real factory workflows, it acts as a “risk filter” before sampling investment begins.
Why is 3D sampling used in real production workflow?
3D sampling is mainly used to reduce repeated physical sampling cycles and improve first-time accuracy in dress development. In traditional workflows, a single style may require 3–5 physical samples before approval. Each round consumes fabric, sewing labor, and 3–7 days of lead time.
With 3D sampling, early validation can reduce sample rounds by 30–50% depending on complexity. For example:
- A satin midi dress: 3 physical samples → often reduced to 1–2
- A structured corset dress: 4–5 samples → reduced to 2–3
- A basic knit dress: 2–3 samples → reduced to 1–2
It is not only a visualization tool. It directly impacts cost structure, material planning, and production scheduling.
How does 3D sampling fit into apparel development stages?
3D sampling is typically positioned after initial tech pack or sketch confirmation and before first physical sample production.
A simplified workflow looks like this:
| Stage | Traditional Process | With 3D Sampling |
|---|---|---|
| Design input | Sketch → Pattern → Sample | Sketch → Pattern → 3D simulation |
| First validation | Physical sample only | Digital + optional sample |
| Fit correction | After fitting session | Adjusted in simulation first |
| Production decision | After multiple samples | After 1–2 validations |
This positioning makes it a control point for reducing development uncertainty before fabric commitment.
What problems does 3D sampling solve in dress manufacturing?
In real production environments, most sampling delays come from three issues: unclear fit expectations, fabric mismatch, and repeated construction corrections.
3D sampling addresses these problems early:
- Fit issues can be detected before cutting fabric
- Silhouette imbalance becomes visible in motion simulation
- Fabric behavior differences are identified before sourcing bulk materials
- Pattern errors are corrected digitally instead of re-sampling
For example, in a pleated chiffon dress, incorrect drape direction may only appear after physical sewing in traditional workflows. In 3D simulation, the same issue appears instantly when fabric physics are applied.
What are the technical inputs required for accurate 3D sampling?
Accuracy depends heavily on input quality. In manufacturing practice, three core data groups determine simulation reliability:
| Data Type | Content | Impact on Accuracy |
|---|---|---|
| Pattern data | CAD files (DXF/AAMA) | Determines garment structure |
| Fabric data | Weight, stretch, drape coefficient | Controls movement realism |
| Construction logic | Stitch type, seam rules | Affects shape stability |
If fabric parameters are estimated incorrectly, simulation may look visually correct but behave differently in real production. This is why experienced factories still validate 3D outputs with physical prototypes for complex garments.
What role does 3D sampling play in modern dress factories?
In modern dress manufacturing systems, 3D sampling is not replacing traditional sampling—it is reshaping the order of decisions.
Factories use it as:
- A pre-sampling validation tool
- A communication bridge between design and technical teams
- A cost control mechanism before fabric purchasing
- A visualization tool for collection planning
In structured factories like Jinfeng Apparel, 3D sampling is often combined with real fabric testing to ensure both digital accuracy and production reliability. The goal is not only faster sampling, but more stable bulk production outcomes.
How Does 3D Dress Sampling Work Step by Step?
3D dress sampling follows a structured engineering workflow that converts design intent into a virtual garment, validates fit and construction, and then prepares optimized patterns for physical sampling or bulk production. In real apparel development environments, the process is designed to reduce unnecessary sampling rounds and detect structural issues early.
A complete workflow typically contains 6 key stages, each connected with CAD systems, fabric databases, and simulation software such as CLO3D or Browzwear. The goal is to ensure that what appears in digital form can be reliably translated into physical garments with minimal correction.
Step 1: How is the design input prepared?
The process begins with design input, which may come from sketches, reference images, or tech packs. At this stage, the focus is not visual styling alone but technical translation into pattern logic.
Key inputs include:
- Flat sketches or 3D inspiration images
- Basic measurement charts (size spec range)
- Fabric direction (stretch / woven / knit)
- Construction notes (zipper, lining, boning, pleats)
Typical time spent in factories: 0.5–2 days depending on complexity
Mistake risk at this stage is high if design intent is unclear, especially for structured dresses like corset or asymmetric designs.
Step 2: How are 2D patterns created in CAD systems?
Once design input is confirmed, pattern makers create 2D garment blocks using CAD systems such as Gerber, Lectra, or Tukatech. These patterns define the structural foundation of the dress.
Core activities include:
- Drafting base block (bodice, skirt, sleeve)
- Adjusting darts and shaping lines
- Adding seam allowances and notches
- Setting grading rules for size range
Average time:
| Garment Type | CAD Pattern Time |
|---|---|
| Basic dress | 1–2 days |
| Bodycon dress | 2–3 days |
| Structured corset dress | 3–5 days |
Accurate pattern logic is essential because 3D simulation directly reflects any structural mistake.
Step 3: How are patterns imported into 3D simulation software?
After CAD completion, pattern files are exported in formats such as DXF or AAMA and imported into 3D software.
Inside the system:
- Pattern pieces are positioned on virtual workspace
- Grain lines are aligned
- Sewing relationships are defined
- Garment assembly logic is prepared
At this stage, the garment does not yet “look real.” It is a structural framework waiting for stitching and fabric physics.
A common issue in production is incorrect alignment during import, which can cause distortion in final simulation results.
Step 4: How is virtual sewing and garment assembly done?
In the simulation environment, pattern pieces are stitched together digitally using sewing lines that replicate real production seams.
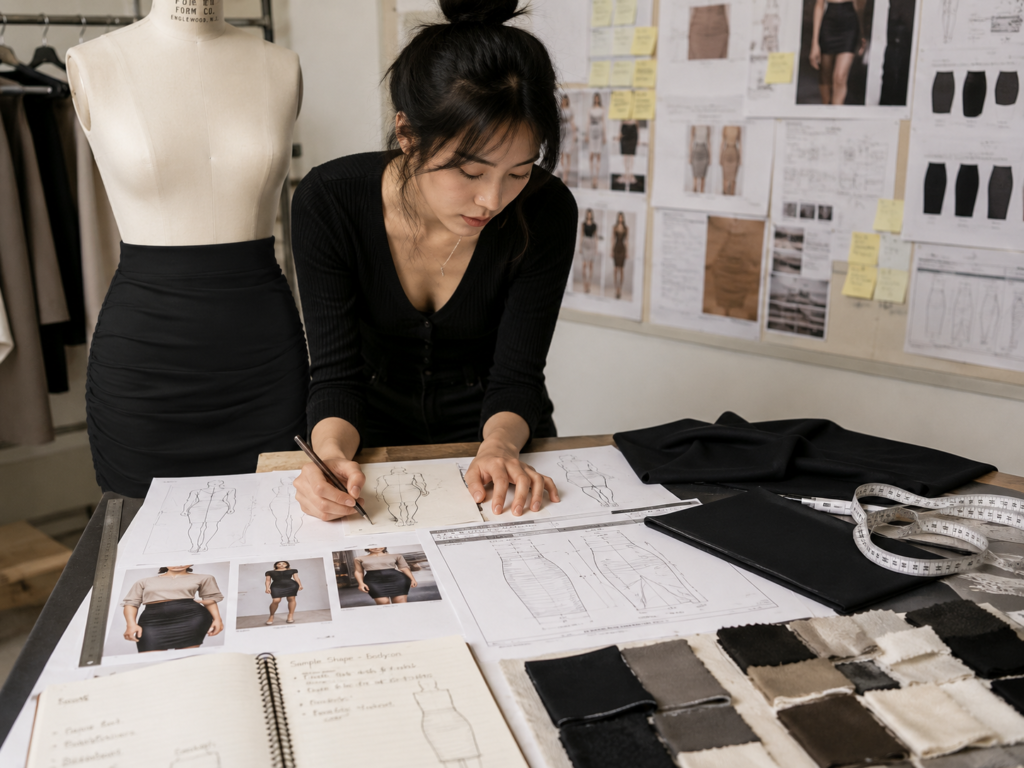
Key elements include:
- Seam type definition (flat, overlock, hidden)
- Stitch direction and connection points
- Construction hierarchy (lining vs outer layer)
Once sewn, the system “closes” the garment and begins physics calculation. The garment starts taking shape on the avatar.
Example behavior:
- Tight seams generate tension distortion
- Incorrect dart placement creates wrinkling
- Misaligned panels cause twisting effect
This stage often reveals errors that would normally only appear after physical sample sewing.
Step 5: How is fabric physics applied for realism?
Fabric behavior is the most critical step in 3D sampling accuracy. Each fabric type must be assigned physics properties that simulate real textile movement.
Key parameters include:
| Fabric Parameter | Function |
|---|---|
| Weight (gsm) | Controls drape and fall |
| Stretch ratio | Defines elasticity |
| Bend stiffness | Affects folding behavior |
| Shear resistance | Controls diagonal movement |
| Friction level | Impacts layering behavior |
Example differences:
- Satin: smooth flow, high drape, low stiffness
- Cotton poplin: structured shape, low stretch
- Knit jersey: high elasticity, body-hugging fit
If fabric data is incorrect, simulation may visually look correct but behave differently in real production.
Step 6: How is fit tested and corrected digitally?
The final step is fit evaluation using a digital avatar representing standardized or custom body measurements.
Key checks include:
- Bust tension and dart alignment
- Waist suppression and shaping balance
- Hip ease distribution
- Hemline symmetry
- Sleeve mobility range
Corrections are made instantly in the system:
- Pattern adjustments update real-time
- Fabric behavior recalculates automatically
- Multiple versions can be tested without re-cutting fabric
Typical improvement cycle:
| Issue Type | Correction Method | Time Required |
|---|---|---|
| Tight bust | Adjust dart width | 10–30 minutes |
| Uneven hem | Modify pattern length | 10–20 minutes |
| Sleeve tension | Redesign armhole curve | 30–60 minutes |
How do factories combine 3D sampling with physical sampling?
In real manufacturing environments, 3D sampling is not the final step—it is an acceleration layer before physical sampling.
A common hybrid workflow:
- 3D simulation validates first version
- Pattern adjusted digitally
- First physical sample produced
- Fit session confirms final corrections
- Bulk production pattern locked
This combination reduces sampling waste while maintaining production reliability, especially for complex dresses like corset gowns, sequin party dresses, and structured midi silhouettes.
What Tools and Technologies Are Used in 3D Sampling?
3D dress sampling relies on an integrated technology stack combining CAD pattern systems, 3D simulation engines, fabric physics databases, and production-linked file exchange formats. In real apparel manufacturing environments, these tools work together to ensure that digital garments can be translated into physical production with minimal deviation.
The system is not a single software tool. It is a connected workflow where pattern engineering, fabric data input, and visualization engines interact in real time. The accuracy of final garment output depends heavily on how well these systems are synchronized.
Which 3D fashion software is commonly used in production?
Different software platforms serve different levels of garment development—from visual sampling to industrial production validation.
| Software | Main Function | Strength in Dress Development |
|---|---|---|
| CLO3D | Visual simulation & fitting | Strong realism for dresses, drape-heavy styles |
| Browzwear (VStitcher) | Production-grade simulation | High accuracy for factory-level validation |
| Optitex | CAD + 3D integration | Strong pattern-to-3D workflow control |
| Style3D | Fast simulation & collaboration | Efficient for trend and bulk style testing |
In dress manufacturing, CLO3D is widely used for visual accuracy, while Browzwear is often preferred in production environments where measurement precision and repeatability are critical.
How do CAD pattern systems connect with 3D simulation tools?
CAD systems are the foundation of 3D sampling. Pattern data created in systems such as Gerber, Lectra, or Tukatech is exported into 3D platforms through standardized file formats.

Common file formats include:
- DXF (widely used for pattern transfer)
- AAMA / ASTM formats (industrial standard exchange)
- OBJ (for mesh-based visualization)
Once imported, pattern pieces maintain their structure, grain direction, and seam alignment. Any modification made in 3D often syncs back into CAD, allowing a continuous loop between design correction and production-ready patterns.
In practical factory workflow, poor integration between CAD and 3D systems often leads to:
- Pattern mismatch between simulation and cutting room
- Inconsistent seam allowances
- Misaligned grading across sizes
What fabric physics technologies are used in simulation?
Fabric simulation is driven by physics engines that replicate how real textiles behave under gravity, tension, and movement. These systems rely on numerical fabric data instead of visual approximation.
Key fabric physics parameters include:
| Parameter | Function in Simulation | Impact on Dress Behavior |
|---|---|---|
| Density (gsm) | Controls garment weight | Affects drape and fall |
| Stretch ratio | Measures elasticity | Defines body fit intensity |
| Bending stiffness | Resistance to folding | Determines structure sharpness |
| Shear behavior | Diagonal movement response | Affects twist and flow |
| Friction coefficient | Layer interaction | Impacts fabric stacking |
For example, a satin evening dress behaves completely differently from a rib knit dress. Without correct fabric physics input, simulation results may look visually correct but fail during real production fitting.
Factories with stronger material libraries achieve higher simulation accuracy, especially for complex garments like corset dresses, layered gowns, and asymmetric designs.
What role do 3D avatars and body scanning systems play?
3D avatars represent the human body inside simulation software. They are used to evaluate garment fit, proportion, and movement.
There are three main avatar types:
- Standard size avatars (based on global sizing charts)
- Custom avatars (based on brand-specific measurements)
- 3D body scan avatars (generated from real human scans)
In dress development, avatar selection directly affects fit accuracy. A mismatch in body model can lead to incorrect waist placement, bust tension, or hem balance issues.
Advanced systems allow motion simulation, where garments are tested in walking or bending positions. This is especially important for fitted dresses and evening wear where movement behavior matters.
How do pattern grading and sizing systems integrate with 3D tools?
Grading ensures that a single design can be scaled across multiple sizes without losing proportion or fit consistency.
In integrated systems, grading rules are applied inside CAD and automatically reflected in 3D simulation.
Key grading functions include:
- Size scaling based on measurement tables
- Proportional adjustment of darts and seams
- Sleeve and hemline consistency across sizes
Example grading table:
| Size | Bust (cm) | Waist (cm) | Hip (cm) |
|---|---|---|---|
| S | 84 | 66 | 90 |
| M | 88 | 70 | 94 |
| L | 92 | 74 | 98 |
Inaccurate grading logic in CAD leads to compounded errors in 3D simulation, which then carry into bulk production issues such as uneven fit across size ranges.
How do factories manage data exchange between systems?
3D sampling depends heavily on clean and structured data exchange between departments.
Typical workflow data includes:
- Pattern files (CAD exports)
- Fabric library parameters
- Sewing construction rules
- Color and texture mapping files
- Tech pack specifications
Factories with mature systems often use centralized PLM (Product Lifecycle Management) platforms to synchronize design, sampling, and production data.
Without structured data flow, common problems include:
- Version confusion between design and production teams
- Incorrect fabric assignment in simulation
- Rework during sample approval stages
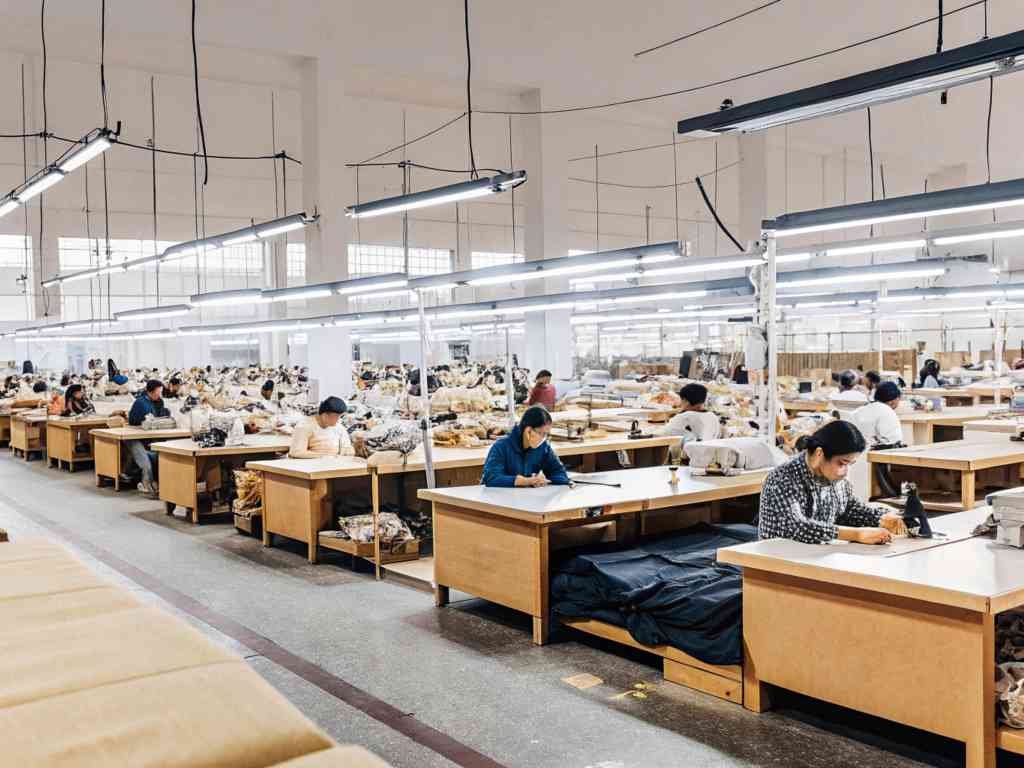
How do integrated systems improve production accuracy?
When CAD, 3D simulation, fabric physics, and grading systems are properly integrated, garment development becomes significantly more predictable.
In dress manufacturing environments, key improvements include:
- Reduced pattern correction cycles
- Higher first-sample approval rate
- Improved consistency across sizes
- Fewer production errors during bulk cutting
For structured garments such as corset dresses or high-stretch bodycon styles, integration between these systems can reduce development uncertainty by more than 30–40% compared to traditional workflows.
How Does 3D Sampling Improve Cost and Production Efficiency?
3D dress sampling improves cost and production efficiency by reducing physical sampling rounds, lowering fabric waste, shortening development timelines, and increasing first-time approval accuracy. In real garment manufacturing workflows, efficiency gains come from eliminating repeated trial-and-error sampling and moving validation into a digital environment before material consumption begins.
In structured dress development—especially bodycon, satin, corset, and multi-layer evening dresses—the traditional sampling cycle often becomes the most expensive and time-consuming stage. 3D simulation shifts decision-making earlier, where corrections are cheaper and faster.
How does 3D sampling reduce sample production costs?
In conventional workflows, each dress style may require multiple physical samples before approval. Every iteration consumes fabric, sewing labor, pattern adjustment time, and international shipping (if overseas confirmation is needed).
3D sampling reduces these cycles significantly:
| Development Stage | Traditional Sampling | With 3D Sampling |
|---|---|---|
| First sample | Always required | Often reduced or optimized |
| Fit samples | 2–3 rounds common | 1–2 rounds |
| Pre-production sample | Required | Faster approval cycle |
| Total sample rounds per style | 3–5 rounds | 1–2 rounds |
Cost impact factors:
- Fabric waste reduction (no early trial cutting)
- Labor savings from fewer sewing revisions
- Lower express shipping costs for sample approval
- Reduced pattern rework cycles
For complex dresses like corset or embellished party dresses, savings are more visible because each physical adjustment involves high labor intensity.
How does 3D sampling reduce fabric waste and material loss?
Fabric waste is one of the largest hidden costs in dress development. Traditional sampling often requires multiple fabric cuts before reaching final approval, especially when fit or drape is uncertain.
3D sampling minimizes early-stage fabric consumption by allowing:
- Virtual drape testing before cutting
- Fabric behavior simulation before sourcing bulk material
- Early identification of unsuitable fabric choices
Example impact:
- A satin midi dress: 2–3 meters per sample × 3 samples = 6–9 meters saved per style
- A structured corset dress: multiple panel adjustments → reduced re-cutting cycles
- A pleated chiffon dress: reduced test pleat sampling before final cutting
In medium-scale production environments, accumulated savings across 20–30 styles per season can significantly reduce total fabric procurement waste.
How does 3D sampling shorten product development lead time?
Time reduction comes from eliminating waiting periods between physical sampling rounds. In traditional workflows, each correction cycle may take 3–7 days depending on sewing complexity and logistics.
3D sampling compresses this timeline:
| Process Step | Traditional Time | With 3D Workflow |
|---|---|---|
| Pattern correction | 2–3 days | 1–2 hours |
| Fit adjustment | 3–5 days per round | Instant update |
| Sample revision cycle | 3–7 days | Reduced frequency |
| Pre-production approval | 2–4 weeks total | 1–2 weeks typical |
In fast-moving fashion categories such as party dresses or seasonal collections, even a 5–7 day reduction per style can significantly improve launch timing.
How does 3D sampling improve first-time sample approval rate?
First-time approval rate is one of the strongest indicators of production efficiency. In traditional sampling systems, low first-pass approval often leads to repeated revisions and delayed bulk production.
3D sampling improves accuracy by:
- Detecting structural issues before fabric cutting
- Optimizing pattern balance digitally
- Testing multiple fit versions instantly
- Aligning design and technical teams earlier
Typical improvement range:
- Traditional first-pass approval: 30–50%
- With 3D integration: 50–75% (depending on garment complexity)
Higher first-time approval reduces downstream disruptions in production scheduling and fabric allocation.
How does 3D sampling reduce production risk before bulk order?
Production risk often comes from unknown variables in fit, fabric behavior, and construction logic. Once bulk cutting begins, errors become expensive and difficult to correct.
3D sampling reduces risk exposure by:
- Identifying pattern instability before grading
- Testing garment behavior across multiple sizes
- Simulating construction tension and seam stress
- Validating silhouette consistency before bulk commitment
Key risk reduction areas:
| Risk Type | Traditional Process Risk | 3D Sampling Impact |
|---|---|---|
| Fit inconsistency | High across sizes | Early detection |
| Fabric mismatch | Common after sampling | Reduced selection error |
| Construction issues | Found in physical sample | Detected digitally |
| Timeline delay | Frequent | Significantly reduced |
For structured dresses such as corset gowns or fitted bodycon styles, early detection of construction imbalance can prevent costly bulk rework.
How do factories combine 3D sampling with physical production systems?
In real production environments, 3D sampling is not a replacement for physical sampling—it is a control layer that improves decision speed before material commitment.
A typical hybrid workflow includes:
- Digital simulation for first validation
- Pattern refinement based on 3D output
- One physical sample for real fabric confirmation
- Fit approval and bulk pattern locking
This combined approach ensures:
- Lower sampling volume
- Faster approval cycles
- Higher production stability
- Reduced material risk exposure

Factories with integrated CAD + 3D + sampling systems consistently achieve more predictable production outcomes, especially in multi-style seasonal collections.
When Should 3D Sampling Be Used in Dress Manufacturing?
3D sampling should be applied at the early-to-mid stage of dress development, especially when design direction is confirmed but physical sampling has not yet begun. In real manufacturing workflows, it is most effective when decisions still have flexibility—pattern structure, fabric selection, and silhouette balance can all be adjusted without material cost.
It is not positioned as a final approval tool. Instead, it works best as a pre-sampling validation system, helping reduce uncertainty before fabric is cut. The highest value appears in styles where structure, fit, and drape must be tested before committing to multiple physical samples.
Which dress types benefit most from 3D sampling?
Not every garment category benefits equally. 3D sampling delivers stronger results in structured and fit-sensitive dresses where small pattern changes significantly affect final appearance.
| Dress Type | 3D Sampling Value | Reason |
|---|---|---|
| Bodycon dress | Very high | Fit accuracy critical |
| Corset / structured dress | Very high | Complex construction logic |
| Satin evening dress | High | Drape behavior simulation |
| Pleated / layered dress | High | Volume and flow testing |
| Basic knit dress | Medium | Simple construction |
For highly structured garments, early digital validation reduces repeated fitting cycles. For simpler styles, value lies more in speed than risk reduction.
When should 3D sampling be introduced in the workflow?
In practical production environments, timing determines effectiveness. 3D sampling works best when inserted immediately after initial pattern creation and before first physical sample cutting.
Typical timing structure:
- After sketch or reference image confirmation
- After initial CAD pattern block is completed
- Before fabric cutting for first sample
- Before bulk fabric ordering decision
If introduced too late (after multiple physical samples), efficiency gain drops significantly. If introduced too early without pattern logic, simulation accuracy becomes unreliable.
When is 3D sampling not enough on its own?
Despite strong digital accuracy, 3D sampling cannot fully replace physical validation in several cases. Real fabric behavior, stitching tension, and embellishment effects still require physical testing.
Scenarios where physical sampling remains necessary:
- Heavy embroidery or beadwork dresses
- Multi-layer couture construction
- Fabric with unpredictable stretch recovery
- Final color and texture confirmation under real lighting
In these cases, 3D sampling acts as a pre-check rather than a final decision tool.
When does 3D sampling deliver the highest cost impact?
Cost efficiency improvements are most visible when multiple sample rounds are normally required. The greater the iteration cycle, the higher the return from digital validation.
High-impact situations include:
- Seasonal collection with 15–30 new styles
- Evening dress collections with complex construction
- Fast fashion cycles requiring rapid approval
- Remote development where physical sample shipping delays occur
Example impact comparison:
| Scenario | Traditional Sampling | With 3D Integration |
|---|---|---|
| Sample rounds per style | 3–5 rounds | 1–2 rounds |
| Development timeline | 2–4 weeks | 1–2 weeks |
| Fabric waste | High | Reduced significantly |
| Revision cycles | Multiple physical loops | Mostly digital |
In multi-style production, cumulative savings become more significant than per-style savings.
When should 3D and physical sampling be combined?
In real manufacturing systems, optimal performance comes from combining both digital and physical workflows rather than replacing one with the other.
Recommended hybrid approach:
- 3D simulation for initial validation
- Pattern correction based on digital feedback
- First physical sample for fabric confirmation
- Fit adjustment based on real try-on
- Final pattern lock for bulk production
This structure ensures:
- Early error detection before material cost
- Reduced number of physical prototypes
- More stable bulk production results
- Better alignment between design intent and factory execution
What Are the Limitations and Risks of 3D Dress Sampling?
3D dress sampling is highly effective for early garment validation, but it is still a simulation system, not a full replacement of physical textile behavior. The biggest limitation comes from the gap between digital fabric physics and real-world material inconsistency.

In production environments, fabric is never perfectly uniform. Small variations in yarn tension, dyeing process, finishing treatment, and storage conditions can change how a fabric behaves. 3D systems rely on standardized fabric parameters, which means simulation results are based on “idealized fabric behavior.”
Typical limitations include:
- Fabric drape not fully matching real hanging behavior
- Stretch recovery differences in knitted fabrics
- Surface texture not accurately reflecting light reflection
- Seam tension behaving differently after sewing
For structured dresses such as corset or multi-layer evening gowns, these gaps can become more visible during first physical sampling.
Where do digital and real garment results often differ?
Even with advanced simulation engines, certain garment behaviors are difficult to fully replicate in a virtual environment.
Common mismatch areas:
| Garment Element | Digital Result | Real Production Outcome |
|---|---|---|
| Satin drape | Smooth and stable | Slight variation under gravity |
| Elastic knit fit | Predictable stretch | Recovery inconsistency |
| Pleated structure | Perfect symmetry | Fabric memory distortion |
| Seams under tension | Stable alignment | Slight pulling or twisting |
These differences usually appear in the first physical sample, especially when fabric sourcing changes or substitute materials are used.
What risks come from incorrect fabric data input?
Fabric physics accuracy depends entirely on input data quality. If fabric parameters are estimated incorrectly, simulation results lose reliability.
In real manufacturing cases, common issues include:
- Using generic fabric presets instead of supplier-specific data
- Ignoring fabric finishing effects (washed, brushed, coated)
- Missing shrinkage or recovery behavior after washing
- Overestimating stretch stability in blended fabrics
Impact examples:
- A fabric marked as “high stretch” in simulation may behave as medium stretch in reality
- A lightweight chiffon may appear too stiff if density values are incorrect
- A structured crepe may lose rigidity after washing treatment
This is why experienced factories still conduct fabric testing before locking production decisions.
What production risks cannot be solved by 3D sampling?
3D sampling cannot fully simulate real manufacturing conditions such as sewing tension variability, operator skill differences, or mass production consistency.
Key production risks include:
- Stitch density variation between machines
- Human sewing tension inconsistency
- Fabric batch differences across dye lots
- Embellishment placement errors (beading, embroidery)
For example, a digitally perfect corset dress may still show slight asymmetry in bulk production due to stitching tension differences across production lines.
3D tools cannot fully control these variables because they exist outside digital modeling scope.
What operational risks appear when relying too heavily on 3D sampling?
Over-reliance on digital sampling can create workflow gaps if not balanced with physical validation.
Typical operational risks:
- Reduced attention to real fabric testing
- Overconfidence in simulation accuracy
- Delayed detection of production issues
- Misalignment between design expectation and factory execution
In some cases, teams may skip early physical sampling entirely, leading to unexpected corrections later in production when real materials behave differently than simulation.
Balanced workflow remains critical:
| Stage | Risk if 3D used alone | Mitigation |
|---|---|---|
| Early design | Over-optimized digital fit | Cross-check with fabric swatches |
| First sample | Unexpected construction issues | Physical prototype required |
| Bulk production | Fabric inconsistency | Lab dips + production testing |
How do factories reduce risks when using 3D sampling?
Experienced manufacturing systems do not treat 3D sampling as a final decision tool. Instead, it is positioned as a pre-sampling control layer.
Risk reduction methods include:
- Fabric physical testing before simulation approval
- Dual validation (digital + first physical sample)
- Standardized fabric database maintained by suppliers
- Pattern engineer review before bulk production lock
In structured dress production, especially corset, satin, and evening wear categories, combining simulation with physical verification significantly reduces downstream production errors.
Conclusion
3D dress sampling represents a structural shift in modern apparel manufacturing, combining digital engineering with traditional craftsmanship. It accelerates development while improving precision, but still depends on strong factory capability for final execution.
Jinfeng Apparel supports both digital sampling workflows and full physical production systems for custom women’s dresses, including bodycon, evening, party, and resort collections. OEM & ODM development, fabric sourcing, pattern engineering, and bulk production are fully integrated.
For brands planning to develop a new collection or reduce sampling costs while improving accuracy, direct consultation with Jinfeng Apparel can support from concept to bulk production with a controlled and scalable workflow.