 Skip to content
You’ve seen them on runways and in thrift stores—pleated skirts1 that swirl with elegance. Now you’re thinking, can I actually make one myself?
Yes, you can! Making a pleated skirt at home is beginner-friendly if you follow the right steps—from choosing the fabric to finishing the hem. It’s a rewarding DIY fashion project for all skill levels.
When I started sewing, pleated skirts felt intimidating. But once I understood the rhythm—measure, fold, press—it became a go-to project. Here’s a step-by-step guide to get you started.
What Materials and Tools Do You Need to Make a Pleated Skirt?
Before diving into pleats and stitches, make sure your sewing corner is fully stocked.
You’ll need lightweight to medium-weight fabric, a sewing machine2, basic measuring tools, and pins to shape and secure the pleats.
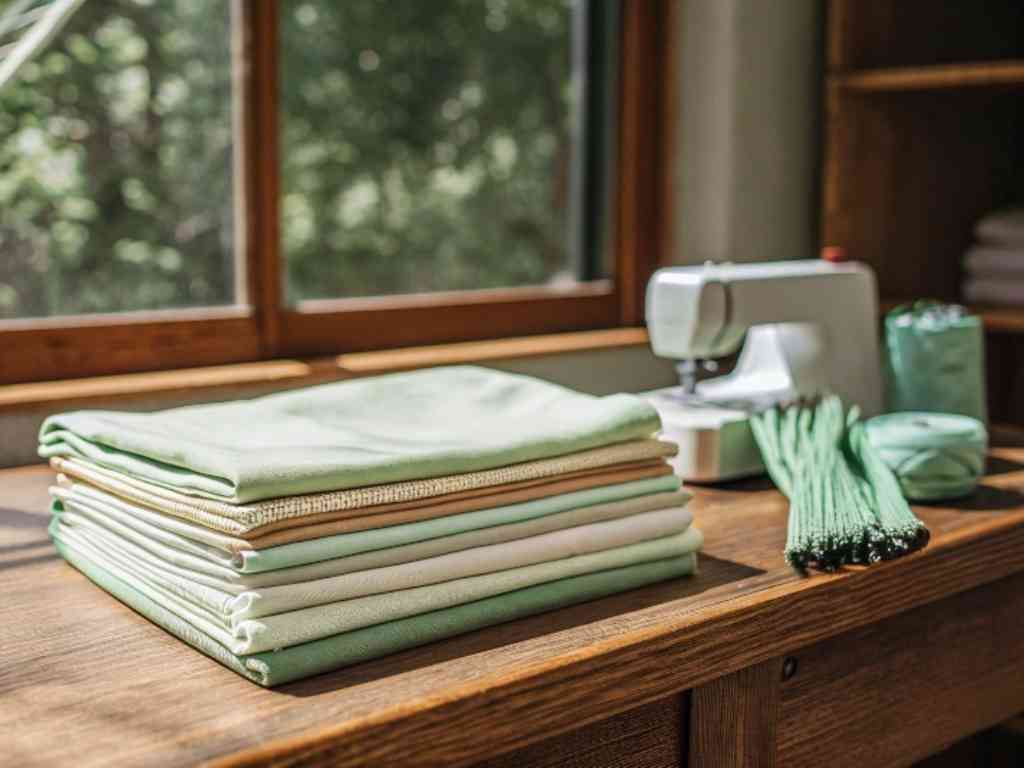 Green Fabric Station
Which types of fabric are best for pleated skirts?
Choose fabrics that hold a crease but still move well. Ideal options include:
- Cotton poplin or lawn (great for structure)
- Linen blends (natural feel with texture)
- Poly-cotton (budget-friendly and crisp)
- Wool suiting (for a more formal or winter look)
- Chiffon or satin (if you’re up for pleated challenges)
Avoid stretchy knits—they don’t hold pleats properly.
What essential sewing tools should every DIY beginner prepare?
| Tool | Why You Need It |
|---|---|
| Sewing machine | For clean, consistent stitching |
| Fabric scissors | To avoid fraying and jagged edges |
| Measuring tape | For accurate waist and length cuts |
| Pins or clips | To secure pleats and seams |
| Iron and board | To press pleats sharply |
| Chalk or fabric marker | To guide your fold lines |
A zipper foot and seam ripper are handy, too.
How to Choose the Right Pleat Style for Your Skirt?
Pleats change the whole vibe of your skirt. Some styles are sharp and tailored; others flow and bounce.
Knife pleats offer a classic school-girl or workwear look, while box and inverted pleats bring volume and structure.
What’s the difference between knife pleats, box pleats, and inverted pleats?
| Pleat Type | Description | Best For |
|---|---|---|
| Knife Pleats | All folds facing one direction | Uniform, flowing movement |
| Box Pleats | Two folds facing away from center | Bold, structured silhouette |
| Inverted Pleats | Two folds meeting at center seam | Sleek and minimal finish |
Each type affects how the skirt drapes and moves.
Which pleat style works best for casual vs. formal fashion?
Casual skirts: Knife pleats or soft box pleats in cotton or linen
Formal skirts: Structured box or inverted pleats in suiting or satin
Your pleat = your purpose.
How to Measure and Cut Fabric for a Pleated Skirt?
This is where the math happens—but don’t worry, it’s simple when broken down.
You’ll calculate the total fabric width needed based on waist size, pleat width, and the number of pleats you want.
How much fabric do you need based on waist size and pleat width?
General formula:
(Waist measurement × 3) + seam allowance = total fabric width- For knife pleats: Multiply waist by 3
- For box/inverted pleats: Multiply waist by 2 to 2.5
Example:
- Waist = 70 cm → Need ~210 cm of fabric for knife pleats
Add 2–4 cm for seams and hem.
What are the key measurements for a perfect fit?
- Waist – snug but not tight
- Skirt length – measure from waist to desired hem
- Pleat depth – 3–5 cm per fold is standard
- Seam allowance – 1.5 cm on sides
Mark everything clearly before you cut.
How to Fold, Pin, and Sew the Pleats Properly?
This step defines your skirt’s shape—take your time and press everything as you go.
Folding, pinning, and basting the pleats ensures symmetry. Always iron each fold to keep lines crisp and clean.
How do you mark and iron pleats evenly?
Steps:
- Mark fold lines using chalk or a ruler
- Fold along lines, pinning at top edge
- Iron each pleat flat
- Secure with basting stitch across the top edge
Pro tip: Use a pressing cloth for delicate fabrics.
Should you baste or topstitch pleats before attaching the waistband?
Yes—basting holds pleats in place during construction. Topstitching is optional, used for style or reinforcement.
- Baste across top of pleats before attaching waistband
- Optional: topstitch pleats down 5–10 cm from waistband for shaping
It helps prevent shifting as you sew.
How to Finish the Skirt with Waistband, Closure, and Hem?
Now it’s time to bring it all together for a wearable, polished piece.
Finish by attaching a waistband, choosing a closure method (zipper, button, or elastic), and hemming the skirt to your final length.
| Closure Type | Pros | Best For |
|---|---|---|
| Zipper | Sleek and secure fit | Tailored or formal skirts |
| Elastic | Easy and forgiving | Casual or beginner-friendly |
| Button | Adds detail and adjustability | Vintage or design-forward skirts |
Zipper = polish. Elastic = ease.
What’s the best method for hemming a pleated skirt at home?
For beginners: Use a double-fold hem or bias tape for a clean finish. Press well to avoid bulky seams.
Steps:
- Fold hem 1 cm, press
- Fold again 1 cm, press
- Stitch close to inner edge
For sheer fabrics, use a rolled hem foot or hand stitch for invisibility.
Conclusion
Making a pleated skirt at home is one of the most satisfying DIY fashion projects. With a little prep and patience, you can turn fabric into a personalized statement—tailored exactly to your shape and style.
-
Explore this link to find comprehensive tutorials that can guide you through the process of making pleated skirts, ensuring you achieve the perfect look. ↩
-
This resource will help you understand the essential features of sewing machines, making it easier to choose the right one for your DIY projects. ↩


