Skip to content
Buttonholes look tiny, yet they decide whether a shirt feels handmade or cheap. I used to dodge them until a loose coat button forced me to learn. Now I enjoy the calm rhythm of needle and thread.
The simplest hand-stitched buttonhole1 uses a marked slit, a sharp cut, and blanket stitches pulled snug around the edge. Five steps—mark, cut, stitch, bar-tack, press—create a neat opening that holds its shape wash after wash.
Stay with me: I will share the tools, the motions, and a few tales from fixing vintage coats on train rides.
Machines may pump out buttonholes fast, yet hand work keeps a special place in style and repair culture.
Hand stitching adds heritage charm, lets me mend anywhere, and gives designers creative freedom. It outshines machines on thick wool and curved edges.
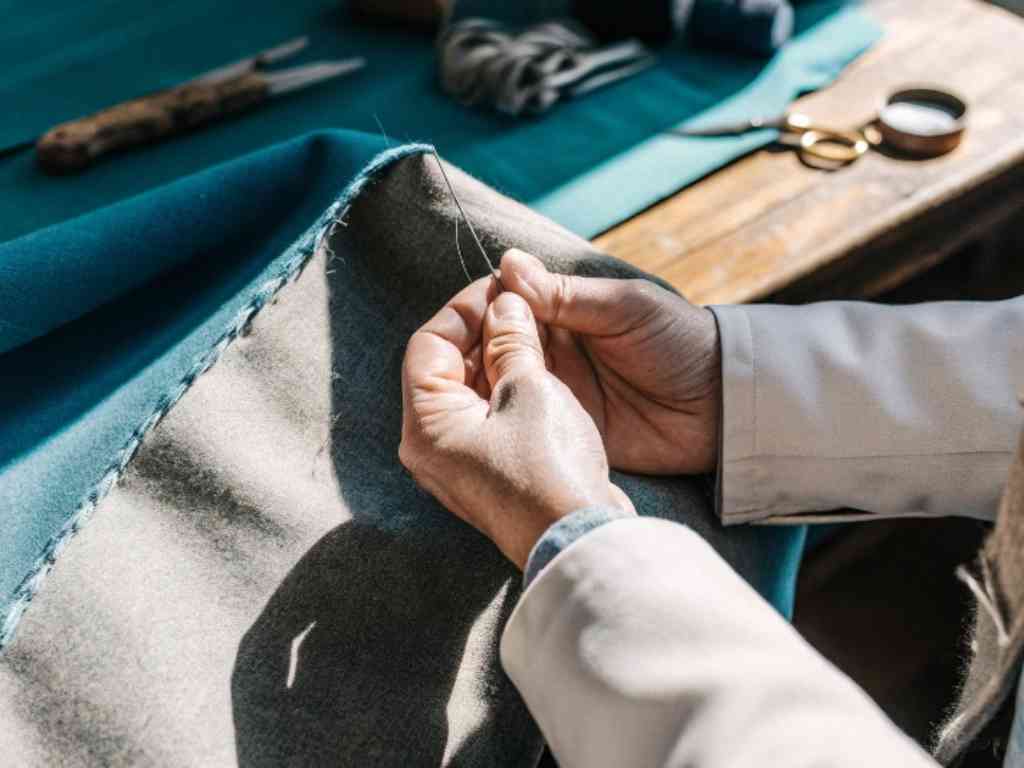 Hand Stitching Fabric
Heritage garments and vintage repairs
Old jackets often lack room for a bulky foot. My needle slides between threads, saving fragile cloth.
Decorative value in couture and custom tailoring
Couturiers choose silk-gimp thread and tight knots that glint under light. Clients pay for that subtle luxury.
Machine-free sewing for portability or simplicity
A pocket kit travels in my tote. Delays in airports turn into quiet sewing sessions.
| Scenario | Why I pick hand stitching2 |
|---|---|
| Thick tweed coat | Machine jams on bulk |
| Silk lapel | Needs tiny, graceful bites |
| Outdoor repair | No power outlet |
What tools and materials will I need?
Good results start with the right gear; most items fit in one small tin.
Gather strong buttonhole thread, a fine sharp needle, marking chalk, a seam ripper, sharp scissors, and optional beeswax to tame knots.
I favor size 30 gimped cotton for jackets and silk twist for formal wear.
Sharp needle with small eye
A size 9 hand-sewing needle glides yet grips thread firmly.
Fabric chalk or disappearing ink pen
Light marks keep the slit straight without staining.
Seam ripper or small scissors
I pierce the center, then clip to the ends for a clean mouth.
Beeswax (optional for smoother threading)
One swipe through wax halves tangles, a big help on long rows.
The first try feels slow; the third feels natural. Follow my five checkpoints.
Mark length, cut the slit, blanket-stitch the edge, bar-tack the ends, and press. Each move secures fraying threads before they start.
I lay the button across fabric, add 2 mm ease, and draw tidy dots.
A pin across each end stops my ripper from over-running.
I push the needle up from under, loop thread under the tip, and pull so the knot hugs the edge.
Step 4: Reinforce the ends with bar tacks
Three tight whip stitches lock the mouth where strain is highest.
Step 5: Press lightly to set the stitches
A damp cloth and warm iron flatten bumps and seal wax into fibers.
| Step | Tip to avoid mistakes |
|---|---|
| Cut | Use small tailor’s clippers, not big shears |
| Stitch | Keep loops even; count four per millimeter |
| Press | Lift, never slide the iron |
Which stitch style should I choose?
Different fabrics call for different grips on the raw edge.
For beginners, a blanket stitch works on most cloth; buttonhole stitches add knots for strength; whip stitches suit sheer fabric.
Blanket stitch (easiest and most common)
Even, flat loops protect medium-weight cotton.
Buttonhole stitch (stronger with knots)
A small purl on every bite grips thick wool.
Whip stitch (for lightweight fabrics)
Angled wraps lie flatter on chiffon.
Small habits turn wobbly holes into shop-grade finishes.
Use short, even stitches, wax the thread, and test on scraps before touching the garment.
Use short, even stitches around the slit
I aim for 2 mm spacing to spread strain.
Wax your thread to prevent tangles
A smooth pull avoids fuzzy edges.
Always test on scrap fabric first
Tension feels different on denim than on silk.
When should I hand-stitch instead of use a machine?
Some jobs simply cannot fit under a standard buttonhole foot.
Choose hand work for delicate cloth, curved plackets, or anytime you lack a buttonhole attachment.
For delicate, sheer, or vintage materials
The needle makes smaller holes than a machine blade.
In designs with curved or unconventional placements
Round collar corners accept hand-sewn keyholes.
Travel sewing or power outages no longer halt progress.
Luxury houses elevate function into quiet art.
Savile Row tailors wrap silk gimp with pinpoint stitches; couture ateliers color-match buttonhole thread for invisible detail.
Savile Row and bespoke tailoring techniques
A lapel buttonhole can take thirty minutes, but clients admire it for decades.
Buttonhole threads in couture-level details
Houses like Dior wax silk twice for shine and durability.
Conclusion
A hand-sewn buttonhole needs only simple tools, steady stitches, and patience. Master it once, and every garment you touch gains craft and character.
-
Explore expert techniques for hand-stitched buttonholes to enhance your sewing skills and achieve professional results. ↩
-
Discover the significance of hand stitching in fashion, from heritage to creative freedom, and elevate your sewing projects. ↩
-
Learn the differences between buttonhole and blanket stitches to choose the right technique for your sewing projects. ↩