Skip to content
Creating a garment involves a well-structured process, blending creativity, precision, and technical expertise. Understanding these steps ensures efficient production and high-quality results.
The garment development process consists of eight steps of garment production1: concept creation, pattern making, fabric selection, sample making, fitting, grading, production, and finishing.
Let’s dive into the details of each step to better understand how garments move from concept to completion.
What are the steps of the garment production process?
The garment production process follows a sequence of planning, designing, manufacturing, and finishing, ensuring each piece meets quality standards.
The steps include designing, pattern making2, fabric cutting, sewing, finishing, and quality control before final packaging and shipping.
 Tailor Drafting Patterns
The 8 steps of garment production
- Concept Development: Sketch or ideate the initial design.
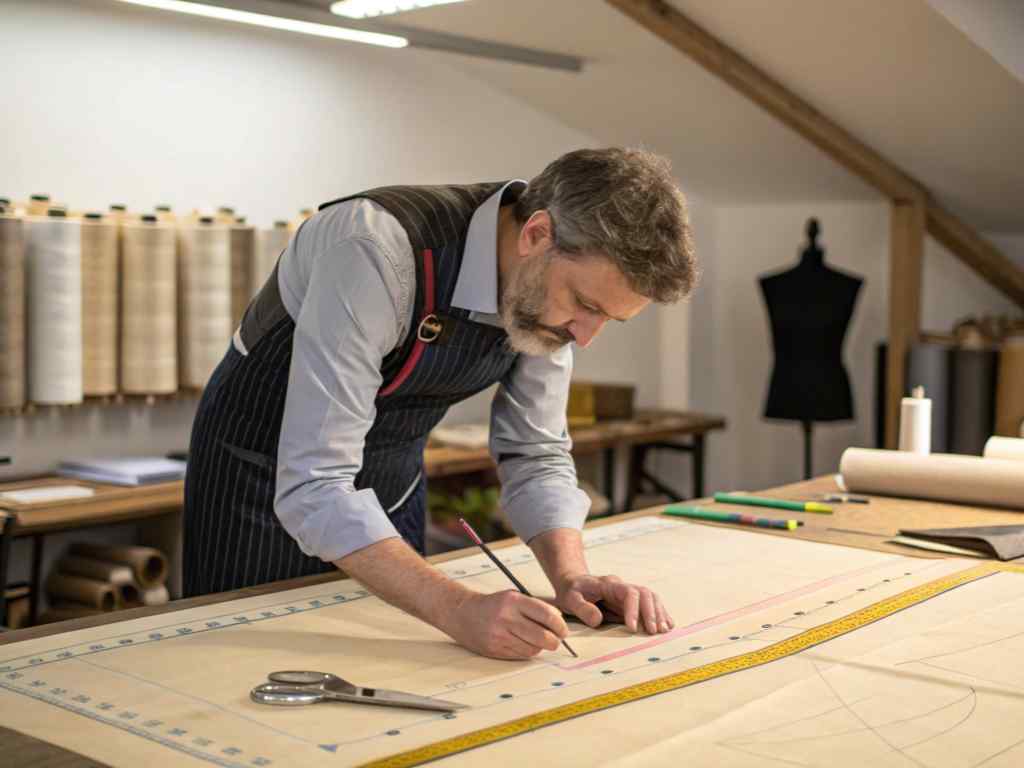
- Pattern Making2: Create a blueprint of the garment.
- Fabric Selection: Choose materials based on style and functionality.
- Sample Making3: Produce a prototype to test the design.
- Fitting: Adjust the sample for size and comfort.
- Grading: Scale the design into different sizes.
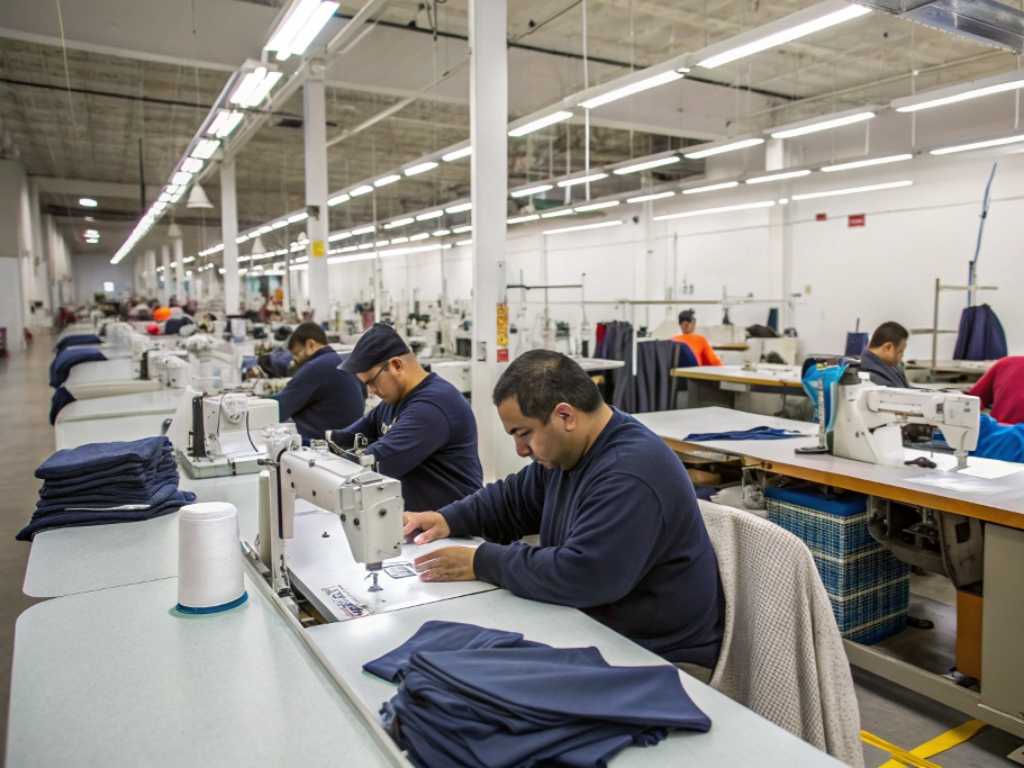
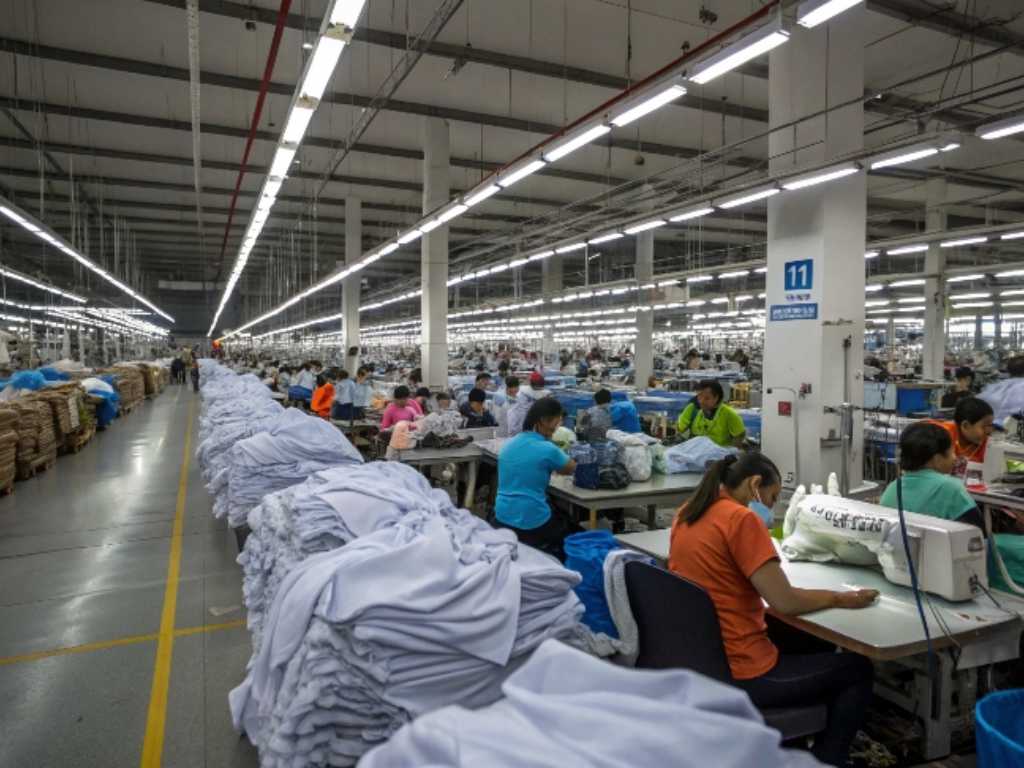
- Mass Production: Cut and sew fabric into finished garments.
- Finishing: Inspect, iron, and package garments for distribution.
For instance, a t-shirt undergoes pattern making, fabric cutting, and stitching before reaching retail shelves.
What is the sequence of garment construction?
Garment construction involves assembling fabric pieces into a complete product using stitching, binding, and other techniques.
The sequence includes fabric cutting, assembling, sewing, pressing, and quality checking before labeling and packaging.
Key stages in garment construction
- Fabric Cutting: Cut fabric into precise shapes based on patterns.
- Assembling: Arrange fabric pieces in order for stitching.
- Sewing: Use industrial machines to stitch parts together.
- Pressing: Steam or iron garments for a polished look.
- Quality Control: Inspect garments for defects before labeling.
For example, in jacket production, careful layering and precise sewing ensure durability and style.
What are the steps in preparing a garment for fitting?
Preparing a garment for fitting requires creating a sample that reflects the intended design and making necessary adjustments for size and comfort.
Steps for garment fitting include creating a prototype, marking key adjustments, and testing fit on models or mannequins.
Preparing garments for fitting
- Sample Creation: Use base patterns to create a mock-up.
- Marking Adjustment Points: Highlight seams and areas that may require alteration.
- Conducting Fittings: Test fit on mannequins or models for real-world accuracy.
- Refining the Fit: Adjust patterns and re-test as needed.
For example, a bridal gown fitting4 involves intricate adjustments to ensure a perfect silhouette.
What is a garment flowchart?
A garment flowchart5 is a visual representation of the entire production process, outlining each step from design to delivery.
A garment flowchart maps the sequence of activities in garment manufacturing, helping streamline operations and maintain efficiency.
Components of a garment flowchart
| Stage | Activity | Purpose |
|---|---|---|
| Designing | Sketch and concept creation | Develop ideas |
| Pattern Making | Blueprint of the design | Translate ideas into templates |
| Cutting | Cutting fabric into shapes | Prepare for assembly |
| Sewing | Stitching parts together | Create finished products |
| Quality Control | Inspecting for defects | Ensure consistency |
Flowcharts help manufacturers optimize processes, identify bottlenecks, and ensure smooth production.
Conclusion
The garment development process involves 8 key steps, from design to finishing. By understanding the sequence, preparing garments for fittings, and utilizing tools like flowcharts, manufacturers can streamline production and ensure high-quality results.
-
It details comprehensive steps to guide garment production from start. ↩
-
It explains methods for designing and drafting garment patterns. ↩ ↩
-
It outlines best practices and essential sample creation stages. ↩
-
It provides guidelines on achieving perfect fit for formal dresses. ↩
-
It showcases process diagrams to help streamline manufacturing workflows. ↩