Skip to content
I once tried creating garments without learning different seam structures. The result? Threads broke, edges frayed, and costs soared. That was my wake-up call.
The right stitching structure boosts garment strength, refines style, and can even reduce production expenses. I match each seam type (plain, overlock, edge finish1, binding, and blind) to fabric characteristics and design needs, ensuring durability and aesthetic harmony.
Why is understanding different stitching structures the basis for designing patterns and garment quality?
I realized that no matter how perfect the pattern is, the seam can ruin or elevate it. Stitching methods decide everything from garment durability to final visual appeal.
Each stitching type serves a dual purpose: function and aesthetics. If I choose the wrong seam, the design might look cheap or fail in stress points. By learning the differences, I save time, reduce returns, and improve brand reputation. I consider stitching knowledge a non-negotiable foundation for every clothing project.
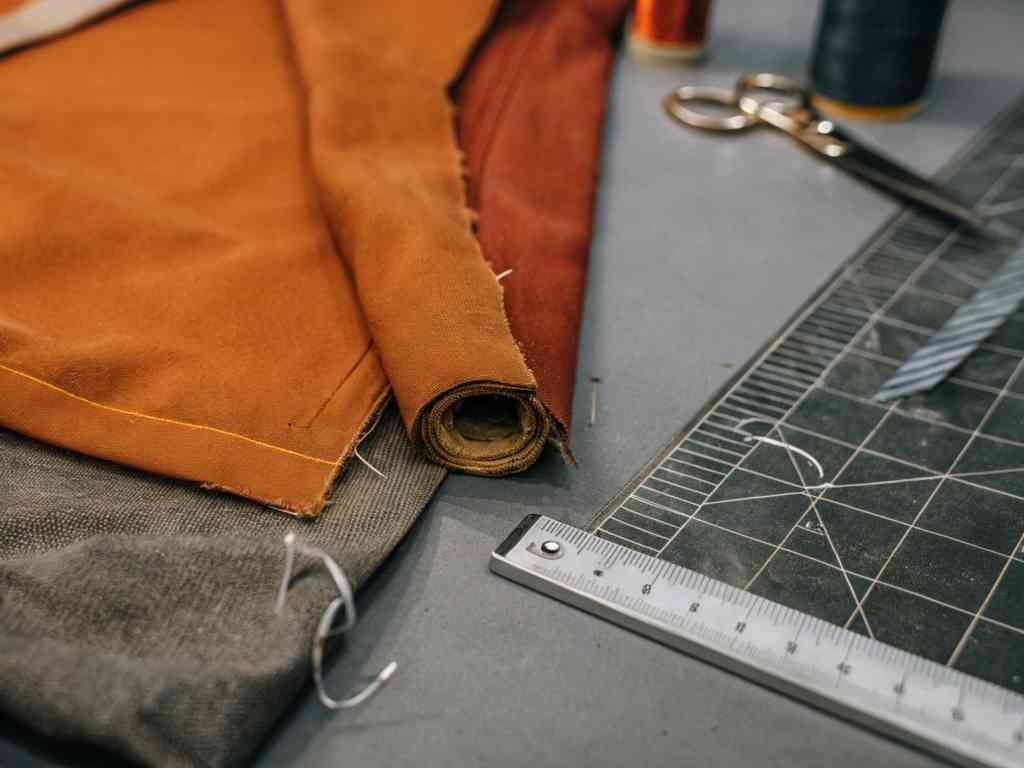 Tailoring Materials
Stitching not only determines the strength of garments, but also affects the appearance style and cost control?
A strong seam stops the garment from ripping. A neat seam looks high-quality. If I select an expensive seam for the wrong fabric, production cost spikes. A balanced approach—matching seam type to function—helps me control expenses while maintaining high standards of durability and appearance.
Can every seam be identified as a dual expression of "function + aesthetics"?
Even a simple plain seam can become a decorative accent if I use contrasting thread or topstitching. At the same time, it still secures two fabric pieces. So each seam is both a method for joining and an opportunity for creative expression.
Is the Plain Seam the most basic and most commonly used stitching structure?
I see plain seams in almost every garment, from casual shirts to lined dresses. It is the core stitching structure I first learned.
Plain seams simply join two pieces of fabric along their edges with a straight stitch. They are often seen on side seams, sleeves, and trouser legs. These seams can be hidden or topstitched for subtle or bold effects. Mastering this foundation helps me maintain neat construction and consistent results in every project.
Which joints are suitable for plain seams? Is it used for the sides, sleeves, and trouser seams?
Yes. I rely on plain seams for straightforward, non-stretch areas like shirt sides, pant legs, or even basic sleeve settings. When I need extra reinforcement, I layer or double-stitch. But the essential idea remains: an efficient, versatile method that works in most woven fabrics.
I sometimes topstitch the seam allowance for a visible line. This adds strength and a sporty look. Other times, I hide the stitching inside, pressing the seam open for a polished finish. By choosing thread color and seam placement wisely, I decide whether the seam should stand out or blend in.
Overlock Seam: Is it an efficient structure that completes lock seams + seams in one go?
I introduced overlock seams2 into my workflow to handle knit fabrics and fray-prone materials. They neatly trim and finish edges in a single pass.
Overlock seams use loopers to encase raw fabric edges, preventing fraying. They are popular for T-shirts, leggings, and other stretch garments. Overlocking can also handle delicate woven fabrics. I see it as a time-saver and a professional finish. By tailoring the thread count (three, four, or five), I achieve different elasticity and durability levels.
Is overlock seam more suitable for knitted fabrics and materials that are easy to shed?
Yes, that is why I rely on it for T-shirts, sweatshirts, or any knit garment. Overlock stitches keep stretchy materials stable at the seams. They reduce puckering and shield edges from unraveling. This combination makes them ideal for casual or sportswear.
What are the differences between three-thread, four-thread, and five-thread overlock seams? Do they affect elasticity and fastness?
- Three-thread: Good for lightweight fabrics or finishing raw edges. Less secure for heavy stress areas.
- Four-thread: A balance of durability and flexibility. Used for most knit garments.
- Five-thread: Adds extra chain stitch for extra strength. Commonly used in industrial settings where I need both a firm seam and neat edge finish.
Edge Finish: Is it a crucial method for preventing the raw edges from coming off?
I sometimes confuse edge finishing with seaming. But finishing only seals raw edges, rather than joining two pieces of fabric.
Edge finish techniques like zigzag, turn-and-hem, or binding tape keep fraying in check. These methods do not necessarily join fabrics together. They offer a polished look on exposed edges like hems or internal seam allowances. I pick an edge finish that suits the garment’s style and the fabric’s fray level.
Edge Finish ≠ Seaming, is it only used for edge sealing? What are the common edge finishing methods?
Yes, it is not the same as a seam. Common finishes include bias-bound edges, zigzag stitches, and double-fold hems. Each method encloses or secures raw edges, ensuring they do not unravel. While not mandatory for every design, a clean edge finish often raises the garment’s perceived quality.
Can the edge finish be exposed? In which designs does it become decoration?
I sometimes flip the bias tape or binding to the outside. This transforms a simple finish into a design feature, adding a stripe of color or texture. In casual wear, exposed edges can create a deliberately undone look. In more formal garments, subtle piping can highlight style lines without overshadowing the piece.
Binding: Is it a craft language that integrates structure + decoration?
I first considered binding purely decorative. But then I found it was also functional—covering raw edges, strengthening openings, and shaping collars.
Binding means attaching a separate strip of fabric around edges like necklines or armholes. It controls stretch, conceals seam allowances, and adds a finished look. I sometimes use contrasting binding for visual pop. This technique unites structure and style, especially when I choose a fabric that complements or contrasts the main garment.
Can the edge finish be used for functional finishing such as collars, cuffs, and plackets?
I see binding as a stable edging for frequently handled areas like collar openings and cuff edges. It resists wear and tear. In plackets, binding keeps layers neat. By adjusting the width or choosing a sturdier tape, I ensure durability where the garment experiences the most friction.
Will different materials of the hemming tape (twill, rib, ribbon) affect the overall style?
A rib knit binding adds stretch, often suitable for sportswear. A twill tape is sturdier, ideal for jackets or heavier fabrics. Satin ribbons provide a polished edge in formal wear. Each choice changes the garment’s look and feel. I pick the tape based on function and vibe.
Blind Stitch: Is it the most elegant expression of invisible stitches?
My clients often ask for invisible hems on formal pieces. Blind stitching offers a clean surface without visible thread lines.
Blind stitching folds the hem so that the needle catches only a tiny fiber on the front. This creates a nearly seamless finish on the face of the garment. I use it for trousers, skirts, or dresses where a subtle hem is desired. By mastering blind stitch, I deliver a refined, professional look.
Is blind stitch mostly used for "invisible" finishing of formal wear, trousers, dresses, etc.?
I rely on blind stitch3 techniques for suits, dress hems, or any scenario where visible lines distract from elegance. It keeps the surface smooth. This method is popular in high-end tailoring and evening wear, allowing the fabric to flow without obvious topstitching.
What are the differences in effect and craft difficulty between hand stitching and machine blind stitching?
Hand stitching offers total control. I can catch just enough of the fabric for minimal visibility. But it is time-consuming. Machine blind stitching speeds up production. However, it demands precise alignment and specialized equipment. Each method yields a neat finish, but I choose based on garment complexity and budget.
Conclusion
I realized that mastering various stitching techniques transforms average garments into polished, reliable products. From plain seams to blind stitches, each structure blends function and style in its own way.
-
Learn about various edge finish techniques that not only prevent fraying but also elevate the overall quality of your garments. ↩
-
Explore this link to understand how overlock seams enhance garment durability and finish, making them essential for knit fabrics. ↩
-
Discover the art of blind stitching and how it can provide a seamless finish for high-end garments, enhancing their elegance. ↩