Skip to content
I used to face complaints about seams bursting. My frustration grew each time a garment failed. Then I realized the real issue: seam structure1, needle choice2, and thread materials3 must all align. Improving stitching firmness transformed my production quality. Now, I want to show you how to do it right.
Stitching firmness depends on proper seam distance, strong thread materials, and matched needle types. Fabric tension also matters. Paying attention to these details prevents bursting seams and extends garment lifespan. Minor tweaks, like choosing the right thread thickness or adding reinforcements at stress points, can significantly improve your finished product’s durability.
I recall a big order that returned due to torn seams. I felt overwhelmed. That event forced me to explore every detail, from seam settings to quality tests. Let me share what I learned, so you can strengthen your garments and avoid the headaches I endured.
What are the key factors affecting the firmness of stitching?
I discovered that seam quality is more than just neat sewing. The real factors are seam distance, thread type, needle choice, and fabric tension. Each variable plays a part in the garment’s lifespan. If one is off, weak seams and complaints follow.
Firmness relies on cohesive cooperation between fabric and thread. Tight tension without proper seam distance can cause instant breaks. Loose tension leads to gapping. Matching the fabric’s thickness with the right thread, needle, and distance optimizes stability. This balance guarantees a seam that withstands everyday wear.
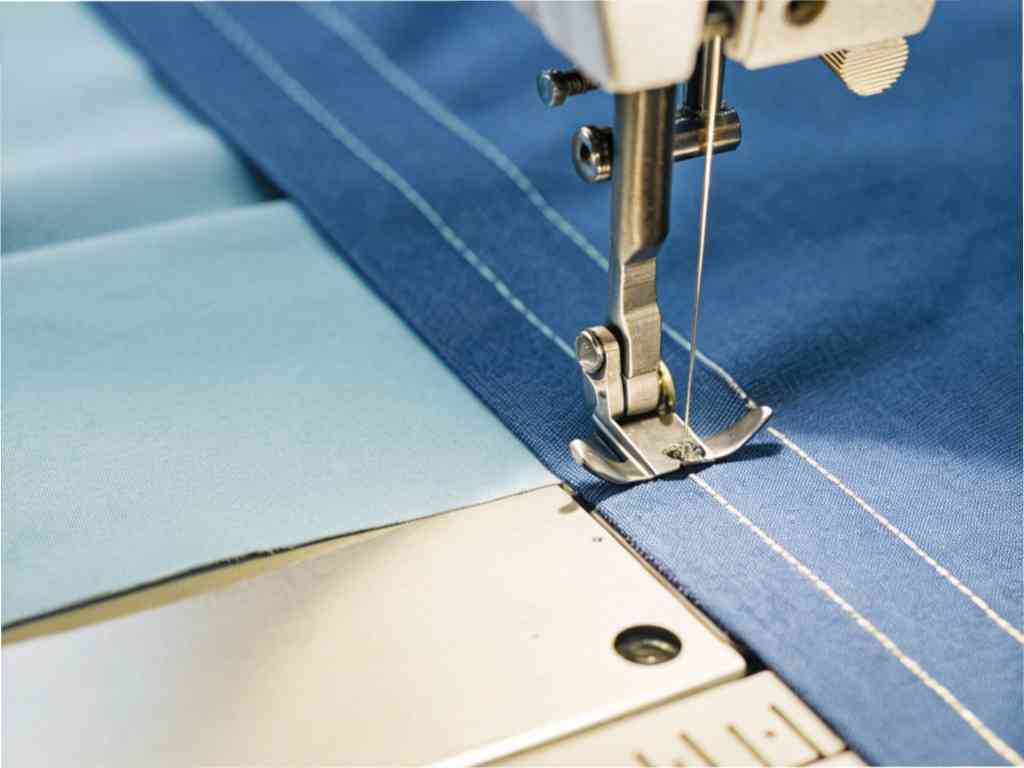 Sewing Blue Fabric
Why are some clothes prone to bursting or tearing at the seams?
I see bursting seams mostly when seam distance is too wide or the fabric is too tense. Thread strength also matters. If it’s weak or mismatched, it frays easily. Unsteady tension can cause skipped stitches, creating weak spots that tear with minimal strain.
I analyze these components systematically. I test different seam distances (like 2.5 mm vs 3 mm). I experiment with various needles for distinct fabric types. I note how the thread reacts during stress tests. This approach highlights the best combination for ultimate seam security.
How to set the seam distance reasonably? Is the denser the better?
I used to assume tiny stitch lengths gave stronger seams. Then I saw fabric puckering and broken threads. I realized optimum density must balance tension and material. Overly dense seams can damage the cloth instead of protecting it.
A standard range of 2.5 to 3 mm suits medium-weight woven fabrics. Knits or elastic fabrics often need slightly longer stitches to prevent puckering. Denim allows shorter distances because of its sturdiness. Finding the sweet spot ensures seams stay firm without weakening the fabric.
What is the recommended seam distance for different fabrics? (knitted, woven, denim, elastic fabrics)?
- Knits: 2.8 – 3.2 mm, to accommodate stretch
- Wovens: 2.5 – 3.0 mm, for balanced strength and appearance
- Denim: 2.0 – 2.5 mm, short stitches for extra durability
- Elastic: 3.0 – 4.0 mm, to reduce the risk of thread break
Overly tight stitch spacing can perforate the fabric, forming a “tear line.” It also causes bunching or puckering, especially on stretchy or delicate materials. By setting stitches slightly looser, I safeguard material integrity while still ensuring seam stability.
Why does the choice of thread material and thickness directly affect the strength of the seam?
I once used weak cotton thread on heavy denim. It snapped easily. Then I tried polyester, and the seams held up under stress. Thread composition and thickness must match fabric weight to achieve maximum durability and prevent repeated re-stitching.
Polyester thread generally provides reliable tensile strength and abrasion resistance. Nylon suits stretchy fabrics. Thicker threads bolster heavier textiles. Lighter thread counts work on delicate pieces. Matching the thread’s Tex or Denier to the fabric’s thickness helps you avoid weak points and breakage in daily wear.
Polyester thread, nylon thread, cotton thread… Which one is more resistant to pulling and abrasion?
Polyester is my go-to for most apparel. It combines stretch, strength, and heat resistance. Nylon is even stretchier, great for swimwear or activewear. Cotton thread is softer but less resistant to abrasion. It can tear quickly under heavy tension. I pick each based on fabric type and end use.
How to match the thread count (Tex/Denier) with the thickness of the fabric?
I pair heavier threads (Tex 40 or 50) with dense fabrics like denim or canvas. Lighter threads (Tex 27 or 30) work well on sheer or lightweight wovens. When uncertain, I sample-sew and test pulling strength. This quick test reveals if the thread is too weak or too thick.
Which needle model and needle tip type are best to avoid skipped stitches and thread breakage?
Choosing needles confounded me at first. I realized ball-point needles are a must for knits. Sharp needles suit wovens. The wrong needle can cause thread fraying, skipped stitches, or large pinholes. Now, I match needle tips to the fabric’s weave.
Appropriate needle types reduce friction and protect fabrics. A ball-end slides between knit fibers instead of piercing them. A pointed tip cleanly punctures woven materials. Skipped stitches often result from the needle not forming loops correctly. The right size and tip preserve thread strength and reduce rework.
How to match ball-end needles, round-end needles, and pointed-end needles with different fabrics?
- Ball-end needles: Knits, to part fibers gently
- Round-end needles: Medium-woven cotton or synthetics
- Pointed-end needles: Dense or tightly woven materials like canvas or denim
I confirm each match by sewing a small swatch, checking for clean needle entry and minimal skipping.
How to prevent the stitching parts from loosening due to too large pinholes or skipped stitches?
I pick the smallest needle size that can handle the thread without shredding. I also verify machine timing, so the hook grabs the thread loop consistently. Proper tension adjustment stops slack stitches that unravel easily. Together, these details reduce the chance of seam failure.
Why is the stitching structure design and auxiliary reinforcement process also key to ensuring firmness?
Structural design like double-needle seams, chain stitches, or overlock edges strengthens garments. When I added bar tacks or reinforcement tape at tension points, complaints dropped significantly. Proper seam types and add-ons address the garment’s stress areas.
Multi-needle seams distribute tension better. Overlock stitches secure raw edges to prevent fraying. Sometimes, jujube stitches (bartacks) reinforce high-stress spots like pockets or armholes. If the design calls for extra stability, I add reinforcing strips. These minor tweaks prevent blowouts and keep the garment intact under stress.
Which structures are more firm? (such as double needle seams, chain stitches, overlock seams, and jujube seams)?
- Double needle seams: Provide two parallel lines of stitching
- Chain stitches: Add stretch and resilience, common in waistbands
- Overlock seams: Tidy edges, reduce fraying
- Jujube seams (bartacks): Concentrated stitch reinforcements for stress zones
Selecting the right structure depends on fabric elasticity and garment function.
Do stress concentration areas such as shoulder seams and armholes need reinforcement strips or back seams?
I often reinforce shoulders with twill tape to stop stretching. Armholes endure friction from movement, so back seams or bartacks stabilize them. Extra steps like these ensure the garment stands up to day-to-day use without ripping.
How to test the firmness of stitching? Quality control suggestions before production and before shipment?
I do small pre-production tests to confirm seam strength. Simple tensile and tear checks reveal potential flaws. This helps me adjust seam specs early. Final checks before shipment catch overlooked issues and protect me from returns.
Tensile tests measure how much force a seam can withstand. Tear tests check if stitches pull out at stress points. I often compare results with industry standards (like ASTM or ISO) for consistent quality. By sampling finished products for fitting tests, I can identify hidden risks before large-scale production.
How to do tensile tests and tear tests? Are there any industry standards for reference?
I clamp a garment piece in a tension machine and gradually apply force until the seam pops. The maximum load indicates seam strength. Many follow ASTM D1683 for sewn-seam strength. Similar ISO standards exist. Consistency in testing ensures reliable comparisons across batches.
How to find firmness risks through fitting and process testing at the sample stage?
I simulate real-world conditions by pulling on seam lines during sample fitting. I also move or stretch the garment to see if stitches pop. If issues arise, I adjust seam density, thread choice, or needle type. Detecting these faults early avoids massive reworks later.
Conclusion
A strong seam needs balanced seam distance, suitable thread and needle, correct stitch structures, and thorough testing. By fine-tuning each detail, I achieve sturdier stitches and higher customer satisfaction.
-
Understanding seam structure is crucial for enhancing garment durability and preventing issues like bursting seams. Explore this link for in-depth insights. ↩
-
Choosing the right needle is essential for preventing skipped stitches and ensuring seam integrity. Learn more about needle selection for optimal results. ↩
-
Different thread materials can significantly impact the strength and durability of seams. Discover more about this topic to improve your sewing quality. ↩