Skip to content
Have you ever felt overwhelmed trying to create your first piece of clothing? Maybe you’ve struggled with sizing or cutting the fabric just right. Without proper guidance, it’s easy to feel lost and frustrated.
Making clothes using a paper pattern1 involves selecting a pattern, preparing the fabric, accurately cutting pieces, marking key sewing points, and assembling your garment step-by-step. Patterns simplify sewing by providing precise instructions, guiding beginners toward professional-looking, consistent results every time.
When I first started sewing, patterns saved me from countless mistakes. Here’s how they’ll help you too.
What Is a Paper Pattern and Why Use One?
You might wonder what exactly a paper pattern is and whether it’s necessary. Let’s clear this up quickly to boost your confidence before you start your sewing journey.
A paper pattern is a template printed on paper used for cutting fabric pieces to sew clothing. It provides precise dimensions, grainlines, and instructions to ensure consistent and accurate garments, significantly simplifying sewing, especially for beginners.
 Drafting on fabric
Definition and Purpose of a Paper Pattern
A paper pattern is essentially your sewing blueprint. It outlines every piece needed to create your clothing item, ensuring accuracy in shape, size, and fit.
Types of Patterns: Commercial Patterns vs. Self-Drafted Patterns
| Commercial Patterns | Self-Drafted Patterns |
|---|---|
| Professionally created | Customized personally |
| Standardized sizing | Tailored to specific measurements |
| Clear instructions, ideal for beginners | Require more skill and knowledge |
How Patterns Help Achieve Accurate and Consistent Fits
Patterns ensure every piece fits together precisely. Without a pattern, you risk inconsistent sizing, awkward fits, and wasted fabric. Patterns provide detailed markings, simplifying assembly and resulting in garments that consistently fit well.
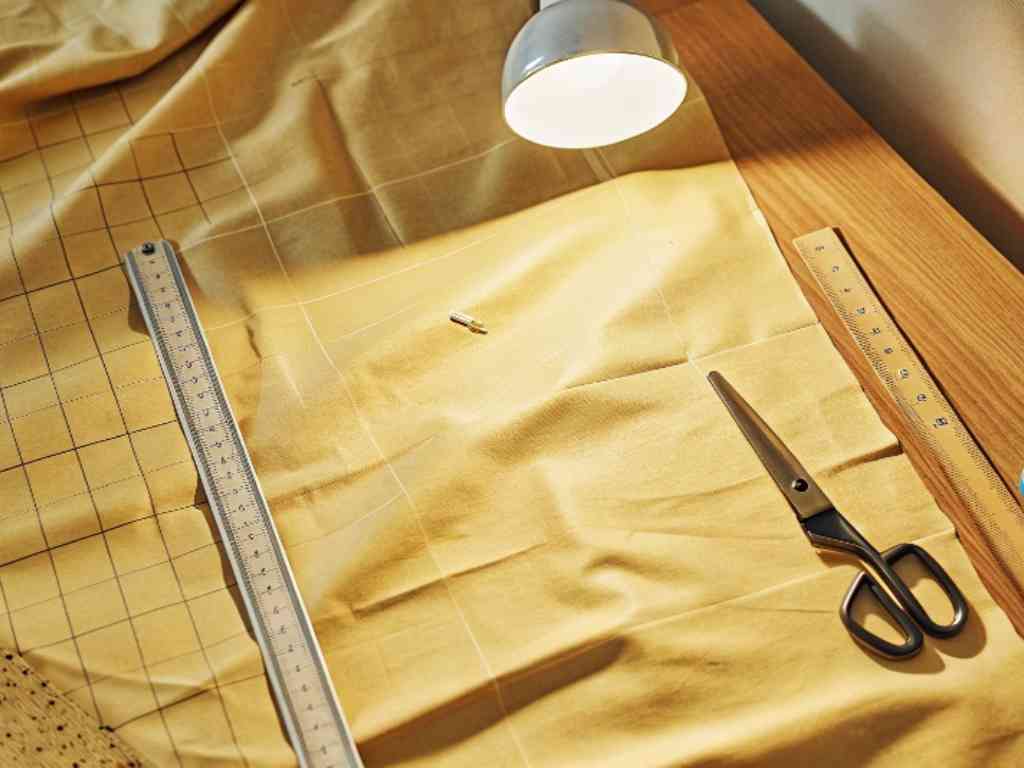
Essential Tools and Materials You’ll Need
Before cutting fabric, let’s quickly run through essential tools. These basics will make your sewing smoother and more enjoyable.
To sew effectively using patterns, you’ll need fabric suited to your project, basic sewing tools2 (scissors, pins, tape measure, seam ripper), pattern weights or pins, tracing paper, marking tools, and either a sewing machine or hand-sewing supplies.
Fabric: How to Choose the Right Type for Your Pattern
Choosing the correct fabric can make or break your project. Always check pattern recommendations for fabric type, stretch, and weight. Matching fabric with your design ensures optimal drape and ease of sewing.
Basic Sewing Tools: Scissors, Pins, Tape Measure, Seam Ripper
Good-quality scissors are vital for clean cuts. Pins secure fabric, tape measures ensure accurate sizing, and seam rippers correct mistakes easily—tools every beginner must have.
Pattern Weights, Tracing Paper, and Marking Tools
Pattern weights help patterns stay steady during cutting. Tracing paper and marking tools transfer key details onto your fabric, ensuring accuracy and clarity throughout your project.
Sewing Machine or Hand Sewing Kit
A reliable sewing machine significantly speeds up your projects. However, hand sewing kits allow for detailed, controlled stitching. Both are essential depending on your project complexity and personal preference.
Step-by-Step: How to Make Clothes Using a Paper Pattern
Ready to start sewing? Here’s a simple breakdown of each crucial step.
Follow these clear steps: Prepare your pattern, prep fabric (washing, ironing), secure pattern on fabric, cut accurately, mark important sewing points, assemble pieces in correct order, and sew carefully, pressing seams open to finish professionally.
1. Preparing the Pattern
- Carefully read all instructions first.
- Identify grainlines, notches, darts, and seam allowances clearly on your pattern.
2. Preparing the Fabric
- Pre-wash fabric if it may shrink, and iron thoroughly.
- Lay fabric correctly, aligning grainlines precisely.
3. Pinning or Weighing Down the Pattern
- Follow layout diagrams closely.
- Secure with pins or weights to keep patterns stable during cutting.
4. Cutting the Fabric
- Cut carefully around the pattern, leaving proper seam allowances (if not included).
5. Marking Important Points
- Clearly mark darts, notches, and fold lines using chalk or fabric pens.
6. Assembling the Pieces
- Sew darts first, then seams, hems, and finally closures like buttons or zippers.
7. Sewing the Garment
- Choose stitch types and lengths suitable for your fabric.
- Press seams open after stitching to ensure a professional finish.
Common Beginner Mistakes and How to Avoid Them
Making mistakes is normal—but avoiding common pitfalls will save you frustration.
Beginners often misinterpret grainlines, forget seam allowances, skip fit tests, or pick unsuitable fabric. Double-checking grainlines, verifying seam allowances, creating a test garment3, and carefully choosing fabrics can help prevent these frequent errors.
Misinterpreting the Grainline
Always align your pattern along the fabric grainline accurately. Misalignment causes garments to twist awkwardly after sewing.
Forgetting to Add Seam Allowances (if pattern doesn’t include them)
Many beginners mistakenly assume seam allowances are included. Check your pattern details carefully and add allowances as needed to avoid sizing errors.
Skipping Fit Tests (Baste First!)
Always baste your garment before final sewing. This quick step ensures your garment fits correctly, preventing unnecessary seam ripping later.
Choosing the Wrong Fabric for the Project
Match fabric type and weight to your project guidelines. Using incorrect fabric types can cause fitting issues and make sewing more difficult.
Tips for a Successful First Project
To ensure your first garment turns out great, keep these simple tips in mind.
Start with basic patterns, always create a test garment first, and remember patience. Sewing is a skill developed gradually; consistent practice will yield rewarding progress.
Start with Simple Patterns (e.g., a basic top or elastic waist skirt)
Simple patterns help beginners build confidence. Projects like elastic-waist skirts or basic tops offer easy sewing and quick wins.
Always Make a Test Garment ("Muslin") First
Creating a "muslin" (test garment) helps refine fit and sewing methods, dramatically improving your final garment’s quality and fit.
Be Patient: Sewing is a Skill Gained Through Practice
Learning to sew well takes patience. Expect minor mistakes; treat each one as a learning opportunity rather than a setback.
Next Steps: From Following Patterns to Drafting Your Own
Once you’re comfortable with patterns, consider advancing your skills further.
Start by learning to adjust existing patterns for better fit. Later, you can explore pattern-making and draping to design custom garments entirely from scratch, enhancing creativity and garment personalization.
Learning How to Adjust Patterns for Custom Fit
Adjusting patterns allows you to personalize fit, addressing individual differences in measurements for improved comfort and style.
Exploring Pattern Making and Draping Techniques
Pattern making and draping involve creating unique garment designs. These techniques require more skill but provide ultimate creative control and customization.
Conclusion
Making clothes using paper patterns simplifies sewing significantly, especially for beginners. By following structured steps, choosing suitable materials, avoiding common errors, and gradually advancing your skills, you’ll successfully create garments you’ll be proud to wear or sell.
-
Understanding paper patterns is crucial for beginners in sewing, as they provide the foundation for creating accurate and well-fitted garments. ↩
-
Familiarizing yourself with essential sewing tools can enhance your sewing experience and ensure better results in your projects. ↩
-
Creating a test garment helps refine fit and techniques, leading to a more successful final product and reducing frustration. ↩