 Skip to content
Placement Print Dress Manufacturer
Custom engineered-print dresses developed around artwork position, garment pattern, size grading, fabric behavior, sampling, and controlled bulk production.
Jinfeng Apparel develops placement print dresses for established fashion brands, sourcing teams, and multi-style womenswear programs. Artwork is reviewed against the garment pattern before sampling, helping protect motif scale, center position, seam continuity, hem level, and size-to-size balance.
- Placement control planned around visible garment areas, seam allowances, waist seams, darts, zippers, sleeve rotation, and hem shape.
- Base-size artwork can be managed as fixed scale, proportional scale, or size-specific recomposition according to the design objective.
- 2 sample rooms, 7+ senior pattern makers, and 20+ sample machinists support pattern mapping, sample revision, and PP approval.
- 6 owned women’s fashion factories, 18+ sewing lines, and 100,000+ pcs monthly capacity support multi-style bulk programs after production standards are locked.
Manufacturing Capacity Behind Every Print Placement
Since 2008
6 Owned Factories
2 Sample Rooms
7+ Pattern Makers
15+ QC Inspectors
100,000+ Pcs Monthly
Built for Structured Placement Print Programs
Best Project Fit
- Original artwork, line sheets, reference garments, or tech packs are available.
- Order planning follows a multi-style or repeat-order structure.
- Fit, visual accuracy, bulk consistency, and retail presentation matter alongside cost.
- Brand labels, barcode data, warehouse instructions, or market-specific testing may be required.
Project Inputs We Review
- Artwork file and target placement
- Base size and complete size range
- Fabric composition, hand feel, drape, and stretch direction
- Quantity by style, color, and size
- Private-label and packing requirements
Six Production Risks Behind Placement Print Dresses
Position Drift
Broken Seam Flow
Size Distortion
Color Variation
Cutting Mix-Up
Bulk Mismatch
Placement Print Is More Than Printed Fabric
Placement Print
All-Over Print
Engineered Print
Panel Print
Border Print
Logo or Motif Print
One Manufacturing Route from Artwork to Dress
Artwork and Fabric
Pattern and Grading
Strike-Off and Sampling
Bulk Cutting and Sewing
Garment and Packing QC
Repeat-Order Records
Placement Print Dress Styles We Develop

Mini Dresses

Midi Dresses

Maxi Dresses

Slip Dresses

Bodycon Dresses

Shirt Dresses

Resort Dresses

Occasion Dresses
Control Artwork Across Eight Garment Positions

Center Front

Bust Area

Waistline

Sleeve Panels

Side Panels

Center Back

Hem Border

Asymmetric Layout
Artwork Files Needed for Accurate Development
Editable Artwork
Preferred formats include AI, EPS, layered PDF, or layered PSD. Vector files support clean scaling and line editing; layered raster files help separate background, motifs, texture, shadows, and color areas.
- Include linked images and fonts, or convert text to outlines.
- State the final artwork dimensions in centimeters or inches.
- Keep important motifs away from uncertain crop areas until pattern mapping is complete.
Placement References
Provide a front, back, and side mockup with center lines, top references, bottom references, and approximate body position.
Mark whether the artwork should follow the garment center, body center, waist level, panel edge, or another construction point.
- Identify which size the visual mockup represents.
- Mark left and right sleeve rules.
- State whether the motif may be cropped, scaled, stretched, or repositioned.
Color and Print Direction
Pantone references, approved physical swatches, original artwork profiles, and print-direction notes help reduce interpretation gaps.
Color approval still needs to occur on the selected base fabric because fiber, surface, and finish change the visible result.
- Indicate spot colors or critical brand colors.
- Mark top direction on directional artwork.
- Confirm whether mirrored artwork is acceptable.
Garment and Order Data
The artwork review should connect with the tech pack, base size, size range, fabric direction, quantity per style and color, label plan, packaging, and target delivery window.
A print file cannot be assessed independently from the intended garment structure and order plan.
- Base size and full size range
- Target quantity per style/color
- Fabric preference and stretch direction
- Launch or delivery priority
File Naming Rules
Clear file naming prevents version errors. File names should identify style number, colorway, panel, size, artwork version, and approval status.
Final-approved files should be separated from draft and obsolete versions.
- Example: ST102_NAVY_FRONT_M_AW-V05_APPROVED
- Avoid names such as final-final-new-2.
- Archive superseded files away from production folders.
Confidentiality
- Files are used for project evaluation and production coordination.
- Unreleased styles are not published without approval.
- Case materials should remain anonymous unless written permission is granted.
From Artwork to Pattern-Mapped Print Files
The core engineering task is aligning visible artwork with the real pattern, seam structure, body position, and size range before bulk material is printed or cut.
Review the Visual
Development starts by identifying the visual priority. A centered portrait requires a different method from a hem border, an asymmetric flower, a sleeve-to-body composition, or a graphic crossing the waist. The team records the protected motif, acceptable crop areas, scale limits, mirror rules, color-critical zones, and the intended body reference.
Garment structure is reviewed at the same time. Neckline depth, shoulder width, bust shaping, waist seam, zipper, side seam, slit, pocket, sleeve join, gathering, ruching, and hem shape can cut or distort artwork. A flat mockup may look balanced while the sewn dress moves the motif through three-dimensional shaping. Pattern assessment prevents a visual decision from conflicting with garment construction.
- Identify the protected visual center.
- Mark areas where cropping is not allowed.
- Confirm whether the artwork follows the body, garment panel, or seam.
- Review front, side, back, and worn views.
Map Artwork onto the Base Pattern
The approved base pattern provides the real visible area. Seam allowance, dart intake, fold line, zipper extension, facing, lining, pleat intake, and hem turn are separated from the finished view. Artwork is then positioned within the usable area, with bleed added where required by the selected print route.
Panel relationships are checked before release. A motif crossing a side seam needs controlled overlap; a waist graphic may require one file for the bodice and another for the skirt; a center-back composition needs zipper and seam allowance planning. Sleeve artwork also needs left-right identity and natural arm orientation. Each panel should carry clear naming, top direction, center marks, size reference, and version information.
- Separate visible area from seam allowance.
- Add controlled bleed where the process requires it.
- Check front-to-back and left-to-right relationships.
- Confirm panel orientation and grain direction.
Release a Controlled Sample File
A sample file is not released only because the screen mockup looks correct. Artwork scale, output resolution, panel dimensions, base-fabric width, print route, color references, and cut-panel identification must be reviewed together. A strike-off can verify color and surface behavior before a full garment sample is produced.
After sample fitting, placement may need correction. Bust volume can lift a graphic, stretch can widen it, a waist seam can sit higher than the flat pattern suggests, or a flared hem can change border level. Revised artwork and revised patterns must carry matching version numbers. Production should receive only the locked combination of final pattern, graded files, approved print artwork, strike-off reference, and PP sample.
- Match artwork version with pattern version.
- Approve color and scale on the selected base fabric.
- Record every placement correction after fitting.
- Block obsolete files from production use.
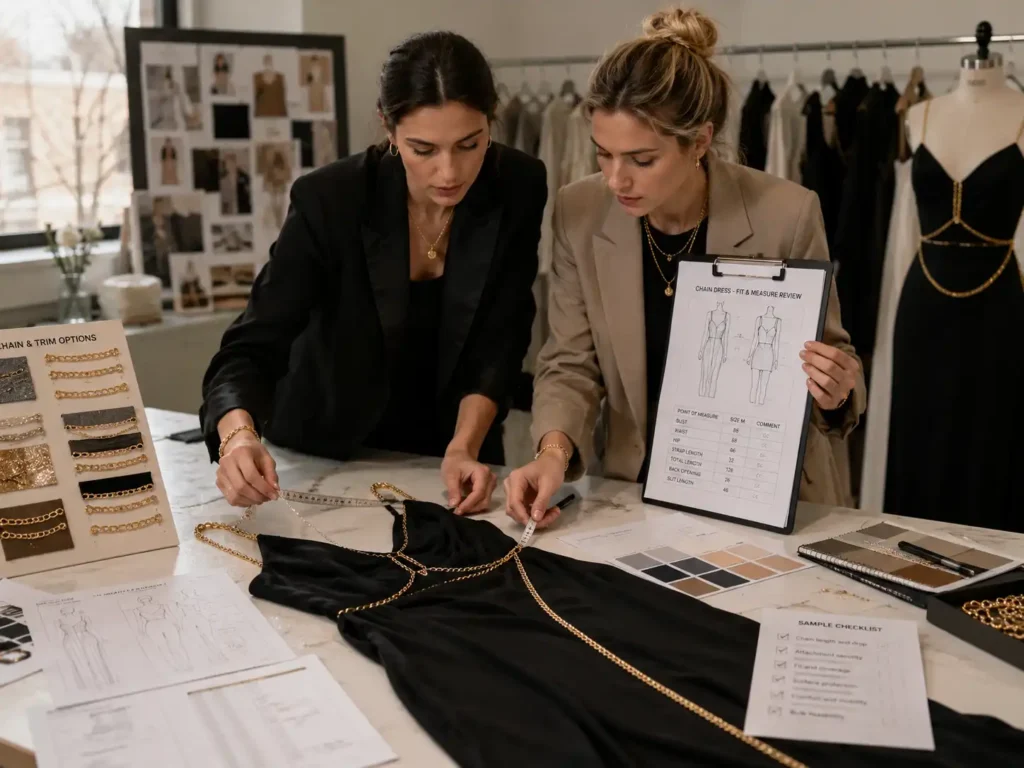
Size-Specific Placement and Print Grading
XS through extended sizes cannot be treated as a simple enlargement exercise. Panel width, torso length, bust shaping, waist position, hip volume, sleeve dimensions, and hem length all move during grading.
Choose the Correct Scaling Strategy
Three main strategies are available. Fixed artwork size keeps the motif dimensions stable and repositions it within each graded panel. Proportional scaling enlarges or reduces the artwork with the garment size. Size-specific recomposition adjusts selected motifs, spacing, background, or crop for each size group.
The right strategy depends on the design. A small logo may remain fixed. A floral border may need added spacing rather than enlargement. A portrait or face often needs controlled size and location to avoid distortion. A full engineered composition may require several size groups rather than one universal file. Jinfeng reviews the desired visual effect before choosing a route.
- Fixed motif size for stable visual identity
- Proportional scaling for full-panel compositions
- Recomposition for complex or body-referenced artwork
Measure Position from Stable References
Placement should be measured from repeatable construction references such as high shoulder point, center front, neckline seam, bust line, waist seam, side seam, center back, cuff edge, or finished hem. Measuring only from the raw panel edge can create inconsistent results because seam allowances and panel shapes differ.
A size review can compare at least three representative sizes, such as the lower size, base size, and upper size. The check should confirm motif center, top distance, bottom distance, seam relationship, body position, and overall visual balance. High-risk artwork may require more sizes or grouped artwork files.
- Record coordinates in the production specification.
- Use finished garment references where possible.
- Confirm symmetry and left-right rules.
- Check artwork on the worn form, not only flat.
Protect Fit While Protecting Artwork
Artwork should never force an incorrect garment pattern. Fit remains controlled through bust, waist, hip, armhole, torso length, strap length, crotch where relevant, and finished length. When fit corrections move a seam or dart, the print map must be updated rather than keeping an outdated visual file.
Stretch fabrics need special attention. A graphic printed at rest can widen across the body, and recovery may differ by direction. Woven fabrics may shift through darts, gathers, or bias grain. A balanced result comes from fitting the garment, reviewing the print on-body, and updating both pattern and artwork before PP approval.
- Fit correction and print correction move together.
- Stretch direction is marked before print mapping.
- PP approval covers measurement and visible placement.
- Bulk tolerance follows the approved construction method.
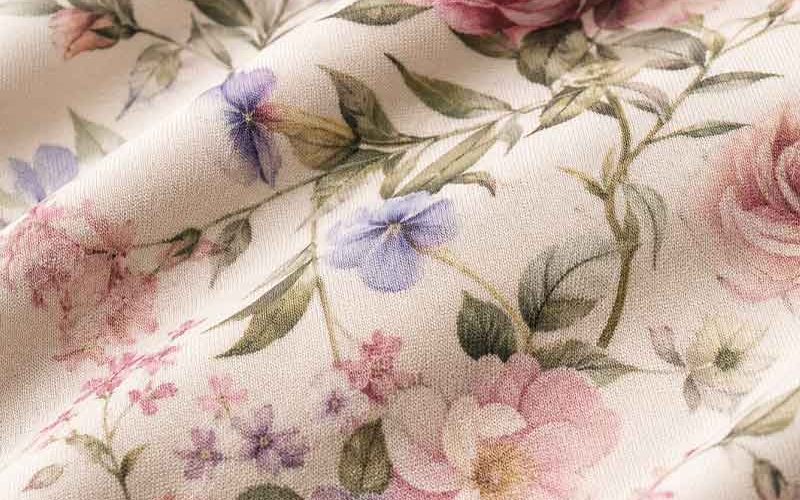
Fabric Options for Placement Print Dresses
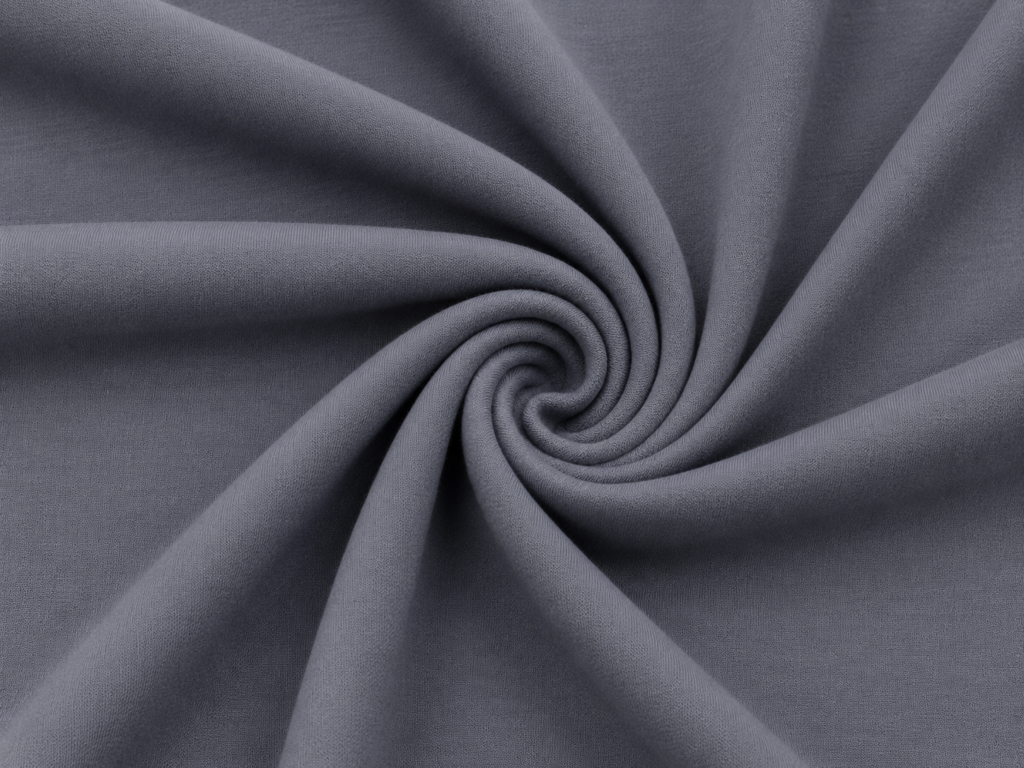
Polyester Woven
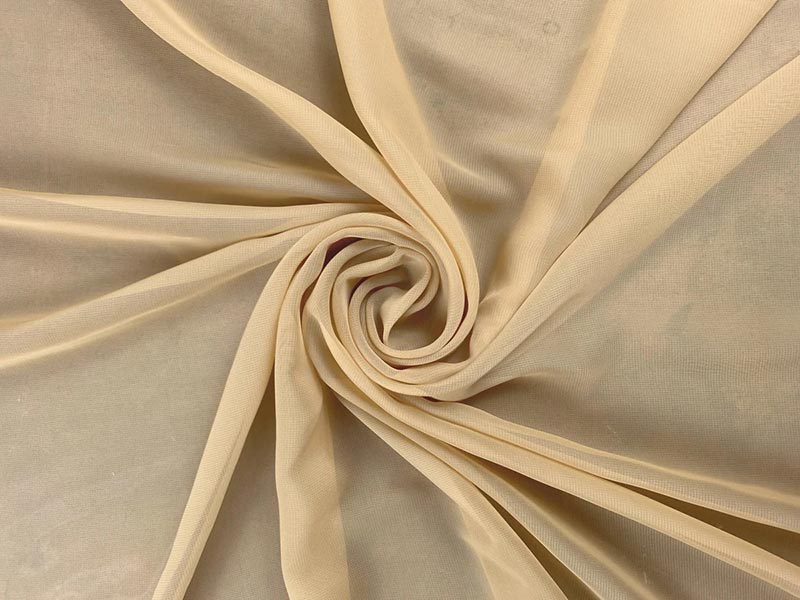
Chiffon
Satin

Rayon and Viscose

Crepe

Jersey

Stretch Mesh

Linen Blends
Choose the Right Printing Method
The print route should match fiber content, artwork detail, color requirement, panel structure, order quantity, hand-feel target, and expected bulk control.
| Printing Method | Suitable Use | Main Strength | Control Focus |
|---|---|---|---|
| Digital Fabric Printing | Complex multicolor artwork on compatible woven or knit bases | Fine detail, gradients, flexible artwork changes | Color profile, base fabric, strike-off, shrinkage, batch shade |
| Sublimation | Polyester-rich fabrics and vivid photographic designs | Strong color and no heavy surface layer | Fiber composition, heat response, panel shrinkage, transfer alignment |
| Screen Printing | Defined colors, graphic motifs, repeat bulk programs | Stable solid color and efficient repeat production | Screen registration, color count, hand feel, curing, panel position |
| Panel Printing | Artwork assigned to individual garment panels | High placement control and engineered layouts | Panel naming, orientation, size identity, cutting and sewing alignment |
| Border Printing | Hem, edge, scarf, resort, and maxi applications | Clear border height and visual rhythm | Fabric width, dress length, hem curve, direction, size grading |
| Transfer Applications | Selected local graphics and compatible materials | Useful for controlled local motifs | Adhesion, hand feel, wash durability, heat marks, placement tolerance |
Color Development and Print Approval
A monitor preview cannot lock production color. Final approval should connect artwork data, physical color references, selected fabric, print route, lighting, and bulk-batch control.
Build a Physical Color Standard
Pantone references, approved swatches, previous garments, lab dips where relevant, and printed strike-offs provide a stronger standard than screenshots. Critical brand colors should be marked separately from flexible secondary tones. The approved reference needs a clear style, colorway, artwork version, fabric, and approval date.
The base fabric strongly affects the result. Optical white, warm white, natural, colored, glossy, textured, transparent, or stretch bases can shift the visible tone. A print approved on one polyester satin should not automatically be treated as approved on chiffon, crepe, jersey, or viscose.
- Use physical approval for critical colors.
- Approve the final base fabric, not a substitute.
- Record colorway and artwork version.
Review Color Under Relevant Light
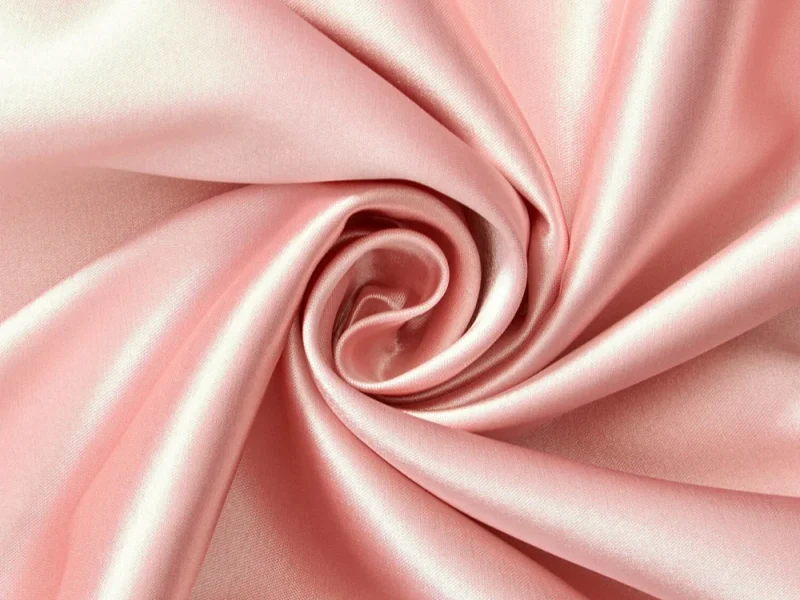
Studio light, daylight, warm retail light, phone camera processing, and surface shine can make one printed color appear different. Satin and glossy fabrics are especially sensitive to viewing angle. Transparent fabrics also change when placed over lining or skin tone.
Color review should include the intended garment layer. A printed mesh over nude lining may look softer than the same mesh over black lining. Chiffon over a self-color lining may gain depth. The lining decision therefore belongs inside the print approval process.
- Review face fabric and lining together.
- Check flat and draped views.
- Photograph under agreed lighting for records.
Control Bulk Batch Variation
Bulk color can shift through fabric batch, print run, heat, chemistry, machine setting, or finishing. Incoming inspection should separate batches and compare them with the approved reference before cutting. Large programs may need shade grouping so panels from different shades are never mixed within one garment.
QC should also watch rubbing, wash performance, migration, and packing transfer according to fabric and print route. Dark and high-saturation artwork on light garments may need extra review for crocking or surface transfer during pressing and transport.
- Separate and identify fabric or print batches.
- Use approved strike-off or garment as reference.
- Prevent mixed-shade panels within one dress.
Develop Fit, Structure, and Print Together
Garment construction can stretch, fold, gather, divide, cover, or rotate artwork. The visual and the pattern should evolve together until the PP sample carries both the intended fit and print position.
Bust Shaping and Necklines
Darts, princess seams, bra cups, boning, gathers, cowl necklines, cut-outs, and stretch all change the artwork around the bust. Faces, logos, circles, and symmetrical motifs are especially sensitive. The print map should account for dart intake and the three-dimensional shape created after sewing.
Neckline changes also alter visible space. A deeper neckline may crop the motif; a higher neckline may move it too low. Strap width, shoulder point, and bust coverage need to be confirmed before final artwork release.
Waist Seams, Ruching, and Draping
A waist seam can divide artwork into two panels. Ruching and draping compress the printed surface, creating darker visual density and altered motif shape. If the design depends on a clean band or central image, gathered areas should be planned away from critical details.
Corset and fitted waist structures may include multiple seams, boning channels, cups, and lining. Artwork must follow the actual panel construction rather than a simplified front view.
Zippers, Side Seams, and Openings
A center-back zipper can split artwork and add a narrow non-visible area through the seam allowance. Invisible zipper installation also affects alignment if the fabric feeds unevenly. Side seams, slits, button plackets, wrap openings, and pockets need the same early review.
Important motifs should not be unintentionally hidden by a flap, pocket, tie, or overlap. When continuous artwork is required, sewing instructions and inline checks should state the matching reference.
Stretch, Bias, and Flowing Hems
Stretch changes artwork under body tension, while bias cutting changes grain direction and drape. Flowing maxi hems create curved panel edges and larger sweep. A straight border or vertical graphic may not remain visually straight without pattern-specific artwork.
Fit tests should review standing, walking, sitting, and natural arm movement where relevant. The approved appearance needs to work on the body, not only on a hanger or flat lay.
Sample Rooms Built for Controlled Development
Pattern Development
- Pattern from tech pack, reference image, or original sample
- Base-size fit and construction review
- Grading movement and size-specific placement assessment
Sample Construction
- First sample confirms initial structure and direction
- Revised sample closes fit and placement comments
- PP sample locks bulk standard before production
Project Coordination
- Style and color tracking
- Artwork and pattern version control
- Priority planning for hero styles and launch dates
Placement Print Sample Development Process
A controlled sample route separates feasibility, print approval, fit correction, visual approval, and production approval so each decision is recorded before bulk work begins.
Project Review and Development Plan
The review covers style image or tech pack, editable artwork, target placement, fabric direction, size range, quantity per style and color, label plan, packing, and target delivery. Jinfeng identifies the main risks: body-referenced artwork, complex seams, stretch distortion, transparency, custom fabric, critical colors, or multi-size recomposition.
A development plan then defines the sample type, fabric route, need for a print strike-off, artwork preparation, pattern requirements, and approval sequence. Timing is confirmed by project after file readiness, fabric availability, print preparation, construction difficulty, and sample priority are understood.
- Project feasibility and risk review
- Fabric and print route recommendation
- Sample type and approval sequence
Pattern, Print Mapping, and Strike-Off
The base pattern is developed or reviewed before final placement mapping. Artwork is positioned against the visible panel area, with seam allowance, darts, zipper, waist seam, sleeve direction, and hem shape considered. If color, detail, or fabric response requires validation, a strike-off is prepared before full garment sampling.
The approved print reference and pattern version are linked. When either file changes, the pairing must be updated. A print file should never remain active after the pattern has moved a seam, altered a neckline, changed a panel width, or corrected garment length.
- Pattern and artwork use matched version numbers.
- Critical print areas are approved at final scale.
- Obsolete files are removed from active production folders.
First Sample and Fit Review
The first garment verifies silhouette, measurements, fit, print center, scale, seam relationship, lining, transparency, zipper, hem balance, and movement. Review should include flat measurements and on-body photos from front, side, and back. High-risk graphics may also need close-up photos with ruler references.
Comments are separated into pattern changes, artwork changes, fabric changes, color changes, construction changes, and finishing changes. Clear categories reduce the risk of correcting one part while leaving a related file unchanged.
- Measure garment and print position.
- Check the worn view and movement.
- Classify every revision by file owner.
Revised Sample and PP Approval
A revised sample closes the recorded issues. For collection programs, sample priority can follow launch date, hero SKU, fabric readiness, visual importance, and production complexity. Not every style needs to move at the same pace, but each style needs a clear approval status.
The PP sample becomes the production reference after fabric, color, artwork, placement, fit, measurement, construction, trims, labels, packing, and QC points are confirmed. Changes after PP approval require a formal review because they can affect printed material, cutting files, price, schedule, and already prepared components.
- Confirm final artwork and graded pattern.
- Lock material, trims, construction, and labels.
- Issue the production and QC package.
Lock the PP Standard Before Bulk Production
Product Standard
Brand Standard
Change Control
Transfer the Sample Standard into Bulk Production
The production team needs more than a garment sample. A complete handover package turns approvals into repeatable instructions for printing, cutting, sewing, inspection, pressing, labeling, and packing.
Production File Package
The package includes final base and graded patterns, approved artwork by panel and size, print placement map, approved strike-off, fabric reference, bill of materials, trim card, measurement chart, sewing instructions, label placement, packing method, carton data, and QC checklist.
Files should carry style number, colorway, size range, version, and approval status. Production instructions should show stitch type, seam allowance, thread color, zipper position, lining method, gathering or ruching control, hem method, and print-sensitive seams.
Pre-Production Meeting
Production management, merchandising, pattern, cutting, sewing, QC, finishing, and packing teams review the PP sample and production files before bulk starts. The meeting highlights critical print positions, panel identity, shade control, high-risk seams, measurement tolerances, packing risks, and escalation points.
For multi-style orders, priority and factory allocation can follow fabric group, construction type, print method, launch schedule, and shipment plan. Styles should not enter production merely because one component is ready while other standards remain open.
First Bulk and Inline Confirmation
The first bulk pieces are checked early for print location, seam matching, measurements, construction, label placement, and pressing. Corrective action at the beginning prevents an error from expanding across thousands of garments.
Inline findings are recorded and communicated to the line, pattern, cutting, or print team as required. Quality control remains process-based rather than waiting until every dress is finished.
Inspect Printed Fabric Before Cutting
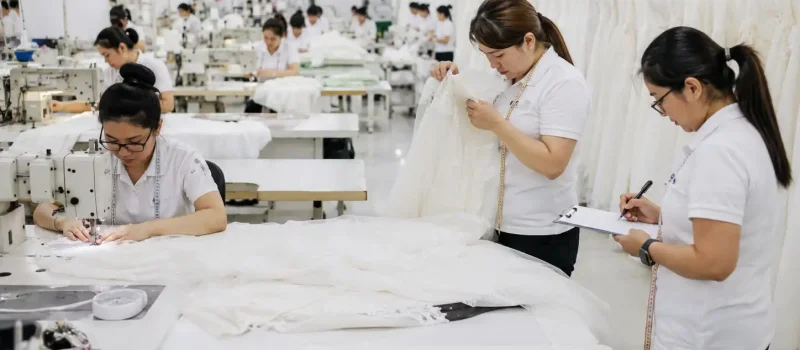
A visually approved sample does not remove the need for bulk material inspection. Fabric and printed-panel batches must be checked before irreversible cutting begins.
Fabric Identity and Physical Properties
Inspection confirms supplier, composition reference, colorway, width, weight, hand feel, stretch direction, recovery, transparency, surface, shine direction, and visible defects. Shrinkage or relaxation behavior should be reviewed where relevant before pattern release and cutting quantity are finalized.
- Fabric face and back
- Grain or stretch direction
- Width and usable width
- Relaxation or shrinkage requirement
Print Quality and Batch Shade
Printed fabric or panels are compared with the approved strike-off or PP reference for color, scale, clarity, position, edge quality, migration, stains, missing areas, and batch shade. Shade groups should remain separated when variation could become visible within one garment.
- Check critical motifs at final scale.
- Separate print batches and shade groups.
- Reject damaged or misregistered panels before sewing.
Quantity and Replacement Planning
Usable quantity should be confirmed after defect allowance, panel rejection, testing, and print variation are considered. Placement printing can require greater control over panel replacement because a replacement must match size, colorway, panel identity, orientation, and artwork version.
- Count by style, color, size, and panel.
- Reserve controlled replacement material.
- Record shortages before production allocation.
Sewing Workmanship Keeps Motifs Aligned
Correctly printed panels can still lose alignment through inconsistent seam allowance, fabric feeding, stretching, zipper installation, gathering, or pressing. Workmanship standards must protect the approved visual.
Seam Allowance and Feed Control
Side seams, waist seams, center-back seams, sleeve joins, and panel joins rely on consistent seam allowance. A few millimeters of variation can break a geometric line, move a flower, or create a visible step across the join. Slippery and stretch fabrics also require controlled feeding so one panel does not grow against the other.
Sewing instructions identify matching points and areas where visual alignment has priority. Inline checks compare the sewn result with the PP sample before the line continues at full speed.
Zippers, Plackets, and Openings
Invisible zippers need even seam preparation and controlled stitching so artwork aligns on both sides. Button plackets, wrap fronts, slits, and cut-outs can create the same challenge. The design should define whether the motif continues, remains centered on one side, or intentionally breaks at the opening.
Zipper bulging, puckering, and uneven feed can distort both fit and print. Pressing and stabilization methods should match the fabric and construction.
Ruching, Gathering, and Draping
Gathered areas compress motifs and can create darker visual density. Ruching also changes line direction and hides detail. Stitch length, gathering ratio, elastic tension, and anchor points need consistency across garments and sizes.
Important artwork should be placed away from uncontrolled folds unless the distortion is part of the approved design. The PP sample becomes the visual reference for how much of the motif remains visible.
Pressing and Final Shape
Pressing can improve seam matching and garment shape, but excessive heat, pressure, or steam may create shine, migration, flatten texture, or distort synthetic fabric. Satin, transfer prints, mesh, and stretch fabrics need material-specific handling.
Final pressing also sets neckline, zipper, waist seam, hem, and panel shape, so QC reviews the print after pressing rather than relying only on earlier sewing checks.
Six-Stage Quality Control for Printed Dresses
Incoming Material QC
Cutting QC
Sewing QC
Inline Production Check
Finished Garment QC
Packing and Shipment QC
Testing and Compliance Support by Project
Fiber and Care Information
Dimensional Stability
Color Fastness
Chemical Testing
Performance Testing
Document Verification
Private Label and Retail-Ready Packing
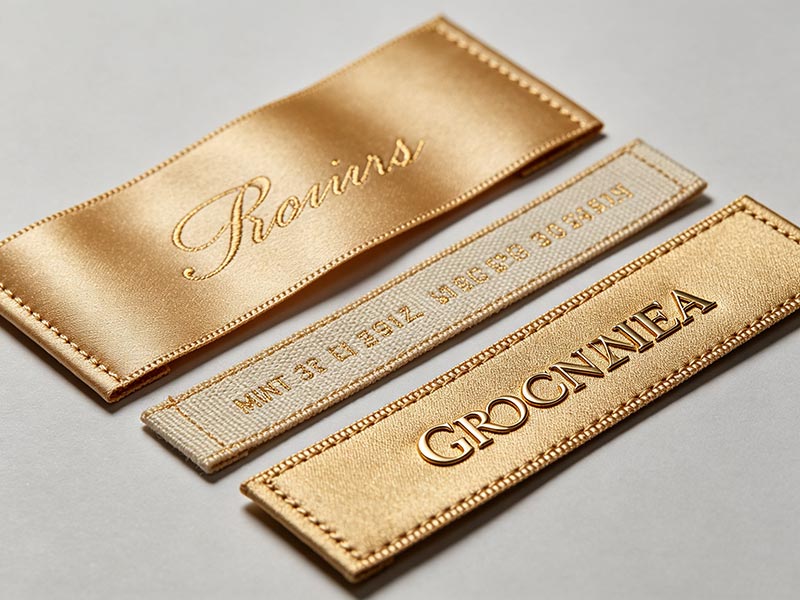
Main Brand Labels

Care and Size Labels
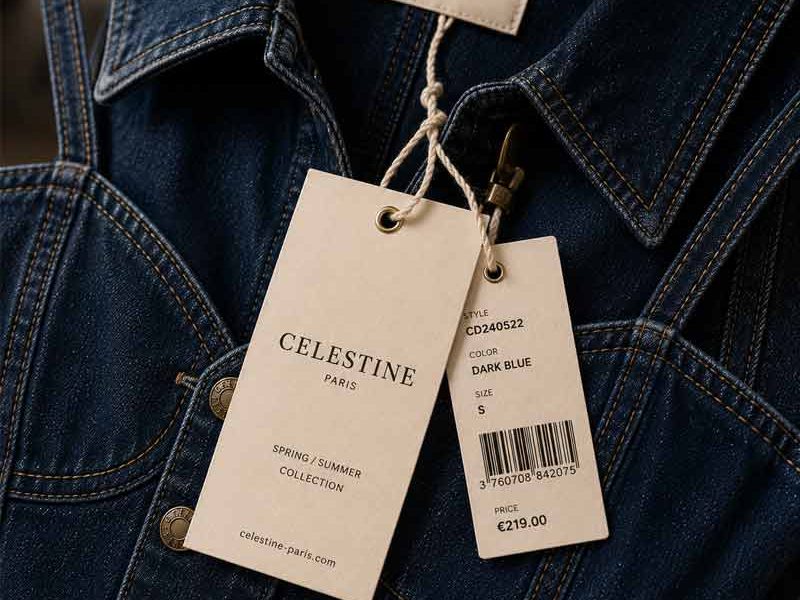
Hangtags and Fasteners
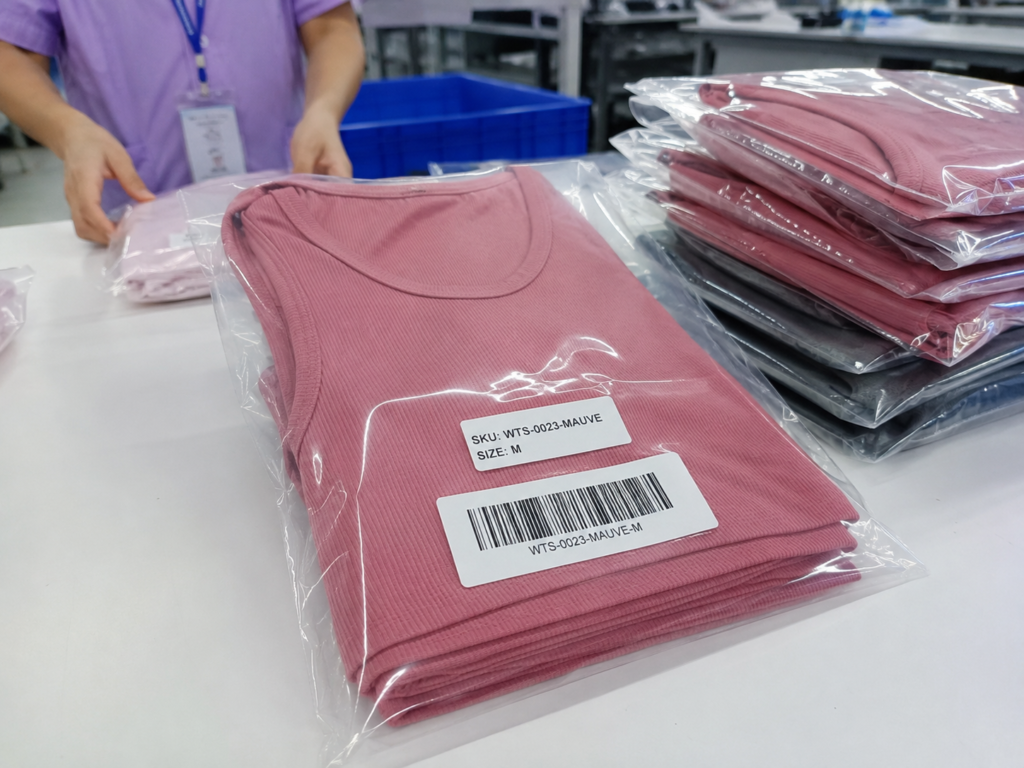
Barcode and SKU Control

Polybag and Fold Protection
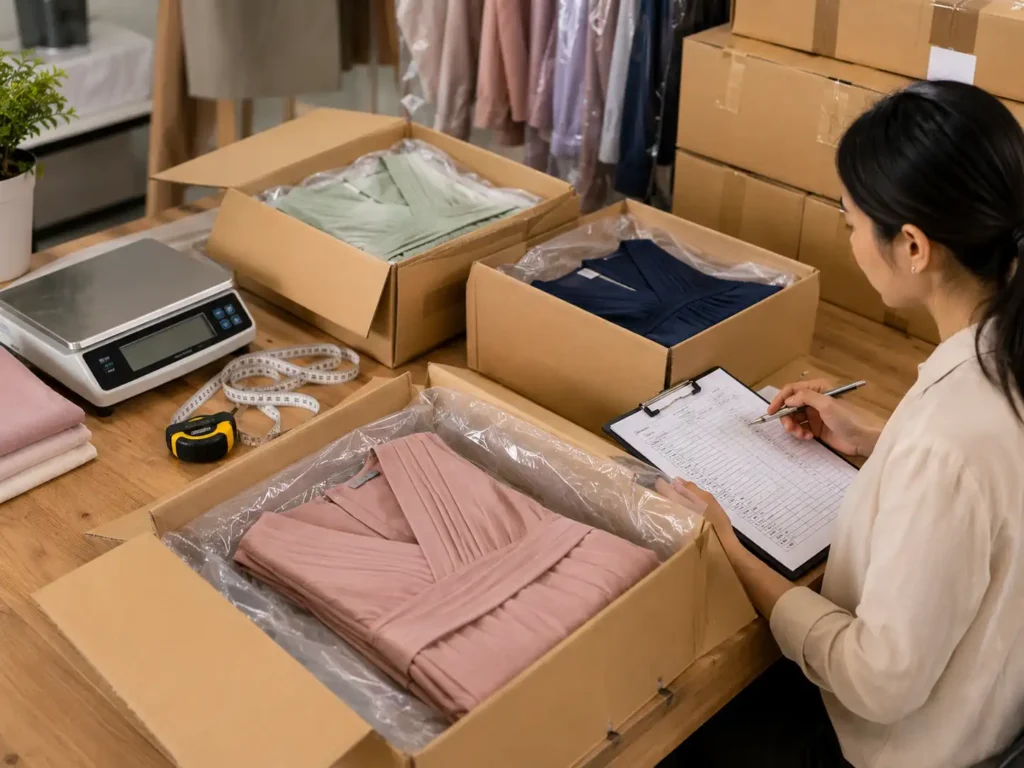
Carton and Warehouse Data
MOQ, Cost, and Schedule Planning
| Planning Area | Working Rule | Main Variables |
|---|---|---|
| MOQ | Starts from 200 pcs per style/color | Base-fabric MOQ, print supplier MOQ, colorways, panel printing, custom dyeing, trims, packaging |
| Artwork Preparation | Quoted by artwork condition and panel complexity | Editable files, number of panels, size-specific files, colorways, protected motifs, recomposition |
| Sample Cost | Charged separately for development work | Pattern work, strike-off, fabric, print preparation, sewing, fitting, revisions, shipping |
| First Sample Timing | Confirmed after project review | Artwork readiness, fabric availability, strike-off, pattern complexity, print route, sample priority |
| Bulk Unit Cost | Built from the full garment specification | Fabric, printing, trims, lining, pattern, cutting, sewing time, pressing, QC, packing, wastage, testing |
| Bulk Lead Time | Issued after PP lock and material review | Printed material readiness, quantity, style count, line allocation, QC window, packing, shipment plan |
| Repeat Orders | Often more efficient when records remain unchanged | Fabric availability, color batch, artwork version, pattern, size range, trims, packing, production schedule |
Placement Print Programs Built Around Brand Scale

United States Resort Collection
Program structure: 18 styles, 42,600 pcs total, 3 coordinated print stories, XS-XL, with midi, maxi, wrap, and matching-set extensions. The visual direction used large botanical motifs, controlled hem borders, and selected center-front placements on lightweight woven bases.
Main challenge: border height and central motifs had to remain balanced across several skirt lengths and graded sizes. Chiffon and viscose-blend options also required different opacity, lining, shrinkage, and drape decisions. Manufacturing response: artwork was grouped by print story, then mapped by silhouette and size family. Strike-offs confirmed color and line detail before sample cutting. The sample tracker separated fit, artwork, color, and construction changes. Cutting instructions identified border height, front center, grain direction, and shade group. Result focus: approved print stories moved into coordinated multi-style bulk planning with SKU-level labels, barcode files, and split packing by launch group. The strongest repeat-order value came from retained patterns, print references, and packing records.
- 18 styles / 42,600 pcs
- 3 print stories / XS-XL
- Midi, maxi, wrap, and matching-set development

United Kingdom Occasionwear Program
- 12 styles / 28,800 pcs
- 2 color families / UK 6-16
- Satin, mesh overlay, and fitted structures

Australian Ecommerce Drop
Program structure: 24 styles, 61,200 pcs total, AU 4-16, with bodycon, mini, cut-out, slip, and resort silhouettes. The range used high-impact graphics designed for product photography, social content, and fast SKU recognition. Main challenge: stretch jersey and power mesh changed artwork width across bust and hip. Asymmetric panels, cut-outs, and multiple colorways increased the risk of left-right mix-up, outdated artwork, and barcode errors.
Manufacturing response: artwork strategy was divided into fixed-size motifs, proportional full-panel artwork, and size-group recomposition. Asymmetric pieces received clear left-right identifiers. Sample priorities followed hero SKU, photo sample need, fabric readiness, and bulk complexity. Packing files linked style, color, size, barcode, and carton breakdown. Result focus: a structured approval route supported 24 styles without treating every design as the same product. Repeat-ready records included patterns, measurements, artwork versions, fabrics, trims, QC notes, labels, and packing instructions.
- 24 styles / 61,200 pcs
- AU 4-16 / multiple colorways
- Bodycon, cut-out, slip, and resort silhouettes
How to Evaluate a Placement Print Supplier
Artwork Engineering
Size Strategy
Fabric and Print Approval
Cutting and Sewing Control
Sample-to-Bulk Transfer
Brand Delivery
Frequently Asked Questions
Start Your Placement Print Dress Project
Send enough information for a focused review of artwork, fabric, pattern, MOQ, sample route, bulk risk, and packing requirements.
For a useful first assessment, share the reference image or tech pack, editable artwork, intended print position, base size, complete size range, fabric direction, colorways, quantity per style/color, brand-label requirements, packing instructions, and target delivery window. Jinfeng Apparel will review the garment structure, artwork preparation, print route, fabric suitability, size-specific placement needs, sampling sequence, production feasibility, and main quality risks before the project moves forward.
- Name and company
- Email and Tel/WhatsApp
- Product type and style count
- Quantity per style/color
- Base size and complete size range
- Fabric preference and color plan
- Private-label and packing requirements
- Target delivery window
- Upload tech pack, artwork, line sheet, size chart, or reference photos


